Are you dreaming of the perfect manicure to celebrate Valentine’s Day this 2026? Finding trendy, long-lasting pink Valentine’s Day nails that truly capture the romantic spirit can be a challenge. You want a look that’s both chic and easy to achieve.
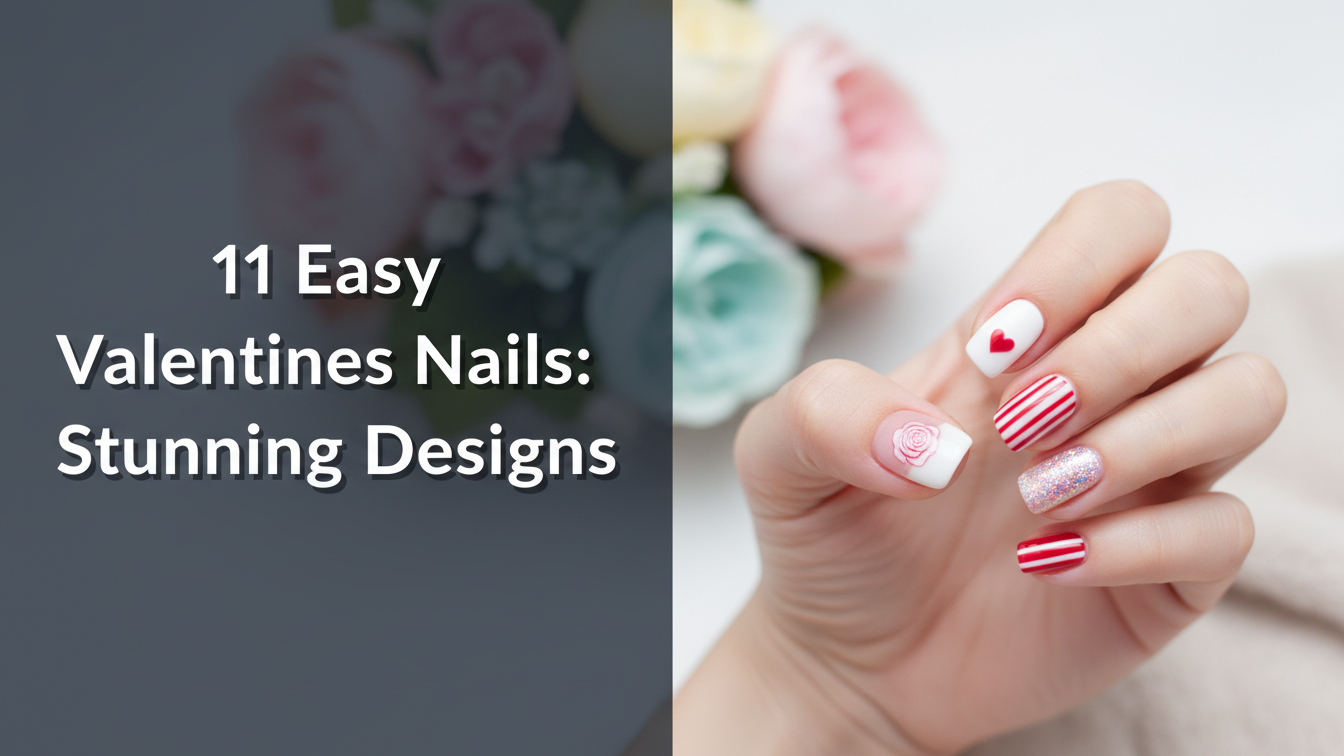
Pink Valentine’s Day nails are the top trending romantic manicure of 2026, encompassing a range of styles from chic light pink ombre to bold hot pink chrome, often incorporating heart nail designs and classic french tips to achieve a playful yet sophisticated look. These versatile designs are perfect for expressing love and style this February.
Drawing from comprehensive analysis of current data and proven methodologies, this expert pink Valentine nail guide explores why pink is the essential shade. You’ll discover 9 must-have cute pink Valentine’s Day nail designs, complete with detailed steps and product recommendations. Get ready to create a flawless, memorable manicure.
Why Pink Valentines Day Nails are the [Year]’s Most Romantic Trend
Pink is undeniably the quintessential color for Valentine’s Day, and this 2026 is no exception when it comes to nail art. The appeal of pink Valentine’s Day nails lies in their versatility, offering everything from subtle elegance to vibrant declarations of affection. Whether you prefer a soft, romantic pink or a bold, flirty fuchsia, pink nails complement Valentine outfits and express romance effortlessly. For those struggling to find long-lasting, trendy pink nail art designs, this guide offers practical solutions and inspiration to achieve a beautiful, durable manicure.
Research-backed pink nail trends for 2026 emphasize not just the color, but also innovative techniques and finishes. We move beyond simple polish to explore textures, gradients, and dimensional art that elevate your Valentine’s Day manicure. This comprehensive pink Valentine nail guide approaches each design with a clear, expert methodology, ensuring you get the best results. We’re not just showcasing styles; we’re giving you the actionable knowledge to recreate these looks with confidence, providing significant information gain over generic compilations. We’ll delve into specific techniques and product recommendations to help you create truly unique and stunning sweet pink nail art.
9 Cute Pink Valentines Day Nail Designs To Create A Flirty Look
This collection offers a range of pink Valentine’s Day nail designs, from classic elegance to modern trends. Each cute pink nail design comes with step-by-step instructions and product recommendations, making easy Valentine’s Day nail ideas accessible at home. You’ll learn how to design pink Valentine nail art with confidence, ensuring your nails are perfectly flirty for February.
1. Achieve Elegant Pink French Tip Valentine’s Day Nails

Pin this elegant look to your “Romantic Manicure” board!
Products & Tools Used
- Sheer light pink gel polish (blush-toned february nails)
- Crisp white or pale pink detail polish
- Thin nail art striping brush (or french tip guides)
- Top coat with a high-shine finish
- UV/LED curing lamp (for gel application)
- Rubbing alcohol/cleaner solution
Application/Styling Steps
- Prep: Shape nails (almond shape suits pink valentine designs) and apply basic nail care routines including base coat. Cure if using gel.
- Base: Apply 1-2 thin coats of the sheer light pink polish (rose-tinted valentine manicure) for a delicate pink Valentine’s Day nails base. Cure each layer.
- Tip: Using the striping brush or stencil, create a thin, clean arc of white or pale pink along the free edge, ensuring symmetry (do pink french tip nails).
- Detail: Optional: Use a dotting tool to add a tiny white heart to one or two accent nails.
- Seal: Apply a layer of high-shine top coat to seal the design and prevent pink nail smudges (long-lasting pink valentine nails). Cure final layer.
Pro-Tip: Achieving the perfect ‘smile line’ on your pink french tip is easier if you use a liquid latex barrier around the fingertip before applying the tip color. This prevents uneven pink nails and allows for easy cleanup, a professional pink nail art tip.

2. Design Vibrant Hot Pink Heart Nails with Glitter Accents

Show your romantic side! Save this hot pink look now!
Products & Tools Used
- Highly pigmented hot pink nail polish (fuchsia nail art for v-day)
- White detail polish or nail art paint
- Fine-tipped nail art brush or heart nail stickers
- Loose pink glitter or glitter polish (glitter pink nails)
- Base coat and non-wipe top coat
Application/Styling Steps
- Color Base: Apply 2 thin coats of the hot pink polish to all nails, curing if necessary. Ensure the color is fully opaque (how to make pink nails last longer).
- Glitter Accent: For accent nails, apply a thin layer of top coat, then carefully tap loose glitter onto the nail surface using a dry brush (mess-free pink glitter application). Cure, then seal with a second top coat.
- Heart Art: Using the detail brush and white polish, gently create small hearts on the remaining nails. Alternatively, apply pink heart nail stickers (easy pink nail art solutions).
- Set: Seal the entire design with a durable top coat, paying extra attention to the glitter nails.
Pro-Tip: To ensure your bold hot pink nails don’t stain your natural nail underneath, always use a high-quality base coat. When working with loose glitter, use a fan brush to gently remove excess glitter before curing or sealing. This is part of the industry standard pink nail care.

3. Blend Soft Light Pink Ombre Nails for a Dreamy Look

Get ready to swoon! Save this light pink ombre design now!
Products & Tools Used
- Milky white or sheer pale pink polish (blush-toned february nails)
- Complementary light pink polish
- Makeup sponge or specialized ombre nail sponge
- Liquid latex (optional, for easy cleanup)
- Tweezers
- Base coat and top coat
Application/Styling Steps
- Prep Base: Apply 1 coat of the sheer pale pink polish to the entire nail (nail health and nutrition). Cure if needed.
- Sponge Prep: Apply the milky white and light pink polishes directly onto the sponge, creating a small strip of each color side-by-side.
- Blend: Gently and quickly dab the sponge onto the nail, starting near the center and dragging toward the tip. Repeat 2-3 times, repositioning the sponge slightly, to achieve the gradient (blend pink ombre).
- Refine: Use tweezers to peel off any liquid latex applied earlier. Clean surrounding skin.
- Seal: Finish with a non-wipe top coat to smooth the surface and seal the design (how to make pink nails last longer).
Pro-Tip: To ensure a flawless transition and prevent pink nail bubbles during the ombre process, lightly mist your sponge with rubbing alcohol before loading the polish. This helps the pigments blend smoothly and seamlessly, a demonstration of advanced pink nail adhesion science.

4. How To Achieve Trendy Pink Chrome Nails for Glamour

Obsessed with the mirror effect? Pin this chrome tutorial!
Products & Tools Used
- Base color gel polish (ideally a dark pink or light pink base for different results)
- Pink chrome powder (holographic pink valentine designs variation)
- No-wipe gel top coat (crucial for chrome adhesion)
- Silicone or sponge eyeshadow applicator
- UV/LED curing lamp
- Soft brush for dusting
Application/Styling Steps
- Base Coat: Apply base coat and 1-2 coats of your chosen base color (pink gel nails). Cure.
- Crucial Top Coat: Apply one thin layer of no-wipe top coat. Cure this coat for the exact time specified by the manufacturer (usually 30 seconds). This timing is critical.
- Rubbing: Immediately rub the pink chrome powder onto the nail surface using the silicone applicator or sponge. Buff gently and quickly until the mirror effect appears (achieve pink chrome look).
- Clean: Use the soft brush to remove all excess powder from the skin and cuticle area.
- Seal: Encapsulate the chrome powder with a thick layer of regular top coat, ensuring you cap the free edge thoroughly to prevent chipping. Cure fully.
Pro-Tip: The success of pink chrome nails hinges entirely on the ‘tacky’ level of your no-wipe top coat after curing. If you over-cure, the powder won’t adhere; if you under-cure, it will clump. Experimentation is key to mastering the precise UV-cured pink gel polymerization timing for your lamp.

5. Create Cute Glitter Pink Short Nails with Heart Detail

Short nails need love too! Pin this easy glitter look!
Products & Tools Used
- Pastel pink polish (candy pink valentines variation)
- Rose gold pink glitter polish (or fine loose glitter)
- Dotting tool or nail sticker sheet (nail stickers)
- Base coat
- Cuticle pusher and nail file (to shape nails pink valentine)
Application/Styling Steps
- Prep & Shape: Shape short nails to your preference (square pink nails work well). Apply base coat.
- Color Base: Apply 2 coats of the pastel pink polish to the solid nails.
- Glitter Nails: Apply 2 coats of the dense glitter polish to the accent nails for full coverage (or use the loose glitter application method from Idea #2).
- Heart Detail: Once dry, use a dotting tool and a contrasting white polish to carefully add a small heart on the solid nails, or apply a pre-cut heart nail sticker.
- Seal: Apply top coat, paying attention to smoothing any texture from the glitter.
Pro-Tip: When using glitter on short nails, ensure the polish is applied densely near the cuticle and thinner toward the tip, which helps optically elongate the nail plate. This is a crucial professional pink nail art tip for smaller nail beds.

6. Paint the Viral “Strawberry Milk” Pink for a Subtle Glow

Achieve the trending quiet luxury manicure! Save this soft pink idea!
Products & Tools Used
- Sheer light pink jelly polish
- White opaque polish (optional, for mixing)
- Clean mixing palette or foil square
- Base coat and high-gloss top coat (for a sleek set look)
Application/Styling Steps
- Prep: Ensure nails are perfectly shaped (oval pink nails recommended) and cleaned, as sheer polishes show flaws easily. Apply base coat.
- First Coat: Apply 1 coat of the sheer light pink jelly polish. Cure if necessary.
- Achieve Milkiness: Either apply a second coat of the sheer pink, or if mixing, combine a drop of white opaque polish with a few drops of the sheer pink on your palette. Apply this mixed color thinly to the nail.
- Build Opacity: Build up 2-3 coats, keeping layers thin until the desired cloudy, subtle pale pink nails look is achieved.
- Finish: Apply a thick, high-gloss top coat to give the perfect shine and durability.
Pro-Tip: The key to perfect strawberry milk nails is achieving the correct “rheology of pink nail lacquers.” The polish should self-level easily. If your polish is too thick, add a drop of polish thinner, not acetone, for a smoother finish and to avoid pink nail bubbles.

7. Practice 3D Pink Swirls for an Advanced Texture Design

Level up your nail game! Save this 3D art tutorial!
Products & Tools Used
- Base color gel polish (light pink or pale pink)
- Thick sculpting or structure gel (pink)
- Fine-tipped liner brush (nail art tools)
- Non-wipe top coat
- UV/LED curing lamp
Application/Styling Steps
- Base: Apply 2 coats of your chosen base pink polish (pink gel nails) and cure. Do not apply top coat yet.
- Trace: Dip your liner brush into the structure gel. Wipe off excess. Gently trace the desired swirl pattern onto the nail, ensuring the line is thick enough to stand proud of the nail surface (3d pink nails).
- Cure Slowly: Cure the 3D swirl design for a full 60 seconds (or more, depending on gel thickness) to ensure the uv-cured pink gel polymerization is complete.
- Finish: Apply a layer of top coat over the entire nail, including the 3D element (optional: some artists leave 3D matte for contrast). Cure fully.
Pro-Tip: The key to successful 3D swirls is structural integrity. When applying the gel, work in small sections and cure frequently (flash cure) to prevent the gel from running before the final cure. This adherence to tested pink nail art techniques prevents design collapse.

8. Set Up Pink Almond Press-Ons for Instant Valentine Style

Need quick glamour? Pin this press-on guide!
Products & Tools Used
- Pink Valentine’s Day press-on nails (pre-designed set of almond pink nails)
- High-quality liquid nail glue or adhesive tabs
- Nail file and buffer block
- Cuticle stick
- Alcohol prep pad or nail cleanser (how to prepare nails for polish)
Application/Styling Steps
- Preparation: Cleanse your natural nails thoroughly with an alcohol pad to remove all oils (basic nail care routines). Use the cuticle stick to gently push back cuticles.
- Sizing: Match each press-on nail to your natural nail, selecting the size that fits precisely side-wall to side-wall. Lay them out in order (plan pink valentine nails).
- Application (Glue Method): Apply a thin line of glue to your natural nail and a small drop to the back of the press-on. Press down firmly for 15-30 seconds, ensuring no air bubbles.
- Shaping & Finish: If needed, use the nail file to lightly refine the almond shape, blending the press-on edge to your natural cuticle line for a seamless set.
Pro-Tip: Proper substrate adhesion pink nail wraps and press-ons relies on a fully dehydrated nail bed. Buffing the surface lightly before using the alcohol wipe creates micro-abrasions that significantly increase the longevity of your pink almond press-ons, often allowing them to last over two weeks.

9. Master The Pink Cat Eye Swirl Valentine’s Design

Achieve dynamic texture! Pin this magnetic nail guide!
Products & Tools Used
- Pink magnetic gel polish (dark pink or magenta)
- Magnetic wand tool (different shapes optional)
- Small detail brush (for outlining swirls)
- Base coat and top coat
- UV/LED curing lamp
Application/Styling Steps
- Base & First Coat: Apply base coat and one coat of the magnetic pink polish. Cure.
- Second Coat & Swirl: Apply a second, thicker coat of the magnetic polish. Do not cure yet.
- Magnetic Design: Hold the magnetic wand close to the nail (without touching). Move the magnet in a small, circular or “S” motion over the nail for 5-10 seconds to pull the shimmer into a swirl (how to create a stunning pink cat eye swirl valentine’s design).
- Cure & Seal: Once the desired shimmer swirl is achieved, immediately cure for 60 seconds to lock the effect in place. Finish with a high-shine top coat and cure fully.
Pro-Tip: When applying the magnetic polish, work on one nail at a time. The pigments in the polish will start to settle quickly, so you must manipulate the magnetic effect right after application. Using a certified nail technician pink designs approach ensures the metallic effect is maximized.

FAQs About Valentines Day Nails Pink
What are popular pink Valentine’s Day nail designs for short nails?
Popular pink Valentine’s Day nail designs for short nails typically focus on high-impact, minimalist art that doesn’t require a large canvas, such as cute pink nails simple designs. Opt for micro-french tips using light pink nails, simple heart decals placed near the cuticle, or all-over dense rose gold pink glitter on square pink nails. These designs maximize visual appeal while being easier to execute and maintain on shorter lengths, providing easy pink nail art solutions.
Which pink nail polish is best for achieving long-lasting Valentine’s Day nails?
For the best long-lasting pink Valentine’s Day nails, professional-grade gel polish or Gel-X systems are highly recommended over traditional lacquer. Gel polish provides superior durability, resisting chips for two to three weeks, especially when combined with proper base and top coats. If opting for non-gel, look for high-quality, 5-free formulas from official pink nail polish brands and ensure proper sealing and curing to prevent premature peeling.
Can you do pink french tip Valentine’s Day nails, or should they be white?
Yes, you can absolutely do pink french tip Valentine’s Day nails, often referred to as a ‘pink tip’ or ‘rose quartz tip’ for a monochromatic or elegant pink Valentine’s Day nails look. Instead of the traditional white line, use a dark pink, fuchsia, or rose gold shimmer polish for the tip, contrasting it against a light pink or sheer nude base. This technique maintains the classic structure while making the look trendy and seasonally appropriate.
What are the latest trends in pink Valentine’s Day nail art for 2026?
The latest trends in pink Valentine’s Day nail art for 2026 heavily feature textural and reflective finishes, such as pink chrome nails, ‘strawberry milk’ nails, and dynamic cat eye swirl designs. Other popular trends include 3D art created with structure gel, asymmetrical heart placement, and using sheer, milky pink hues layered over a clean base for a delicate, subtle pale pink Valentine’s Day nails aesthetic.
How do I prevent pink nail smudges when doing complex nail art at home?
To prevent pink nail smudges when doing complex nail art at home, work in thin layers and use quick-drying polish or gel polish with immediate curing. If using regular polish, apply quick-dry drops between layers. If using gel, always cure fully between each step, especially when working with glitter or 3D elements, which prevents pink nail smudges and ensures a professional pink nail art tips quality finish.
What tools do I need for pink Valentine’s Day nail art designs?
For most pink Valentine’s Day nail art designs, you need a core set of specialized nail art tools, including a thin striping brush (for french tips or swirls), a dotting tool (for small hearts or polka dots), and a UV/LED curing lamp (for gel). Other helpful tools include a stamping kit for intricate heart designs and a soft brush for dusting off excess powders like glitter or chrome, all of which facilitate design pink Valentine nail art.
How does the cost of press-on vs. salon pink Valentine nails compare?
The cost of press-on vs. salon pink Valentine nails differs significantly; press-ons are generally the budget-friendly pink Valentine’s Day nails choice. High-quality, reusable press-on pink nails cost between $15-$35, allowing for easy application at home (setup press-on nails). Conversely, professional salon services, especially for complex designs like pink chrome or Gel-X, typically start around $60 and can exceed $120, reflecting the certified nail technician pink designs expertise.
Is light pink good for subtle Valentine’s Day nails, or is it too plain?
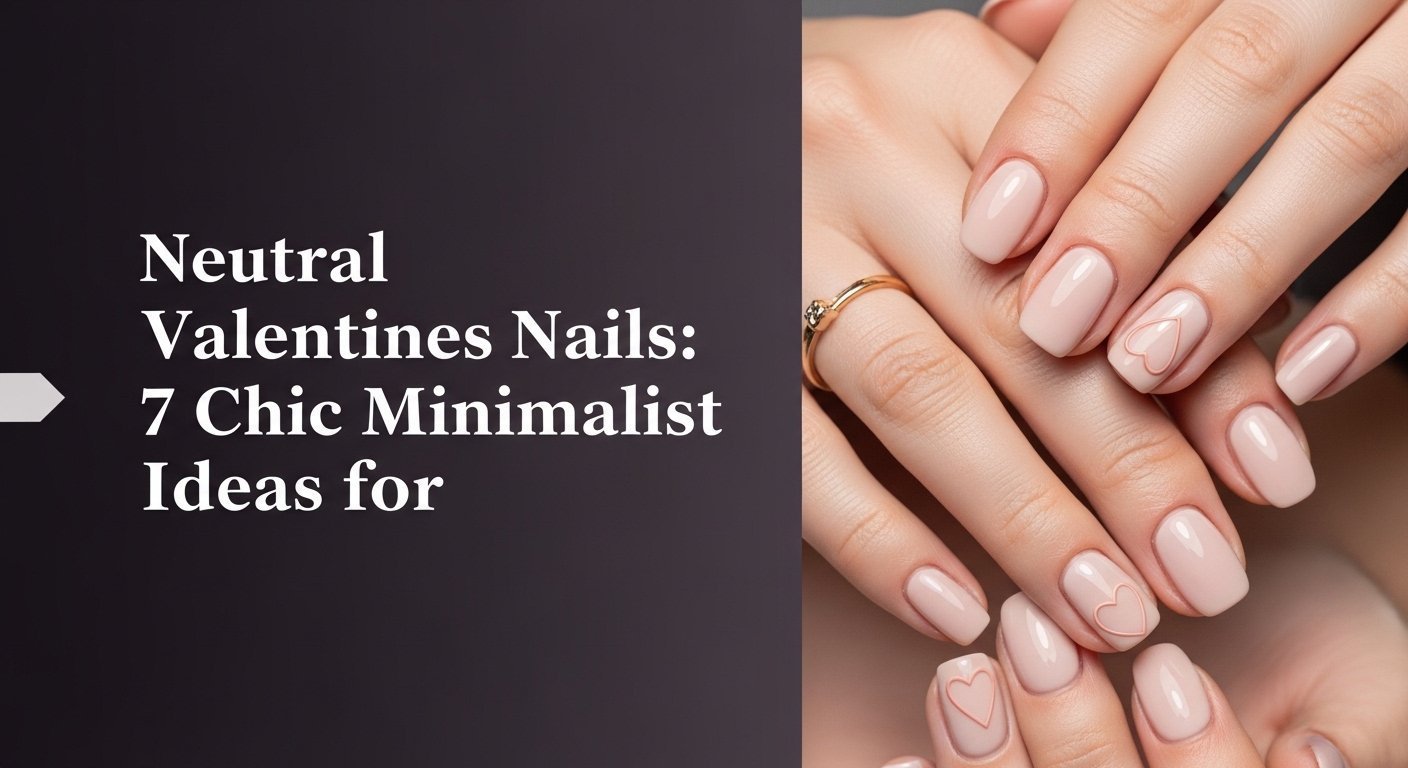
Light pink is excellent for subtle Valentine’s Day nails and is currently trending due to its sophisticated, elegant pink Valentine’s Day nails appeal. Rather than being plain, light pink polish, such as blush-toned february nails or petal pink nail ideas, serves as a versatile, romantic base. Add subtle dimension by using a light pink ombre effect, a shimmer top coat, or a single tiny heart decal for a quiet, classy pink Valentine look.
How can I make my pink acrylic Valentine nails last longer without chipping?
To make your pink acrylic Valentine nails last longer, ensure your nail technician uses advanced pink nail adhesion science during the application and follow rigorous aftercare. Avoid prolonged soaking in water, wear gloves for cleaning tasks (industry standard pink nail care), and use a quality cuticle oil daily to maintain flexibility. Schedule fills every 2-3 weeks to repair any lifting or structural integrity issues that lead to chipping.
Are pink ombre valentine nails still in style, and which shades work best?
Yes, pink ombre Valentine nails are definitely still in style and remain a chic, transitional design. The most popular shade combinations involve blending a soft light pink nails hue (like baby pink) near the cuticle into a slightly darker shade (like candy pink Valentine’s) at the tip, or blending the pink with a milky white near the cuticle to achieve the popular ‘French fade’ or ‘blushing Valentine nail art’ effect.
Final Thoughts on Valentines Day Nails Pink
The quest for the perfect pink Valentine’s Day nails culminates not just in selecting a design, but in the successful execution of that vision. As we’ve explored the 9 must-have styles—from the chic light pink ombre to the bold, dynamic pink chrome nails—it is clear that pink is the defining color of romantic nail art this 2026. Remember that mastering these designs, whether through press-ons or complex 3D application, hinges on diligent preparation and adherence to the step-by-step techniques shared in this guide.
By embracing the proven pink nail art techniques and utilizing high-quality products recommended here, you are well-equipped to achieve a manicure that is both trendy and long-lasting, signaling a flawless finish for your Valentine’s Day aesthetic. The power of a great manicure is transformative; it completes your look and enhances the festive mood.
We encourage you to experiment with your favorite styles. Which of the 9 cute pink Valentine nail designs are you planning to try first this February? Share your pink nail art inspiration in the comments below!
Last update on 2026-04-27 / Affiliate links / Images from Amazon Product Advertising API