Struggling to find a unique look for an upcoming party? You’ve scrolled for hours, but everything feels too expensive, too complicated, or just not you. That feeling of wardrobe panic is real, especially when you need outfit ideas diy that are both creative and achievable.
You can make DIY outfits at home by upcycling old clothes, using simple no-sew techniques with items like bedsheets or t-shirts, or by customizing garments with fabric paint and other craft supplies. This approach is perfect for creating cheap, last-minute costumes or unique fashion pieces that express your personal style.
Drawing from established best practices and tested crafting methods, this guide is your new go-to resource. We’ll explore 11 easy and fun DIY outfits, from last-minute costumes to stylish wardrobe transformations. Get ready to unlock your creativity and make something truly one-of-a-kind.
How Can I Make DIY Outfits at Home?
The magic of homemade outfits lies in their accessibility and creativity. You don’t need to be a professional designer or have a fully stocked craft room to create something amazing. The core principle is seeing the potential in everyday items. Whether it’s a plain t-shirt, a spare bed sheet, or a pair of jeans you no longer wear, these can all be the starting point for a fantastic new look. This approach is the perfect solution for common problems like a last-minute costume dilemma or simple wardrobe boredom. By using simple techniques like strategic cutting, no-sew attachments with fabric glue or safety pins, or by adding personal touches with paint and accessories, you can transform the mundane into the magnificent.
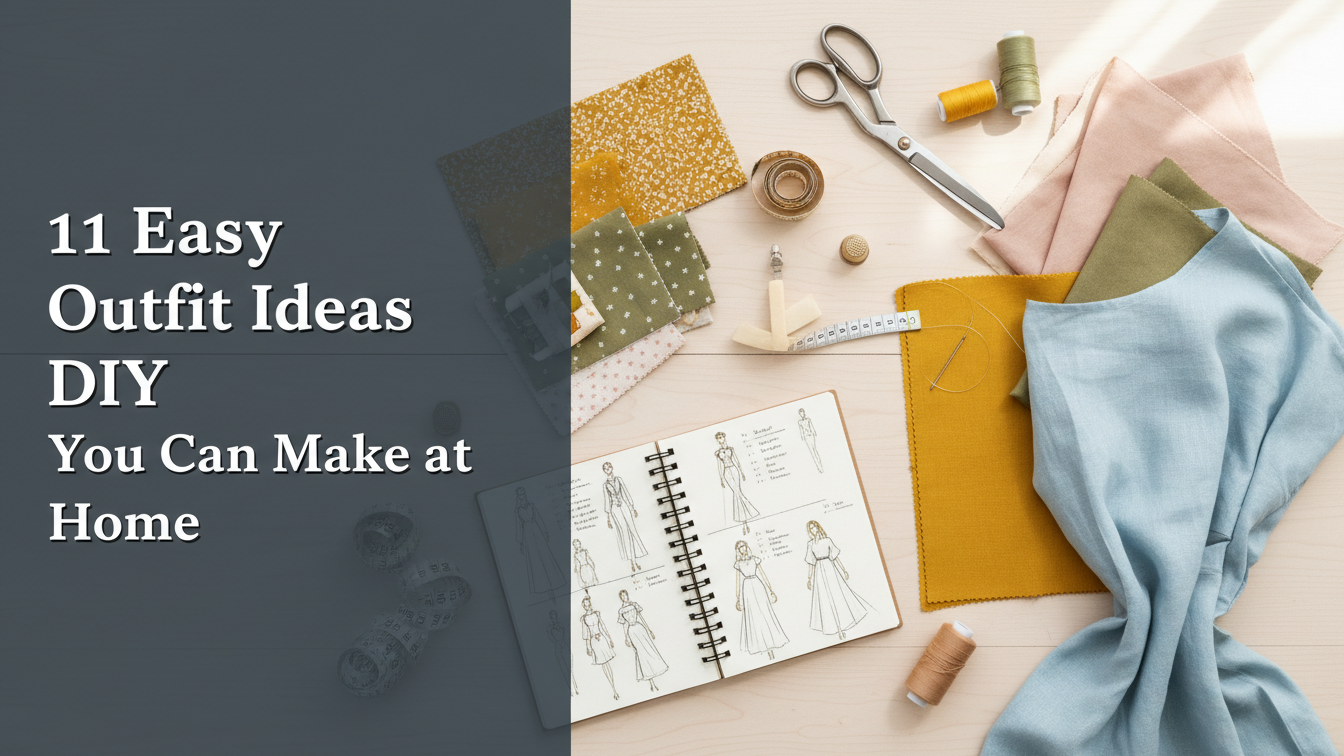
11 Easy Outfit Ideas DIY You Can Make at Home
Ready to stop searching and start creating? This list is packed with 11 tangible, easy, and creative solutions for both costumes and everyday fashion. We’ve broken down each idea into a simple two-part format: the supplies you’ll need and the step-by-step directions to bring it to life. Many of these ideas use thrift store finds or items you already have, making them incredibly budget-friendly. From a classic no-sew costume to a fun fashion upcycling project, you’ll find the perfect creative outfit inspiration right here.
1. Create a Classic No-Sew Toga from a Bed Sheet

Pin this iconic last-minute costume idea to your ‘DIY Halloween’ board!
Supplies Needed
- 1 White or Off-White Flat Bed Sheet (Twin XL size works well for most adults)
- Several large safety pins
- A decorative rope or cord for a belt (gold or brown looks great)
- Optional: Faux ivy or olive branch for a headpiece
Step-by-Step Directions
- Drape the sheet over one shoulder, leaving one end hanging down your back about to your knees.
- Wrap the rest of the sheet around your back, under your free arm, and across your chest.
- Toss the remaining end over the same shoulder you started with.
- Use safety pins to secure the fabric at your shoulder, pinning the front and back layers together. Adjust the draping until it feels comfortable and secure.
- Tie the rope cord around your waist to cinch the toga and give it shape.
Pro-Tip: In my experience, a cotton-blend sheet with a lower thread count works better than high-thread-count sateen. It’s less slippery and holds its shape and pins more effectively, preventing wardrobe malfunctions. This is a core principle of costume fabrication methods for temporary wear.

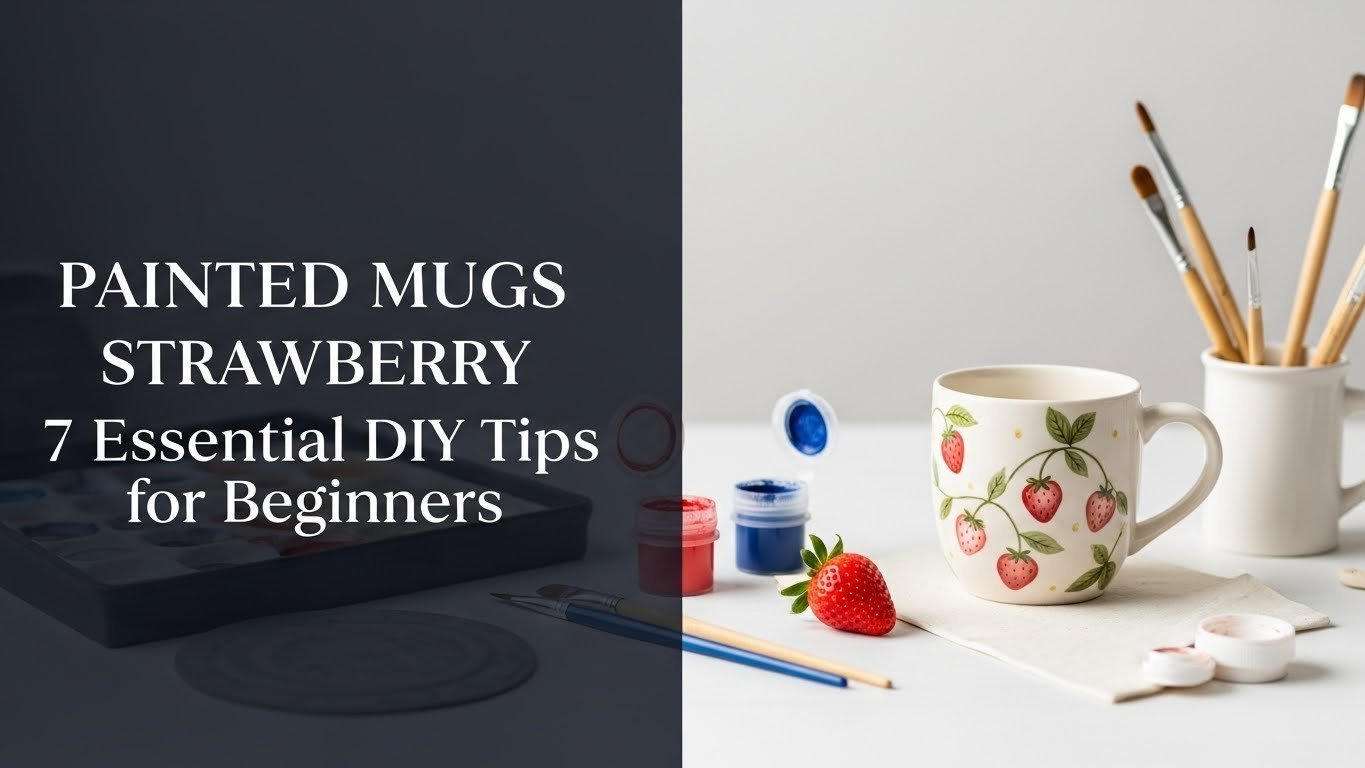
2. Transform a Plain T-Shirt with a Splatter Paint Design

Save this fun fashion DIY hack to your ‘Upcycled Clothing’ board!
Materials Needed
- A plain t-shirt (cotton or cotton-blend works best)
- Fabric paint in 2-3 colors of your choice (acrylic paint mixed with a textile medium also works)
- Paintbrushes of various sizes
- A piece of cardboard to place inside the shirt
- A drop cloth or old newspaper to protect your workspace
Step-by-Step Directions
- Wash and dry the t-shirt without fabric softener. Place the cardboard inside the shirt to prevent paint from bleeding through.
- Lay the shirt flat on your protected work surface.
- Dip a paintbrush in your first color. Holding the brush a foot or two above the shirt, flick your wrist to create splatters. Experiment with different angles and amounts of paint.
- Repeat the process with your other colors, layering them until you are happy with the design.
- Let the shirt dry completely according to the paint manufacturer’s instructions (usually 24 hours).
- To make the design permanent, most fabric paints require heat setting. Turn the shirt inside out and iron the painted area for 3-5 minutes on a medium-high setting (no steam).
Pro-Tip: For a different texture, try watering down some of the paint in a small cup and using a toothbrush. Dip the bristles in the paint and run your thumb over them to create a fine, misty spray effect. This textile manipulation for unique outfits adds professional-looking depth.

3. Assemble a “Last-Minute Tourist” Costume from Your Closet

Need a funny costume fast? Pin this quick costume idea for later!
Outfit Pieces
- A brightly colored or patterned shirt (a Hawaiian shirt is perfect)
- Shorts (cargo shorts or khaki shorts are ideal)
- A bucket hat or a baseball cap
- Socks worn with sandals (a classic tourist faux pas)
- A camera to wear around your neck (an old one or even a toy one)
- A fanny pack
- Sunglasses
Styling Tips
- Layer the loud shirt (unbuttoned or partially buttoned) over a plain t-shirt.
- Pull your socks up high before putting on your sandals for the most comedic effect.
- Wear the fanny pack prominently over your shorts.
- Accessorize by slinging the camera around your neck and having a map sticking out of your pocket.
- For extra detail, apply a strip of white sunscreen or zinc oxide to your nose.
Pro-Tip: The key to a great character costume is exaggerated mannerisms. When wearing this, occasionally stop to consult your map with a confused look or pretend to take photos of very mundane objects. This performance aspect elevates a simple outfit into a memorable, funny DIY costume.

4. Craft an Ethereal Ghost Costume with a Modern Twist

Pin this chic and easy DIY costume to your ‘Halloween Aesthetics’ board.
Supplies Needed
- 1 White sheet (a lightweight, slightly sheer fabric is best for a flowy look)
- A pair of large, dark sunglasses
- Scissors
- Optional: A stylish hat (like a fedora), a chic necklace, or cool boots to peek out from the bottom.
Step-by-Step Directions
- Drape the sheet over your head to determine the correct length. It should graze the floor or your ankles. Trim any excess fabric from the bottom.
- With the sheet on, lightly mark where your eyes are.
- Take the sheet off and cut out two eye holes. Make them slightly larger than you think you need, so your sunglasses can fit comfortably underneath. Alternatively, for the modern look, skip the eye holes entirely.
- Drape the sheet over yourself. Put on the large sunglasses over the sheet. This creates a mysterious, incognito look and is much more comfortable than trying to see through small holes.
- Add your hat on top of the sheet and let your stylish boots show at the bottom.
Pro-Tip: For an even more ethereal look, buy a few yards of cheap white tulle. Layer it over the cotton sheet to add volume and a ghostly, floating texture. This layering is a basic costume fabrication method that adds immense visual impact for very little cost.

5. Assemble a No-Fuss Scarecrow Outfit with Plaid and Denim

Pin this adorable and cheap DIY costume for your next fall event!
Materials Needed
- A plaid shirt or flannel shirt
- Denim jeans or overalls
- A straw hat or floppy sun hat
- Raffia (craft straw) or twine
- Safety pins or hot glue gun
- Face paint or eyeliner (black, orange, red)
Step-by-Step Directions
- Put on your plaid shirt and jeans/overalls.
- Take small bunches of raffia and use safety pins or a dab of hot glue to attach them so they peek out from your cuffs, pockets, and collar.
- Tie a few strands of raffia around your wrists and ankles.
- Use black eyeliner or face paint to draw stitches extending from the corners of your mouth. Add rosy circles on your cheeks with orange or red face paint and a triangle on your nose.
- Put on your straw hat, tucking a few more pieces of raffia underneath it.
Pro-Tip: For realistic-looking stitches, don’t just draw a solid line. Draw a dashed line first, then add small perpendicular hash marks (like ‘—|||—‘). This expert DIY fashion tip for makeup makes the costume look much more detailed and authentic.

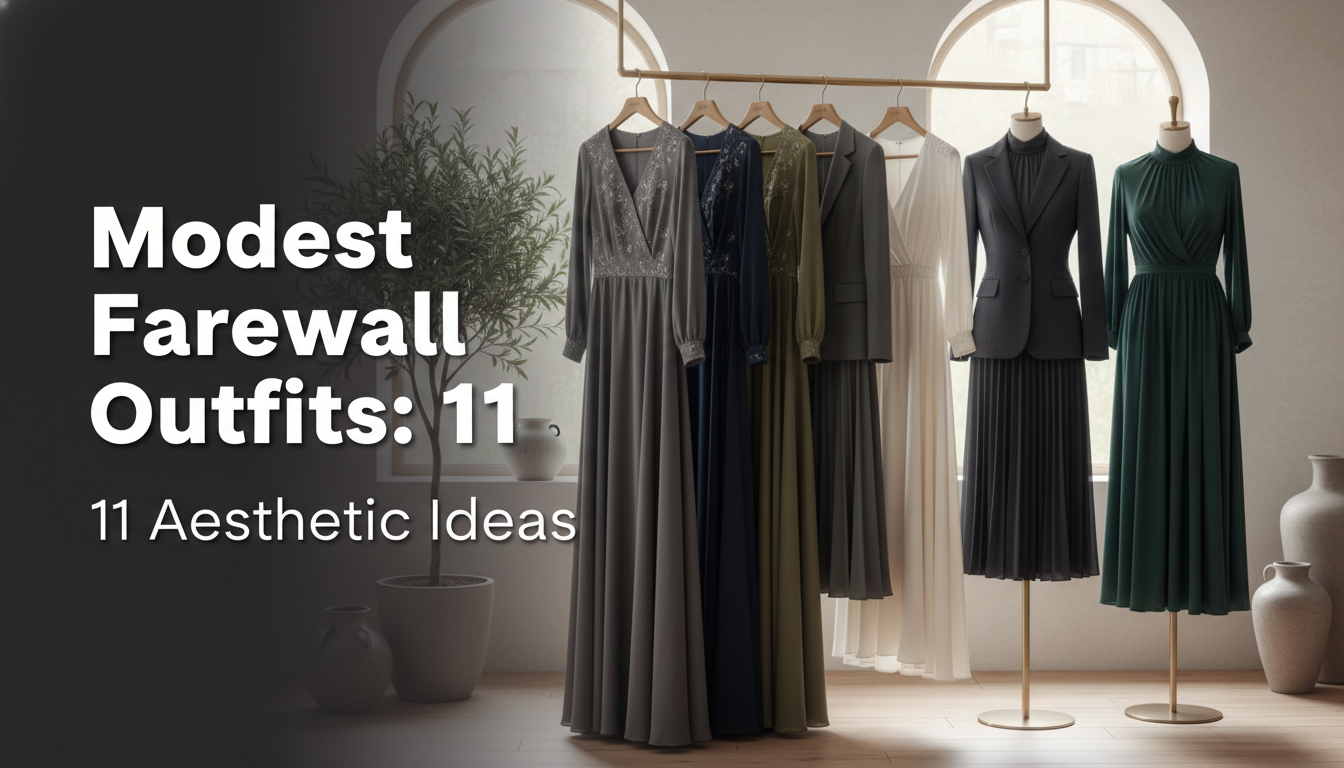
6. Upcycle an Old Dress with Strategic Accessorizing

Pin this genius clothing hack to your ‘Style Tips’ board to reinvent your wardrobe!
Outfit Pieces
- A simple, plain old dress you already own (e.g., a t-shirt dress, a simple slip dress)
- A statement belt (wide, leather, woven, or chain styles work well)
- A colorful or patterned scarf (silk or lightweight cotton)
- Optional: A denim or leather jacket to layer on top
Styling Tips
- Start with your plain dress as the base canvas.
- Add the statement belt at your natural waist. This instantly creates a new silhouette and adds a point of interest, making the dress look more structured and expensive.
- Take your scarf and fold it into a thin band. Tie it around your neck, either in a simple knot, a small bow to the side, or as a choker. The pop of color and pattern near your face draws the eye upward.
- If the weather allows, throw a denim or leather jacket over your shoulders to add another layer of texture and complete the transformed look.
Pro-Tip: This works because of a core styling principle: changing the silhouette and adding a focal point. A plain, shapeless dress can be completely redefined. This is a form of sustainable garment reconstruction without a single cut or stitch.

7. Make a Punny “Ceiling Fan” Costume with Pom-Poms

Get ready to make everyone groan and giggle! Pin this clever funny DIY costume idea.
Supplies Needed
- A plain T-shirt in any color
- A permanent fabric marker
- A pair of cheerleading pom-poms
- A piece of cardboard
Step-by-Step Directions
- Wash and dry the T-shirt to pre-shrink it. Place the piece of cardboard inside the shirt to create a smooth writing surface and prevent bleed-through.
- Using the fabric marker, write “GO CEILING!” in large, bold letters across the chest of the shirt. You can use stencils for a cleaner look if you prefer.
- Let the marker ink dry completely. Heat-set it with an iron if the marker’s instructions require it.
- To wear the costume, simply put on the T-shirt and carry your pom-poms. You are officially a “ceiling fan”!
Pro-Tip: When writing on fabric, use a marker with a chisel tip for the thick parts of the letters and a fine tip for the edges. This is a designer-approved DIY outfits trick that makes hand-lettering look more professional and intentional.

8. Customize a Denim Jacket with Iron-On Patches

Ready for a wardrobe glow-up? Pin this fashion DIY idea to your ‘Style Inspo’ board.
Materials Needed
- A denim jacket (new or a thrift store find)
- A collection of embroidered iron-on patches
- An iron
- A thin piece of cloth or parchment paper
Step-by-Step Directions
- Start with a clean denim jacket. Decide on the placement of your patches by laying them out on the jacket until you have a design you love.
- Set your iron to a high heat setting (usually the “cotton” setting) with no steam.
- Place your jacket on a hard, heat-resistant surface like an ironing board.
- Position your first patch. Cover it with the thin cloth or parchment paper to protect both the patch and the iron.
- Press the hot iron firmly down on the patch for 30-45 seconds. Do not move the iron back and forth.
- Turn the jacket inside out and iron the back of the patch area for another 20-30 seconds.
- Allow the patch to cool completely before testing the edges. Repeat for all your patches.
Pro-Tip: For patches on high-wear areas like elbows or near pockets, add a few simple stitches around the edge after ironing. This is a proven costume hack used by professionals to ensure longevity and is a simple form of bespoke apparel creation. Even a few stitches with a needle and thread will keep your patches secure for years.

9. Create a “Social Butterfly” Costume with Paper Butterflies

Pin this super clever and unique DIY costume idea for your next party!
Supplies Needed
- A simple dress or outfit in a solid color
- Cardstock paper
- A color printer
- Images of social media logos (Instagram, TikTok, Facebook, etc.)
- Scissors
- Safety pins or removable double-sided tape dots
Step-by-Step Directions
- Find high-resolution images of social media logos online.
- Find a simple butterfly outline/template online. In a basic image editor, place the social media logos onto the wings of the butterfly template.
- Arrange multiple logo-butterflies on a single page and print them out in various sizes on cardstock.
- Carefully cut out all the paper butterflies. Gently fold each one down the middle to give it a 3D “fluttering” look.
- Using small safety pins (from the inside of your garment) or removable double-sided tape, attach the butterflies all over your outfit. Cluster more on the shoulders and chest.
- For a final touch, attach a few butterflies to a headband to wear in your hair.
Pro-Tip: To save time, look for pre-cut butterfly shapes at a craft store. You can then print the logos on sticker paper, cut them out, and simply stick them onto the pre-made butterfly shapes. This is a tested homemade outfit method that speeds up the process significantly.

10. Design a “Starry Night” Outfit with Fabric Glue and Glitter

Pin this magical DIY clothing idea to your ‘Creative Projects’ board!
Materials Needed
- A dark-colored garment (t-shirt, dress, jeans)
- Permanent fabric glue with a fine-tip applicator
- Fine craft glitter (silver, gold, and blue work well)
- Star-shaped sequins (optional)
- A piece of cardboard
- A small, stiff paintbrush
Step-by-Step Directions
- Place your clean garment on a protected surface with cardboard inside to prevent glue from seeping through.
- Using the fabric glue, draw swirls, galaxy shapes, and small dots onto the fabric. Work in small sections at a time.
- While the glue is still wet, generously sprinkle glitter over the design. Gently press the glitter into the glue with your finger.
- Add a few star-shaped sequins onto larger dots of glue.
- Repeat this process until you’ve covered the desired area.
- Let the glue dry completely (this can take up to 24 hours). Once dry, gently shake off the excess glitter. Use the stiff paintbrush to brush away any loose particles.
Pro-Tip: To significantly reduce glitter shedding, once everything is dry, lightly spray the decorated areas with a clear acrylic sealer spray. This is an authoritative costume making technique that locks the design in place, making your creation much more durable and wearable.

11. Build a “Formal Apology” Costume with a Suit and “Sorry” Cards

For the pun-lover with formalwear. Pin this hilarious and easy DIY costume idea!
Supplies Needed
- A suit jacket or blazer
- A dress shirt and tie/bowtie
- White cardstock or small blank cards (like business cards)
- A printer or a black marker
- Small safety pins
Step-by-Step Directions
- If using blank cards, simply write “I’m Sorry” or just “Sorry” on a dozen or so cards with the black marker.
- If printing, create a simple document with “Sorry” written in a formal font (like Times New Roman) and print it multiple times on the cardstock, then cut the cards out.
- Get dressed in your shirt, tie, and suit jacket.
- Using the small safety pins, attach the “Sorry” cards all over your suit jacket. Pin them to the lapels, the chest, the sleeves, and the pockets.
- You are now a “Formal Apology.”
Pro-Tip: Using a slightly thicker, cream-colored cardstock and a serif font can make the “apology” look even more “formal” and a bit more absurd. This attention to detail, a key part of conceptual DIY fashion design, is what sells the pun.

Key Takeaways
- Start with Your Closet: The best last-minute costumes and clothing hacks often come from items you already own. Look at t-shirts, sheets, and old dresses as a blank canvas.
- No-Sew is No Problem: Many impactful easy DIY outfits require no sewing at all. Use safety pins, fabric glue, and iron-on patches to assemble a costume quickly and easily.
- Accessorizing is Key: You can transform old clothes into an entirely new look by strategically adding a statement belt, a scarf, or the right kind of hat.
- Puns are Powerful: For a funny DIY costume idea, think of a common phrase and how to represent it visually. “Ceiling Fan” or “Formal Apology” are low-effort, high-reward options.
- Upcycling is Sustainable Style: Refreshing your wardrobe doesn’t always mean buying new. Upcycled clothing ideas like painting a t-shirt or adding patches to a jacket are creative, budget-friendly, and good for the planet.
- Details Make the Difference: Elevate your homemade outfits with small touches. Good makeup, the right accessories, or a clever prop can turn a simple idea into a standout look.
People Also Ask About Outfit Ideas DIY
Can I make a costume without sewing?
Absolutely! Many of the best DIY costume ideas are completely no-sew. You can create amazing looks using techniques like strategic draping with safety pins (like a toga), using fabric glue for attachments, or simply assembling an outfit from existing clothes and accessories. Iron-on patches and fabric markers are also powerful no-sew tools for customization.
How can I upcycle old clothes into new outfits?
Start by looking for simple ways to change a garment’s shape, color, or texture. You can transform an old t-shirt with fabric paint, customize a denim jacket with patches, or give a shapeless dress a new silhouette with a belt. Even cutting a t-shirt into a crop top or adding decorative rips to jeans are simple forms of upcycling.
What are good DIY outfit ideas for school?
For school, focus on creative but appropriate DIY projects. A splatter-painted t-shirt, a denim jacket with curated patches, or a “Starry Night” glitter sweatshirt are all great options. For spirit week or themed days, punny costumes like the “Ceiling Fan” are low-effort and fun without being too distracting for a school environment.
How do I make a DIY outfit look more expensive?
Focus on fit, finish, and details. A well-placed belt can make a cheap dress look tailored. Taking the time to create clean lines with fabric paint or neatly stitching the edges of an iron-on patch makes the customization look professional. Using quality accessories is another key trick to elevate any homemade outfits.
What supplies do I need for most DIY costumes?
A basic DIY costume kit should include a few versatile items. Essentials include safety pins in various sizes, a good permanent fabric glue, and scissors. Having access to an iron, iron-on patches, fabric markers, and basic craft supplies like glitter or raffia will open up a huge range of possibilities for your projects.
What are some funny DIY costume ideas?
The best funny costumes are often based on puns or cultural references. Ideas like a “Formal Apology” (a suit with “sorry” cards), a “Ceiling Fan” (cheerleader for ceilings), or a “Social Butterfly” (covered in social media logos) are clever, easy to make, and guaranteed to be great conversation starters at any party.
How do you make a last-minute Halloween costume?
The key is to use items you already have. A bedsheet can become a toga or a ghost. A plaid shirt and jeans can quickly become a scarecrow. Look through your closet for items that suggest a character (like a Hawaiian shirt for a tourist) and then add one or two simple props to complete the look.
What kind of fabrics are best for DIY costumes?
Cotton and cotton-blends are the most versatile and beginner-friendly. They are easy to cut, glue, paint, and iron. Felt is also excellent for no-sew projects because its edges don’t fray. For draping, a lightweight cotton or even a synthetic fabric with some flow will work better than stiff materials.
How can I make a DIY costume for couples?
Choose a classic pair or a pun that requires two people. Examples include salt and pepper shakers (wear white and black with “S” and “P” on your shirts), or a plug and socket. You could also adapt many of the ideas here, like having two “Ceiling Fans” or a tourist couple.
Where can I find cheap DIY outfit materials?
Thrift stores are your best friend for unique garments and base layers. You can find denim jackets, dresses, and plaid shirts for a fraction of their retail price. Craft stores are great for specific supplies like fabric paint, glitter, and glue. Don’t forget to check your own home for items like bedsheets, cardboard, and old clothes.
Final Thoughts on Creating Your Own Outfits
Creating your own outfits is about more than just saving money or finding a last-minute costume—it’s a powerful form of self-expression. Each project, whether it’s a simple wardrobe transformation or an elaborate homemade costume, is a chance to inject your personality and creativity into what you wear. The ideas in this guide are just a starting point. The real magic happens when you take these concepts and make them your own. So embrace the process, don’t be afraid to experiment, and have fun turning everyday items into something extraordinary.
Last update on 2026-04-27 / Affiliate links / Images from Amazon Product Advertising API