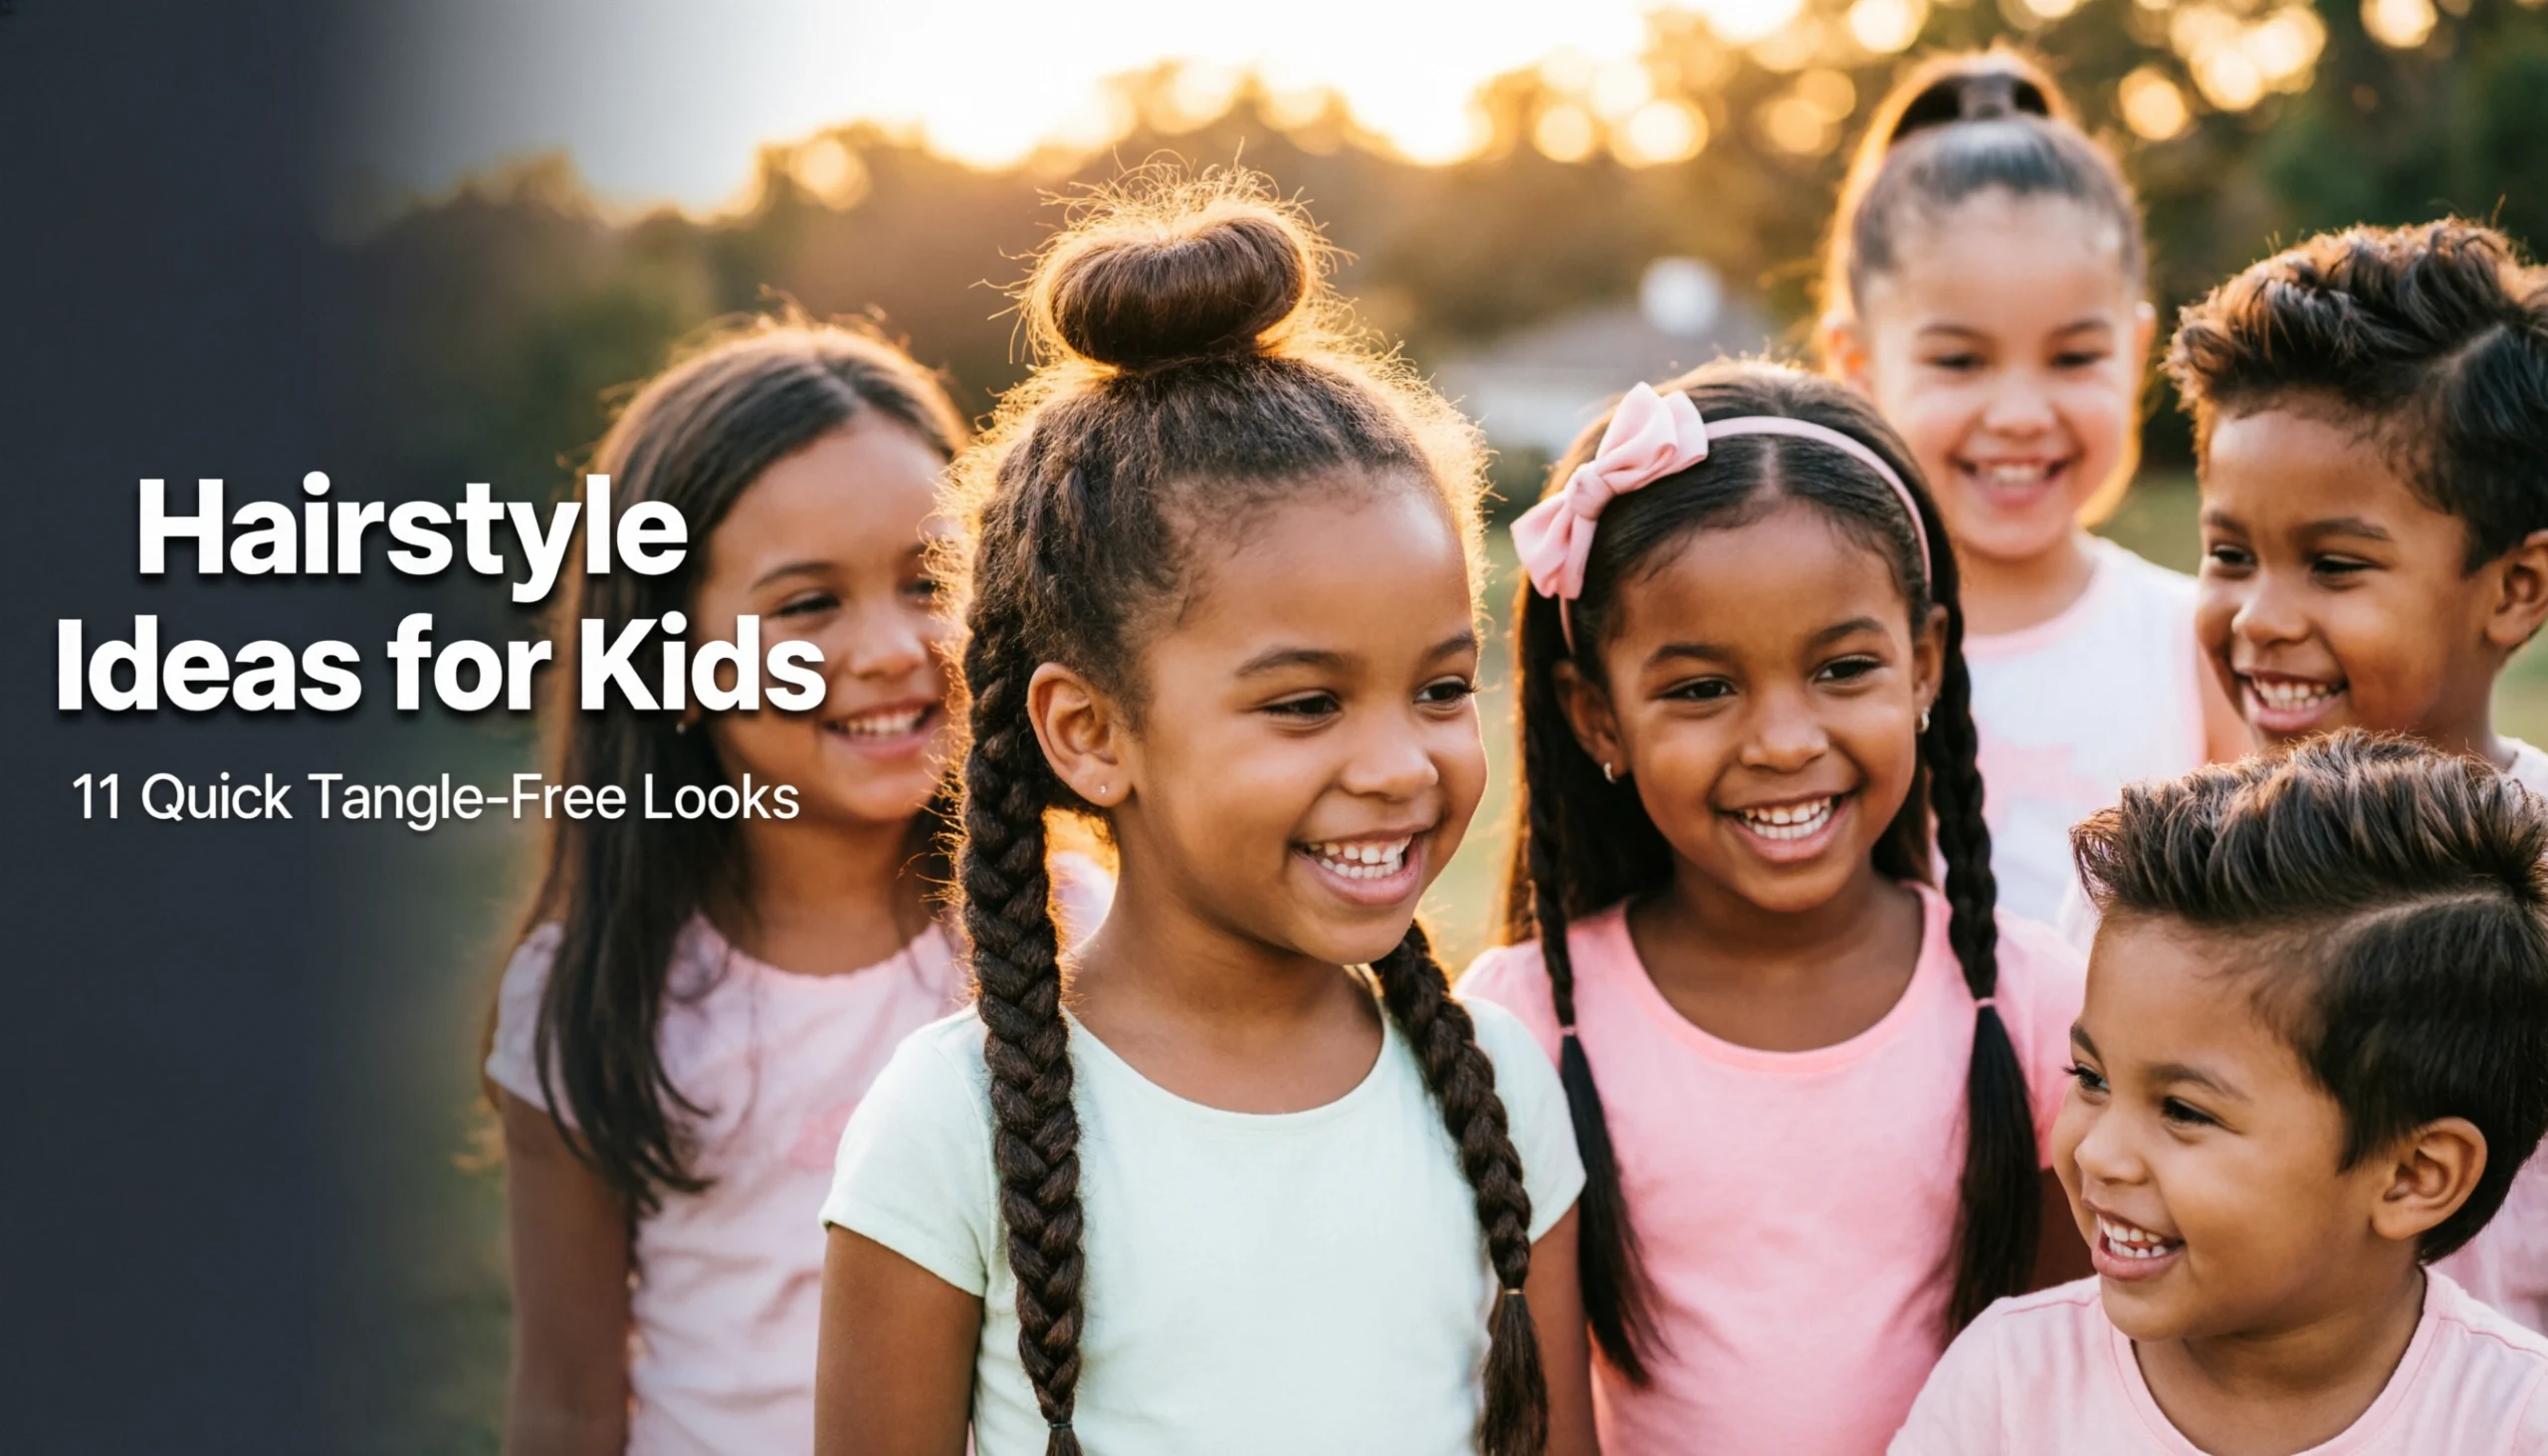
Are morning hair struggles and brushing battles ruining your day before it begins? Wrestling a squirmy, tender-headed toddler while rushing out the door is incredibly frustrating. Finding solid hairstyle ideas for kids is essential for a peaceful morning school routine.
The best hairstyle ideas for kids include quick, tangle-free looks like bubble braids, topsy tail twists, and double Dutch pigtails. These protective hairstyles take less than five minutes, keep hair out of the child’s face during school, and prevent painful knots from forming during active play.
Drawing from extensive hands-on experience and professional styling techniques, we know gentle detangling prevents long-term scalp damage. In this post, you will discover eleven fast, painless, and adorable kids hairstyles. Reclaim your mornings with these time-saving solutions for tender-headed toddlers.
Are Morning Hair Struggles Ruining Your Day? Try These Hairstyle Ideas for Kids
Yes, morning hair struggles can easily ruin your day, but implementing quick, protective hairstyle ideas for kids eliminates the frustration of detangling a tender-headed toddler.
It is a universal parenting reality: trying to drag a hairbrush through a crying child’s matted hair while desperately watching the clock is stressful. For tender-headed toddlers, standard grooming feels like punishment. Rather than fighting the same battle every morning, shifting your focus to gentle detangling and protective styling can completely transform your morning school routine.
Using the right detangling solutions, like a quality leave-in conditioner paired with a flexible wet brush, minimizes friction and stops tears before they start. More importantly, keeping little girl hairstyles and toddler hair securely pulled back serves a functional purpose. Tangle-free styling ensures that when your child runs, plays, and naps, their hair won’t form severe knots. Furthermore, securing hair with proper tension prevents traction alopecia—a real concern when pulling fragile hair too tightly. These solutions are not just about looking cute; they are functional, time-saving tools designed to make your daily life significantly easier.
Hairstyle Ideas for Kids: 11 Quick Tangle-Free Looks
These 11 quick tangle-free looks are designed to be executed in under five minutes, transforming chaotic mornings into a stress-free experience for both parent and child.
Finding the perfect quick and easy hairstyles is critical as we navigate the busy schedules of July 2026. While many inspirational galleries only show you the finished aesthetic, we are focusing on exactly how to recreate these hairstyles for school with precision. Executing easy braided hairstyles and 5 minute school hairstyles requires the right foundational techniques, like knowing how to properly part the hair and securely lock it with an elastic.
Below, you will find a curated, step-by-step methodology for each style. By combining snag-free elastics, bobby pins, bows, and styling tools like a boar bristle brush or rat tail comb, you can master the essential action predicates: sectioning, braiding, twisting, and securing.
1. The Classic Tangle-Free Bubble Braid

Pin this genius 3-minute hack to your ‘Kids Hair Ideas’ board for busy school mornings!
The classic tangle-free bubble braid is a foolproof, fast protective style that uses snag-free elastics to create a voluminous, braided illusion without requiring any actual braiding skills.
If you are hunting for easy toddler hairstyles, bubble braids are the ultimate parent cheat code. They look incredibly complex to outsiders but are simply a linked series of ponytails. This makes them perfect for tender-headed kids who cannot tolerate the pulling of a traditional French braid. By smoothing out flyaways and securing sections step-by-step, you prevent tangles from forming throughout the day.
Products & Tools Used
- Snag-free clear or colored silicone hair elastics (crucial for fine hair)
- Detangling leave-in conditioning spray
- Rat tail comb for clean parting
- Soft bristle smoothing brush
Styling Steps
- Brush the hair thoroughly and gather the top section (from the temples up) into a half-up ponytail, securing it tightly with an elastic.
- Gather another section of hair right below the first, adding the tail of the first ponytail into it, and secure with a second elastic.
- Puff the hair between the two elastics by gently pulling the edges outward to create a rounded “bubble” shape.
- Repeat this process down the length of the hair, adding a new section, securing, and pulling the hair out to create bubbles until you reach the ends.
- Smooth any flyaways around the face with a tiny dab of child-safe styling gel or water.
Pro-Tip: For tender-headed kids, always hold the base of the ponytail firmly with one hand while using your other hand to gently tug and “puff” the bubble. This isolates the tension so they don’t feel pulling at the scalp.

2. Quick Double Dutch Pigtails

Save this active-day hairstyle to your Pinterest boards for PE or sports days!
Quick double Dutch pigtails are the most secure protective style for active kids, keeping layered or wispy hair locked away from the face and nape of the neck all day.
Doing a Dutch braid on a toddler might sound intimidating, but braiding under instead of over is the secret to locking down short, uneven layers. Traditional pigtails often result in severe tangles at the nape of the neck during recess. By opting to part down the middle and weave the hair into tight, 3D Dutch braids, you ensure the style survives everything from tumbling class to playground sports.
Products & Tools Used
- Pointed parting comb for a razor-straight middle part
- Spray bottle with water or lightweight detangler spray
- 2 sturdy hair ties
- Optional: small bows for the ends
Styling Steps
- Part the hair cleanly down the middle from the forehead to the nape of the neck, securing one side temporarily out of the way.
- Dampen the working side slightly with detangler spray to give the hair “slip” and control wispy baby hairs.
- Take a small triangular section at the front hairline and divide it into three equal strands.
- Cross the outer strands under the middle strand (left under middle, right under middle), picking up small sections of additional hair each time you cross under.
- Continue braiding tightly down the curve of the head, securing at the bottom with a sturdy hair tie, then repeat on the opposite side.
Pro-Tip: If your child has fine, slippery hair, styling on slightly damp hair is a game-changer. It acts as a natural adhesive, keeping those tiny flyaways locked into the braid until it dries.
3. The Topsy Tail Faux Braid

Love the look of braids but hate braiding? Pin this topsy-tail hack to try tomorrow!
The topsy tail faux braid uses a simple hair loop tool to create an intricate, woven look by flipping ponytails inside out, offering maximum visual impact with zero traditional braiding.
If you are searching for easy little girl hairstyles to speed up your quick morning routine, the topsy tail is indispensable. This no-braid styling technique allows parents to “fake it till they make it,” delivering a beautiful, cascading faux braid in minutes. It completely removes the need to juggle three strands of slippery hair at once.
Products & Tools Used
- Topsy tail hair loop tool (essential for speed)
- Small clear polybands
- Lightweight smoothing serum or cream
Styling Steps
- Create a small half-up ponytail at the crown of the head and secure it with a clear band.
- Insert the topsy tail tool behind the elastic, thread the ponytail through the loop, and pull it down to flip the ponytail inside out.
- Gather a new section of hair just below the first one, add the tail of the first ponytail into it, and secure with another elastic.
- Flip this new ponytail inside out using your tool, just as you did the first one.
- Repeat this process all the way down the head. Once finished, gently pinch and pull the twisted edges to make the “braid” look thicker and more voluminous.
Pro-Tip: Always pull the topsy tail straight down, never up or out to the side. Pulling it straight down ensures the twist lays flat against the scalp and hides the elastic completely.

4. Top Knot Messy Bun for Fine Hair

Need a 60-second style that looks chic? Pin this perfect messy bun tutorial!
A top knot messy bun for fine hair instantly pulls thin, wispy strands entirely off the neck, using a silk scrunchie to add fake volume while preventing breakage.
Following a reliable messy bun tutorial for toddlers is vital when dealing with a wispy haired toddler. Fine hair notoriously slips right out of basic updos and standard ponytails. By combining a classic loop method with gentle scrunchies, you can create the illusion of thick, voluminous hair while protecting their fragile ends from snapping.
Products & Tools Used
- Soft bristle gathering brush
- Standard hair tie
- Mini silk or velvet scrunchie
- Bobby pins (for thicker hair)
Styling Steps
- Brush all the hair straight up to the very top crown of the head, ensuring the back is smooth.
- Wrap your standard hair tie around the hair twice to create a high ponytail.
- Pull the hair only halfway through the tie on the third wrap, leaving a loop of hair and a trailing tail.
- Wrap the trailing tail loosely around the base of the hair tie to hide it, tucking the ends into the elastic.
- Secure the entire style by wrapping a mini silk scrunchie over the bun, lightly pulling on the bun edges to make it look intentionally “messy” and fuller.
Pro-Tip: If your child has very thin or wispy hair, lightly backcomb (tease) the ponytail before creating the loop. This adds instant volume and gives the bobby pins something to grip onto.

5. Criss-Cross Front Elastics

Growing out bangs? Save this brilliant criss-cross hack to keep hair out of their eyes!
Criss-cross front elastics act as a built-in headband, effectively securing short layers and growing-out bangs to keep hair out of the face all day long.
When your goal is to keep hair out of face during schoolwork, especially when growing out bangs, this style is a lifesaver. Utilizing toddler braiding basics combined with parting sections and colorful elastics, you create a highly functional, grid-like pattern at the front hairline. It securely anchors those annoying front pieces that are otherwise too short to reach a back ponytail.
Products & Tools Used
- Metal-tipped rat tail comb (for precise grid parting)
- Assorted colorful silicone elastics
- Edge control gel or pomade
Styling Steps
- Part the front section of the hair horizontally, creating a line from ear to ear, about two inches back from the forehead.
- Divide this front section into four equal squares. Secure the two outer squares into mini ponytails with elastics.
- Cross the tail of the far-left ponytail over to the inner-right square, adding the hair from that square and securing with an elastic.
- Cross the tail of the far-right ponytail over to the inner-left square, securing it with an elastic (this creates an X shape over the forehead).
- Brush the rest of the loose hair in the back out smoothly, or pull it all into a high ponytail to complete the look.
Pro-Tip: Apply a tiny dab of edge control pomade to your fingertips before you separate the squares. This prevents flyaways and makes the geometric parts look incredibly sharp and professional.

6. The Quick Low Chignon Roll

Picture day coming up? Pin this 2-minute elegant roll for instant class!
The quick low chignon roll transforms a basic topsy-tail flip into an upscale, formal updo by tucking the ends into a neat pocket at the nape of the neck.
When you need special occasion hair in a pinch, the chignon is your best bet for sophisticated picture day hairstyles. Using just a few bobby pins and a simple tuck and roll technique, you can elevate a standard low ponytail into a fancy event style in under three minutes, allowing your child to look incredibly polished without the salon visit.
Products & Tools Used
- Standard hair tie
- U-shaped hair pins or strong bobby pins
- Flexible hold hairspray
- Topsy tail tool (optional but helpful)
Styling Steps
- Brush the hair back into a sleek, low ponytail at the nape of the neck and secure it with a standard hair tie.
- Loosen the hair tie slightly by pulling it down an inch, then use your fingers (or a topsy tail tool) to create a hole in the hair right above the elastic.
- Flip the ponytail up and push it through the hole (a standard inside-out ponytail).
- Take the remaining tail, roll it upward around your fingers, and tuck the entire roll down into the little “pocket” created by the flipped ponytail.
- Secure the rolled hair by sliding U-shaped pins horizontally into the pocket to anchor the roll against the scalp.
Pro-Tip: If your child has very long or thick hair, the roll might be too heavy for standard bobby pins. Use rigid, U-shaped chignon pins and weave them in a “down-then-up” motion to lock heavy hair securely in place.

7. Simple Rope Twists

Struggle with three-strand braids? Pin this two-strand rope twist technique that holds all day!
Simple rope twists provide a highly secure, elegant alternative to traditional braiding by utilizing counter-tension to lock two strands of hair together.
Mastering the rope twist (or two strand twist) is vital for parents looking for effortless protective styling. This is one of the most easy hair styles for toddler tweens because it simply requires you to twist the hair in opposing directions. When done correctly, the counter-tension physically prevents the twist from unraveling, effectively solving a common problem parents face with slippery child hair.
Products & Tools Used
- Hair wax stick or pomade (critical for grip)
- Firm hair tie
- Small clear elastic
Styling Steps
- Pull the hair into a secure ponytail (high or low) and apply a swipe of hair wax stick down the length of the tail to control flyaways and add grip.
- Divide the ponytail evenly into two thick strands.
- Twist both individual strands firmly to the right simultaneously.
- Wrap the right strand over the left strand (crossing to the left).
- Continue this pattern all the way down: individually twist to the right, then cross them over each other to the left. Secure tightly with a clear elastic at the bottom.
Pro-Tip: The secret to a rope twist that doesn’t immediately unravel when you let go is the counter-tension. You must twist the individual sections in the opposite direction that you cross them over each other. This locks the twist in place all day.

8. The Half-Up Braided Crown

Want their hair down but out of their face? Save this gorgeous braided crown!
The half-up braided crown secures the tangle-prone front strands into a beautiful boho halo while allowing the rest of the hair to remain smoothly down and out of the eyes.
When your child insists on a half up half down look, this braided crown is the ideal compromise. Serving as one of the best boho kids hairstyles, you utilize bobby pins to connect two simple braids at the back of the head. This keeps the front layers tightly secured, leaving a tangle-free back while honoring their request to wear their hair down.
Products & Tools Used
- Detangling or leave-in conditioning spray
- 2 small clear elastics
- 4-6 bobby pins matching hair color
Styling Steps
- Part the hair down the middle. Take a two-inch section of hair from the front hairline on the left side (right above the ear).
- Braid this left section into a simple three-strand braid all the way down to the ends and secure it temporarily with a clear elastic.
- Repeat on the right side, creating an identical braid from the right temple down to the ends.
- Wrap the left braid horizontally across the back of the head and secure it flat against the scalp with bobby pins.
- Cross the right braid over the left one, tucking the messy elastic ends of both braids underneath each other to hide them, and secure with remaining pins.
Pro-Tip: Before pinning the braids, gently pull at the outer edges of the braids (called “pancaking”). This makes the braids look thicker, flatter, and more like a true boho halo rather than two tight ropes.

9. Space Buns with a Fun Zig-Zag Part

Bored of regular pigtails? Pin this fun zig-zag space bun tutorial to spice things up!
Space buns with a fun zig-zag part elevate basic pigtails into a playful, expressive style that kids actively want to wear, making mornings far more cooperative.
Kids love space buns, and adding a crisp zig-zag part elevates this to one of the most highly requested fun hair styles for toddler tweens and kids. Armed with a simple rat tail comb, you can create a striking geometric sectioning pattern in just thirty seconds. The added visual interest gives children a style they are excited to show off at school.
Products & Tools Used
- Metal-tipped rat tail comb (non-negotiable for the part)
- 2 sturdy hair ties
- Hair gel or styling cream
- Bobby pins
Styling Steps
- Place the metal tip of your rat tail comb at the front hairline. Without lifting it from the scalp, trace a sharp zig-zag pattern (“Z” shapes) all the way back to the nape of the neck.
- Separate the two halves cleanly and clip one side out of the way.
- Brush the working side up into a very high pigtail, smoothing the roots with gel, and secure with a hair tie. Repeat on the other side.
- Twist the right pigtail tightly into a rope, then wrap it around its own base to form a bun. Secure with another tie or bobby pins.
- Repeat the twisting and wrapping process on the left pigtail, ensuring the buns sit symmetrically on top of the head.
Pro-Tip: To get that perfectly crisp zig-zag part without tangling, make sure the hair is completely brushed out and slightly damp before you trace the line with your comb. Dry hair tends to drag and blur the zig-zag.

10. The Ultra-Secure Pull-Through Ponytail

Hair too thick for normal braids? Save this pull-through ponytail technique!
The ultra-secure pull-through ponytail solves the problem of sagging, heavy hair by distributing weight across multiple elastics, preventing tension headaches.
If you are styling incredibly thick hair, the pull through braid is vastly superior to a simple ponytail. It is arguably the fastest hairstyle for long hair that guarantees security. Heavy hair often causes single ponytails to droop and pull uncomfortably at the crown. By utilizing multiple linked elastics down the center of the head, the pull-through method anchors the heavy weight evenly, ensuring the child’s comfort.
Products & Tools Used
- Strong hold small hair elastics
- Detangling brush
- Smoothing serum
Styling Steps
- Create two ponytails stacked on top of each other: one at the crown of the head, and one immediately below it.
- Split the top ponytail into two equal halves (left and right).
- Pull the bottom ponytail straight up between the two halves of the top ponytail, and clip it temporarily out of the way on top of the head.
- Bring the two halves of the original top ponytail together underneath, add a new section of loose hair from the sides, and secure them all together with an elastic.
- Unclip the top section, split it in half, pull the bottom section up through it, and repeat the process all the way down the head.
Pro-Tip: The beauty of the pull-through ponytail is weight distribution. Because the style is anchored by 5 or 6 different elastics down the back of the head, it eliminates the heavy “sag” and headache caused by a single, heavy ponytail.

11. Flipped Ponytail Pigtails

Running incredibly late? Pin this 60-second style that looks like you spent 20 minutes!
Flipped ponytail pigtails are the ultimate fallback option when running late, transforming basic low pigtails into a polished, nap-friendly style in exactly 60 seconds.
When you need stress-free hairstyles immediately, standard toddler pigtails can seem boring. To speed through your morning routine, upgrade quick low pigtails using a fast topsy tail flip action. Because they sit low at the nape of the neck, they are incredibly comfortable for toddlers who still spend time resting in car seats or taking naps at daycare.
Products & Tools Used
- Detangling brush
- Parting comb
- 2 standard hair ties
- 2 clip-in bows (optional)
Styling Steps
- Part the hair down the middle all the way to the nape of the neck.
- Brush each side down into a simple, low pigtail behind the ears and secure with hair ties.
- Loosen both hair ties slightly by sliding them down about half an inch.
- Use your fingers to poke a hole in the hair directly above the elastic on the right pigtail. Flip the tail up and push it completely through the hole.
- Repeat the flip on the left pigtail. Cinch both elastics tight, and clip a bow over the twisted section to hide the bands.
Pro-Tip: Low, flipped pigtails are the absolute best choice for toddlers who still nap at daycare or spend time in car seats. Because there are no bulky braids or high buns on the back of the head, they can rest their head comfortably without destroying the style.

Key Takeaways: Your Quick Guide to Hairstyle Ideas for Kids
These essential principles synthesize the “why” and “how” behind painless styling, ensuring your easy school morning routine is consistently successful and tear-free.
Navigating a kids hairstyles overview proves that success isn’t just about the intricate braid itself, but the preparation and tools. Finding solid tangle-free solutions and relying on protective styling transforms your mornings. Focusing on proper tension control and hair follicle protection prioritizes your child’s physical scalp health over just aesthetic results.
- Damp Hair is Easier to Control – Slippery, fine toddler hair is notoriously difficult to braid dry; lightly misting the hair with a detangling spray gives it the necessary “grip” for flawless styling.
- Invest in Snag-Free Silicone Elastics – Standard rubber bands cause immense damage and painful removal. Always use smooth silicone elastics and carefully snip them out at the end of the day rather than pulling them.
- Faux Braids Save Serious Time – Utilizing tools like the topsy-tail or mastering the pull-through ponytail gives the illusion of intricate braiding without requiring the technical skills or time commitment.
- Tension Control Prevents Tears – When pulling hair into tight styles or puffing out bubble braids, always anchor the root of the hair with your free hand so your child doesn’t feel scalp pulling.
- Dutch Braids Hold Better for Active Kids – For sports or recess, braiding under (Dutch) rather than over (French) locks in short layers more securely, keeping the style intact all day.
- Low Styles are Best for Nappers – If your child still takes naps or spends time in a car seat, prioritize low chignons or low flipped pigtails so they can rest their head comfortably.
People Also Ask About Hairstyle Ideas for Kids
Addressing these common anxieties provides actionable, pediatrician-aligned advice for dealing with severe knots, sensitive scalps, and frantic morning time management.
Many parents have questions about toddler hair specifically regarding how to keep kids hair tangle free through the week. Finding easy hairstyles for school is only half the battle; managing a tender headed child and preventing knots while they sleep requires specific strategies.
How do you style a toddler’s hair who won’t sit still?
The best way to style a squirmy toddler’s hair is to use distraction and speed, opting for styles that take under two minutes like the bubble braid or simple high bun.
Sit them in a highchair or on the floor between your legs, and designate a special, highly engaging toy or tablet show that is only allowed during hair time. Work on slightly damp hair for better control, and always keep your hands resting gently on their head so you move naturally when they suddenly turn or wiggle.
How do I stop my child’s hair from getting so tangled at school?
To prevent severe school-day tangles, put the hair into a contained, protective style like double Dutch braids, a braided crown, or a tight rope twist.
Leaving long or fine hair completely down is a recipe for matting, especially at the nape of the neck where it rubs against jacket collars. If they insist on wearing it down, use a leave-in conditioning spray in the morning and pull just the front half back into criss-cross elastics to minimize friction.
What is the best hairstyle for a tender-headed child?
The best hairstyles for tender-headed kids distribute tension evenly, such as low, loose pigtails or the multi-elastic pull-through ponytail.
Avoid tight, single high ponytails which pull aggressively at the delicate hairline. When brushing, always start at the very bottom of the hair and work your way up to the roots, holding the section of hair tightly in your fist above the brush so the pulling sensation never reaches their scalp.
Why do my child’s braids always fall out so fast?
Braids usually fall out quickly because they were styled on dry, clean hair which lacks the texture needed to hold the woven shape.
Kids’ hair is naturally very soft and slippery. To ensure braids last all day, style the hair when it is slightly damp, or use a lightweight pomade or styling wax stick on your fingertips while braiding. Additionally, opting for a Dutch braid instead of a French braid will grip shorter, wispy layers much more securely.
Should kids sleep with their hair tied up?
Yes, children with long or easily tangled hair should sleep with it in a loose, protective style like a low braid or a loose top knot secured with a silk scrunchie.
Sleeping with hair completely down leads to severe friction against the pillowcase, resulting in “bedhead” matting that makes the morning routine miserable. Swapping their standard cotton pillowcase for a satin one can also drastically reduce morning tangles and breakage.
How do you get clear elastics out without pulling hair?
Never pull or slide clear silicone elastics out of a child’s hair; instead, use a specialized elastic cutter tool or small manicure scissors to gently snip them out.
Silicone elastics are fantastic for holding fine hair, but they grip so tightly that trying to unwind them will rip the hair out. If you don’t have a cutter, apply a few drops of lemon essential oil or hair serum directly to the band—it will naturally degrade the silicone and cause the band to snap on its own.
What are the easiest hairstyles for dads to learn?
The topsy-tail faux braid and the classic bubble braid are incredibly easy for beginners or dads to master, as they require absolutely no braiding skills.
Both of these styles simply require the ability to make a basic ponytail. By linking multiple ponytails together or flipping them inside out with a plastic loop tool, parents can create intricate, beautiful styles that hold up perfectly without needing to learn complex three-strand weaving.
How do I deal with baby hairs and flyaways around the face?
Tame stubborn baby hairs by applying a small amount of edge control paste, clear styling gel, or a hair wax stick directly to the hairline.
Instead of using a clean toothbrush or a fine-tooth rat tail comb to gently swoop and lay those tiny hairs flat against the head. Hairspray can often be too crunchy or irritating for kids, so a wax stick provides a softer, more flexible hold that lasts through recess.
How often should I wash my child’s hair?
Most children only need their hair washed 1 to 2 times per week, depending on their age, hair type, and activity level.
Over-washing strips the scalp of natural oils, making the hair dry, brittle, and much more prone to severe tangling. If their hair gets sweaty from play, you can often just rinse it with warm water and apply conditioner to the ends without doing a full shampoo scrub.
Are tight hairstyles bad for my child’s scalp?
Yes, consistently pulling hair into very tight styles can cause tension headaches and lead to a condition called traction alopecia, which causes permanent hair thinning at the hairline.
If you notice small red bumps along your child’s hairline, or if they complain of their head hurting, the style is too tight. Always leave a little bit of slack at the root, and rotate styles daily (e.g., a high bun on Monday, low pigtails on Tuesday) to avoid putting stress on the exact same hair follicles every day.
Final Thoughts on Hairstyle Ideas for Kids
Consistently implementing these stress-free hairstyles for kids empowers parents to confidently execute protective styles, completely eliminating morning frustration.
Mastering these easy toddler hairstyles is truly the secret to reclaiming your peaceful morning routine. You don’t need to be a professional stylist or spend thirty minutes fighting with a comb to send your child off to school looking put-together. By consistently relying on tangle-free hair solutions and protective styles like bubble braids, topsy-tail twists, and secure Dutch pigtails, you save vital time while safeguarding their delicate hair from damage and painful matting.
Remember that the right tools—like snag-free silicone elastics, a great detangling spray, and a simple parting comb—are just as important as the techniques themselves. If a style feels difficult the first time, don’t get discouraged. Kids’ hair is incredibly soft and slippery, but by styling it slightly damp and practicing these simple methods, your hands will build muscle memory faster than you think.
The days of morning hair-brushing battles and tears are officially behind you. Which of these quick styles are you going to try on your little one tomorrow morning? Drop a comment below and let us know your favorite go-to quick style!
Last update on 2026-04-27 / Affiliate links / Images from Amazon Product Advertising API