Struggling to create the perfect hairstyle ideas messy bun? You follow the tutorials, but your bun ends up looking limp, lopsided, or just plain messy—and not in the chic way. The frustration is real when your quick updo either falls out in an hour or gives you a headache.
The secret to a polished messy bun is creating a strong, textured base and using specific wrapping techniques to control the shape while allowing for softness. This involves prepping hair with products like dry shampoo or texture spray and using looping or twisting methods instead of just coiling the hair randomly. It’s about being intentionally imperfect.
Drawing from established best practices and stylist-recommended hacks, this guide breaks down the process. We will reveal 9 proven techniques to solve common problems like flat hair and slipping hair. You’ll learn how to finally achieve that gorgeous, effortless bun that looks amazing and lasts all day.
Tired of Your Messy Bun Looking Just… Messy?
There’s a fine line between an effortless bun that looks intentionally chic and a hairstyle that just looks like you gave up. So many of us have been there: you try to create that perfect, tousled bun you saw online, but the result is a limp bun that slides down your head or a tight, uncomfortable knot. The truth is, the “effortless” look actually requires a bit of technique. It’s not about random twisting; it’s about understanding how to build volume, create texture, and secure your hair in a way that looks relaxed but is structurally sound. These common frustrations are completely valid, but they are also completely solvable. This guide moves beyond just inspiration and gives you the specific, actionable messy bun hair hacks to conquer those issues for good.
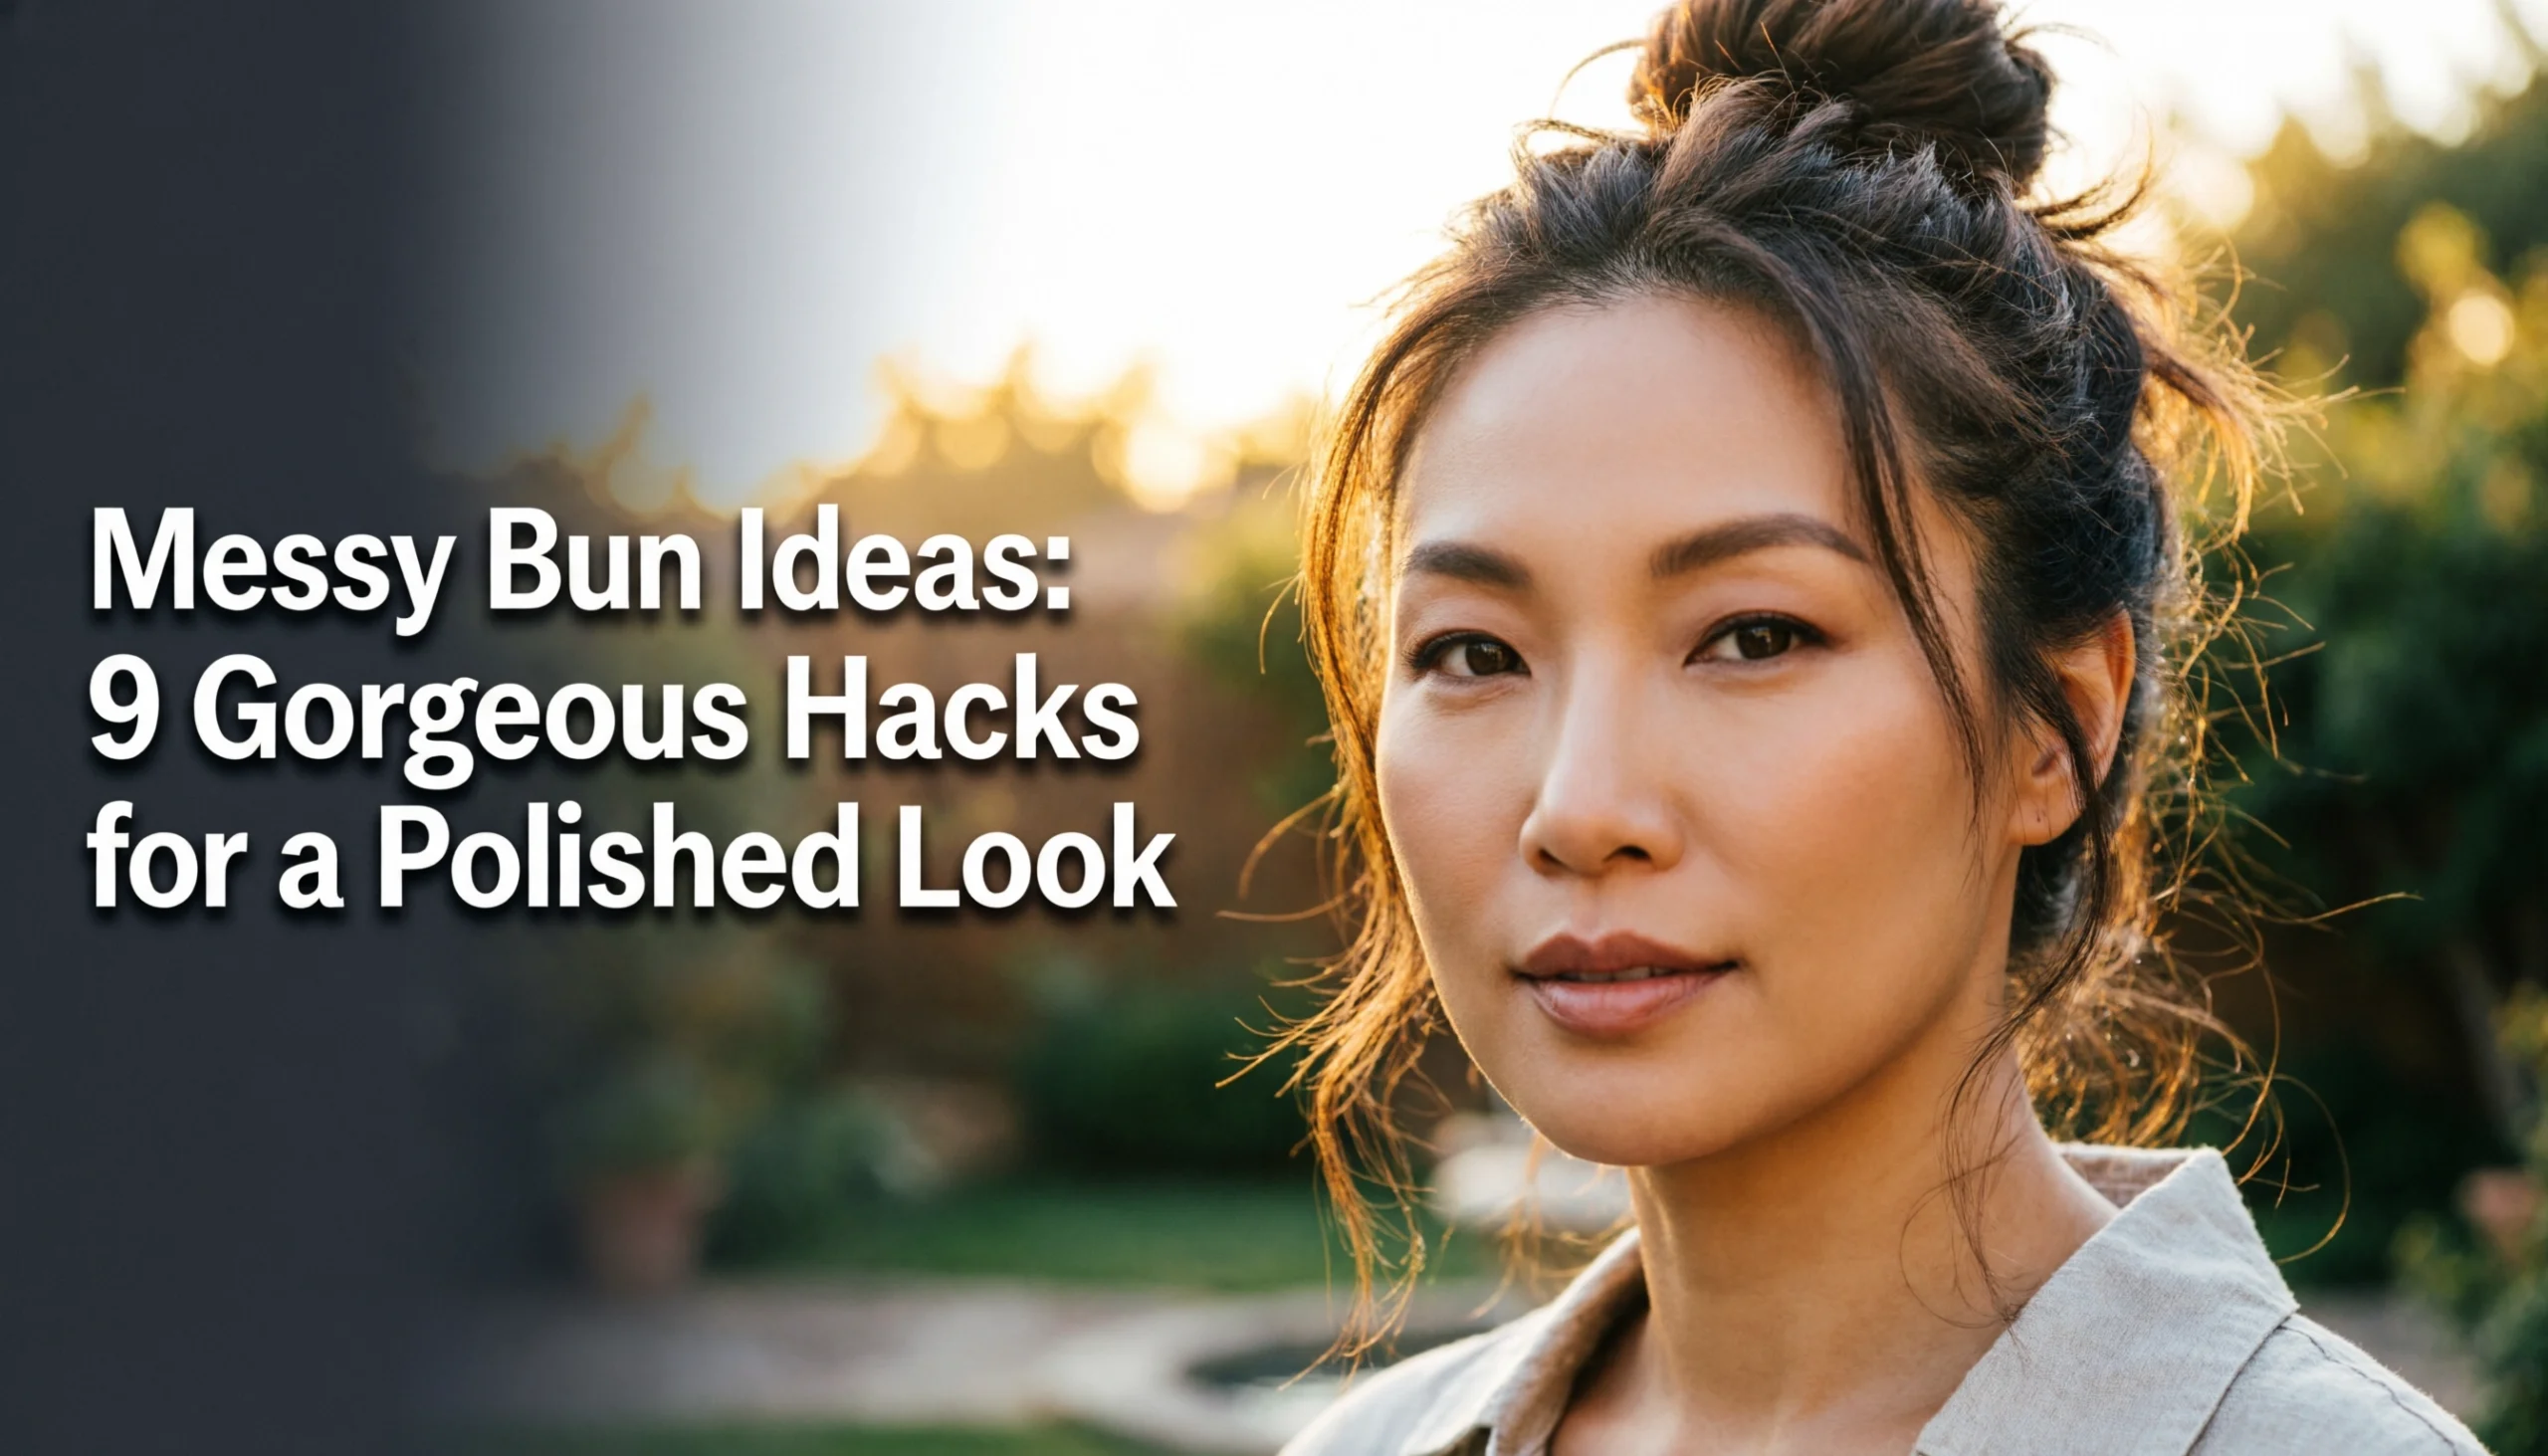
9 Gorgeous Messy Bun Hacks for a Polished Look
Ready to transform your bun game? We’ve compiled 9 distinct, proven technique hacks that address every common messy bun problem, from a lack of volume in fine hair to securing heavy, thick hair. Each of these methods is a complete mini-tutorial designed to give you a beautiful, polished result every time. Forget the guesswork and find the perfect hack for your hair type and desired look right now.
1. The ‘Pull-Through’ Loop Trick to Create Effortless Volume

Pin this simple hack to your ‘Easy Hairstyles’ board!
This is the foundational easy messy bun. It’s the fastest and simplest way to get a voluminous messy bun and is the basis for many other styles. It’s perfect for a quick messy bun for busy mornings.
Products & Tools Used
- A strong, fabric-covered hair tie (polyurethane elastics are great for preventing breakage)
- Optional: Dry shampoo or texture spray for grip
Styling Steps
- Gather hair into a high or low ponytail, depending on your preference. Don’t make it too tight.
- Loop the ponytail through the hair tie once or twice, as you normally would.
- On the final loop, pull the ponytail only halfway through the elastic, creating a looped bun.
- Loosen and fluff the looped bun with your fingers to create more volume and a relaxed look.
- Wrap the remaining ends of the ponytail around the base of the bun and tuck them under the hair tie to secure.
Pro-Tip: In my experience, the key to a polished look is to gently pull on the hair at the crown before you create the bun. This creates lift at the root and prevents the style from looking flat.

2. The Scrunchie Twist to Avoid Bobby Pins and Breakage

Your hair will thank you for this gentle style! Save this for later.
If you hate using bobby pins or find that tight elastics cause hair breakage and headaches, this no bobby pin messy bun is your new go-to. This damage-free method is a hairstylist’s secret for protecting hair health.
Products & Tools Used
- One large, high-quality scrunchie (silk or satin is ideal to prevent frizz and breakage)
Styling Steps
- Gather your hair into a loose ponytail where you want the bun to sit.
- Place the scrunchie over your wrist and pull the ponytail through the scrunchie once.
- Begin to twist the ponytail from the base.
- As you twist, wrap the twisted hair around itself to form a bun shape.
- Take the scrunchie from your wrist and stretch it over the entire bun. Twist the scrunchie and loop it over the bun a second time to secure it tightly.
- Gently pull at the edges of the bun to loosen it for that perfect tousled bun look.
Pro-Tip: For extra hold on fine or silky hair, spritz your ponytail with a hair texture spray before you twist it. This gives the scrunchie more to grip onto.

3. The Double-Pony Base to Add Major Volume to Fine Hair

Finally, a solution for fine hair! Pin this volume-boosting hack now.
This is the ultimate solution for anyone asking how to make a messy bun with thin hair. The problem of a thin looking bun is solved because separating the hair into two parts creates illusion of more hair by doubling the diameter of the bun’s foundation.
Products & Tools Used
- Two small, clear elastic bands
- One larger hair tie for the final bun
- Volume powder or dry shampoo
Styling Steps
- Section your hair horizontally into a top and bottom half.
- Create a small ponytail with the top section and secure with a clear elastic.
- Create a second ponytail with the bottom section, placing it directly below the first.
- Dust the roots and the length of both ponytails with volume powder to add grit and texture.
- Now, treat the two ponytails as one single, thick ponytail. Gather them together.
- Use the ‘Pull-Through’ Loop Trick (Hack #1) with the combined ponytails to create one large, voluminous messy bun.
Pro-Tip: To maximize the illusion, gently tease the ponytails with a comb before you combine and wrap them. This will add even more airy volume inside the bun’s structure.

4. The Braided Base to Secure Thick or Layered Hair

The ultimate fix for heavy hair or pesky layers! Save this idea.
If you have very long thick hair or lots of layers, you know the pain of your bun falling down. This braided base hack is your solution. The braid acts as an internal scaffold, gripping itself and improving the structural integrity of updos to prevent layers from poking out and heavy hair from slipping.
Products & Tools Used
- One small, clear elastic for the braid
- One larger hair tie or several bobby pins to secure the final bun
Styling Steps
- Gather hair into a ponytail at the desired height.
- Braid the entire ponytail and secure the end with a small, clear elastic.
- Gently pull on the sides of the braid to “pancake” it. This makes it look fuller and adds texture.
- Wrap the fattened braid around the base of the ponytail to form a bun. The braided texture will grip itself.
- Secure the bun by either stretching a large hair tie over the whole thing, or by tucking the end of the braid into the base and using bobby pins to pin it in place.
- Loosen a few pieces around the face for a softer, more relaxed look.
Pro-Tip: For a more boho and ‘undone’ look, use a fishtail braid instead of a classic three-strand braid. The finer texture of the fishtail creates a more intricate, woven look in the final bun.

5. The Low and Chic Knot for a Professional Look

Pin this for your next big meeting. The perfect work-appropriate messy bun!
Wondering how to make a messy bun look professional? This is it. The key difference between a professional bun vs casual bun is placement and structure. A low messy bun at the nape of the neck is inherently more elegant, and using a knotting technique creates a clean, sophisticated silhouette.
Products & Tools Used
- A hair elastic
- Several U-shaped bobby pins or a spin pin
- Smoothing serum or light-hold hair spray
Styling Steps
- Create a low, loose ponytail at the nape of your neck and secure with an elastic. Apply a drop of smoothing serum to the ponytail to tame flyaways.
- Divide the ponytail into two equal sections.
- Tie the two sections into a simple, single knot, like the first step of tying a shoelace.
- Pull the knot tight against the hair elastic.
- Wrap the remaining ends around the knot in opposite directions.
- Tuck the ends into the base of the bun and secure them discretely with U-shaped hair pins. These provide a stronger, more invisible hold than traditional bobby pins.
- Finish with a light mist of hair spray to set the style without making it stiff.
Pro-Tip: The ideal placement for a professional low bun is at or just below the occipital bone (the bone you can feel at the back of your skull). This placement is universally flattering and signals a more formal, elegant style.

6. The Claw Clip Twist for a 90s-Inspired Updo

The 90s are back! Pin this super trendy and easy claw clip style.
Tapping into the 90s revival, the claw clip provides one of the fastest messy updos possible. It’s often seen as a messy bun alternative and is the perfect no heat messy bun hairstyle for getting hair up and out of your face quickly while still looking stylish.
Products & Tools Used
- One large claw clip suitable for your hair thickness
Styling Steps
- Gather all your hair at the back of your head as if you’re making a low ponytail.
- Begin to twist the hair tightly from the base, moving upwards.
- Once the hair is twisted, fold it upwards against the back of your head.
- Open the claw clip and position it over the base of the twist, securing the folded hair to the hair on your scalp.
- Let the ends of your hair spill out over the top of the clip for that iconic 90s disheveled look.
- Use your fingers to adjust the pieces falling out of the clip for a more intentional, stylish finish.
Pro-Tip: The type of claw clip matters! For thick hair, look for clips with interlocking teeth and a strong spring. For fine hair, smaller clips with a tighter grip will prevent slipping. Acetate is a durable and stylish material choice.

7. The Teased Top Knot for Maximum Height and Drama

Ready for a little drama? Pin this high-impact top knot tutorial!
For a dramatic, high-fashion look, the top knot is your answer. While similar to a high messy bun, a top knot is more structured and sits directly on top of the head. The absolute key to achieving this look and avoiding flat hair at the crown is the backcomb technique.
Products & Tools Used
- A teasing brush or fine-tooth comb
- A strong hair elastic
- Bobby pins
- Firm-hold hair spray
Styling Steps
- Flip your head upside down and gather hair into a very high ponytail, right on the crown of your head. Secure tightly with an elastic.
- Divide the ponytail into 2-3 sections.
- Working one section at a time, hold the hair taut and use the teasing brush to gently push hair down towards the elastic. This is called backcombing. Do this 2-3 times per section to build a “cushion” of volume.
- Once all sections are teased, gently smooth the outer layer of the ponytail over the teased interior.
- Loosely wrap the teased ponytail around its base to form a large, airy bun. Don’t pull it tight or you’ll lose the volume.
- Secure the bun in place with bobby pins, tucking them into the base. Finish with a generous amount of hair spray.
Pro-Tip: To avoid damaging your hair, always be gentle when you tease. And at the end of the day, never try to brush out the teasing. Instead, apply conditioner in the shower and use your fingers to gently detangle the knots before combing. This protects the hair cuticle.
8. The Half-Up Bun for Short to Medium Hair

Short hair, don’t care! You can rock a messy bun too. Pin this cute idea.
If you’re asking “can you do a messy bun on short hair?“, the answer is a resounding yes! The half up half down messy bun is the perfect, trendy solution for those with messy bun for medium length hair or shorter. It solves the hair length issues by allowing you to get hair out of your face while still showing off your length.
Products & Tools Used
- A small hair elastic or small scrunchie
- Sea salt spray for texture
- A few small bobby pins
Styling Steps
- Section off the top half of your hair, from your temples to the crown of your head.
- Gather this top section into a small ponytail.
- Use the ‘Pull-Through’ Loop Trick (Hack #1) to create a tiny messy bun. Because you’re working with less hair, it will be small and cute.
- Use your fingers to fluff the bun. Use bobby pins to secure any small pieces that fall out.
- For the hair that is left down, spritz it with sea salt spray and scrunch it with your hands to create a textured, beachy look that complements the undone updo.
Pro-Tip: To make the bun look fuller, create the half-up ponytail, then split it in two. Tie these two small sections into a knot, then wrap the ends around and pin them. This knotting technique creates more mass than a simple loop on short hair.

9. The Faux-Bangs Pull-Down for a Face-Framing Finish

This one small step makes all the difference! Pin this finishing touch.
This isn’t a method for a full bun, but it’s the critical final hack that elevates any bun from “gym bun” to a “date night + polished bun.” It creates a soft, romantic look and is the secret to getting that perfect messy bun with face framing layers, even if you don’t have them.
Products & Tools Used
- Your completed messy bun (from any of the hacks above!)
- Optional: A small amount of pomade or wax; a curling iron or mini flat iron.
Styling Steps
- Once your messy bun is complete and secured, stand in front of a mirror.
- Use the pointy end of a comb or just your fingers to gently pull down small, thin sections of hair from around your hairline. Focus on the temples, sideburns, and the nape of your neck.
- Don’t pull out large chunks. The goal is soft, wispy tendrils, not thick strands.
- If you have natural waves, you can leave them as is. If your hair is straight, you can give them a slight bend with a curling iron or flat iron for a more deliberate look.
- Take a tiny amount of pomade or wax on your fingertips and gently twist the ends of the tendrils to give them definition and prevent them from looking frizzy.
Pro-Tip: This is the easiest way to fake the look of face framing layers or bangs. The key is to be selective. Pulling out just a few well-placed pieces looks intentional and chic; pulling out too many can look messy and unintentional.

Key Takeaways: Your Quick Guide to a Polished Messy Bun
- Texture is Your Best Friend: A messy bun on clean, silky hair will always slip. Start with second-day hair or add grit with dry shampoo or texture spray for essential grip.
- Build a Strong Base: A flimsy ponytail leads to a limp bun. Techniques like the Double-Pony or Braided Base create a solid foundation that enhances volume and security.
- It’s All in the Wrap: How you get the hair into a bun shape matters. Looping, knotting, or twisting creates more structure and a more polished look than just coiling hair around.
- Don’t Fear the Tease: For a voluminous messy bun, especially a top knot, gentle backcombing at the roots or on the ponytail is a non-negotiable pro hack.
- The Right Tools Matter: A silk scrunchie can prevent breakage, U-pins provide invisible hold for a low messy bun, and a good claw clip can create a whole style on its own.
- Finish with Face-Framing: The final step to looking polished is pulling out a few soft, face-framing tendrils. This small detail makes the style look intentional and flattering.
People Also Ask About Messy Buns
Here are answers to some of the most common questions people have when trying to perfect their messy bun.
Why does my messy bun always fall down or get loose?
Your bun likely lacks texture and a secure base, two common causes of a slipping hair style. Clean, silky hair doesn’t have enough grip to hold a style. Start with second-day hair or use dry shampoo or texture spray. Also, ensure your initial ponytail is firm (but not painfully tight) and use techniques like braiding or knotting to create a self-locking structure.
How can I make my messy bun look fuller and more voluminous?
To get a voluminous messy bun, you need to increase the mass of your ponytail before shaping it. The best pro hack is to gently tease or backcomb the ponytail to create an airy cushion. You can also use the double-ponytail trick (Hack #3) to double your bun’s foundation, creating an illusion of thicker hair.
What’s the best way to do a messy bun for very thin or fine hair?
The key for a messy bun for fine hair is creating the illusion of density. Use the Double-Pony Base (Hack #3) to make your ponytail feel twice as thick. Always prep with a volume powder at the roots and through the ponytail for maximum lift and texture. Avoid overly large buns, as a smaller, well-shaped tousled bun will look more natural and proportional.
Is a messy bun professional enough for work?
Yes, a messy bun can be very professional if styled correctly. A low messy bun (Hack #5) positioned at the nape of the neck is considered chic and elegant. The key is to keep it neat and structured, taming major flyaways with a smoothing serum and ensuring no exposed elastic. A high, loose bun is more casual, while a low, knotted bun is office-appropriate.
How do you do a messy bun without any bobby pins?
A large scrunchie or a claw clip are the best tools for a no bobby pin messy bun. The Scrunchie Twist (Hack #2) uses the fabric and tension of the scrunchie itself to secure the bun. Similarly, the Claw Clip Twist (Hack #6) relies on twisting the hair up and using the clip to hold it in place against your head, making it a quick and secure method.
Can you do a stylish messy bun on short, shoulder-length hair?
Absolutely. The half-up messy bun is the perfect solution for short hair. As shown in Hack #8, you simply section off the top half of your hair and create a small bun. This keeps hair out of your face while showcasing your length. You can also create a very low messy bun at the nape, catching most of the shorter layers.
What products are essential for a good messy bun?
At a minimum, you need a good hair tie and a texturizing product. A high-quality hair tie that doesn’t slip is crucial. The most important product is either dry shampoo, texture spray, or volume powder. These add the necessary grit to your hair, preventing the bun falling down and helping it hold its shape all day.
How do I keep my messy bun from giving me a headache?
Headaches from tight buns are caused by excessive scalp tension. To avoid this, use gentler accessories like silk scrunchies instead of tight elastics. Also, avoid pulling your initial ponytail extremely tight. A slightly looser base with a well-secured bun (using pins or a twist) distributes the weight without pulling on individual hair follicles.
What’s the difference between a messy bun and a top knot?
Placement and structure are the main differences. A messy bun is a general term for any undone updo, which can be high, low, or in the middle. A top knot is specifically a bun placed on the very top of the head, and it often has a more defined, rounded, and dramatic shape, as detailed in Hack #7.
How do I get those soft, wispy pieces around my face?
This face-framing finish should be your very last step. After your bun is completely secured, use your fingertips to gently pull out very thin tendrils of hair from your hairline, temples, and in front of your ears. Don’t pull out large chunks. For a polished look, you can add a slight curl to these pieces with a curling iron.
Final Thoughts on Your Perfect Messy Bun
The perfect messy bun isn’t about luck or having “good hair”—it’s about having a toolbox of the right techniques. The true secret is that a beautiful effortless updo is built on two things: texture and structure. By starting with hair that has some grit and then choosing a wrapping method that creates a secure base, you set yourself up for success every time.
Now you have 9 different stylist recommended hacks to try. You’re no longer stuck with a single method that might not work for your hair. Experiment with these different approaches, find the one that feels best for you, and enjoy the confidence that comes with mastering this timelessly chic style. Which hack will you try first?
Last update on 2026-04-27 / Affiliate links / Images from Amazon Product Advertising API