Struggling to find a nail design that is both chic and versatile? It can be frustrating to pick a style that works for every occasion, from the office to a night out, without feeling outdated in a month. You need a look that’s timeless, expressive, and always in style.
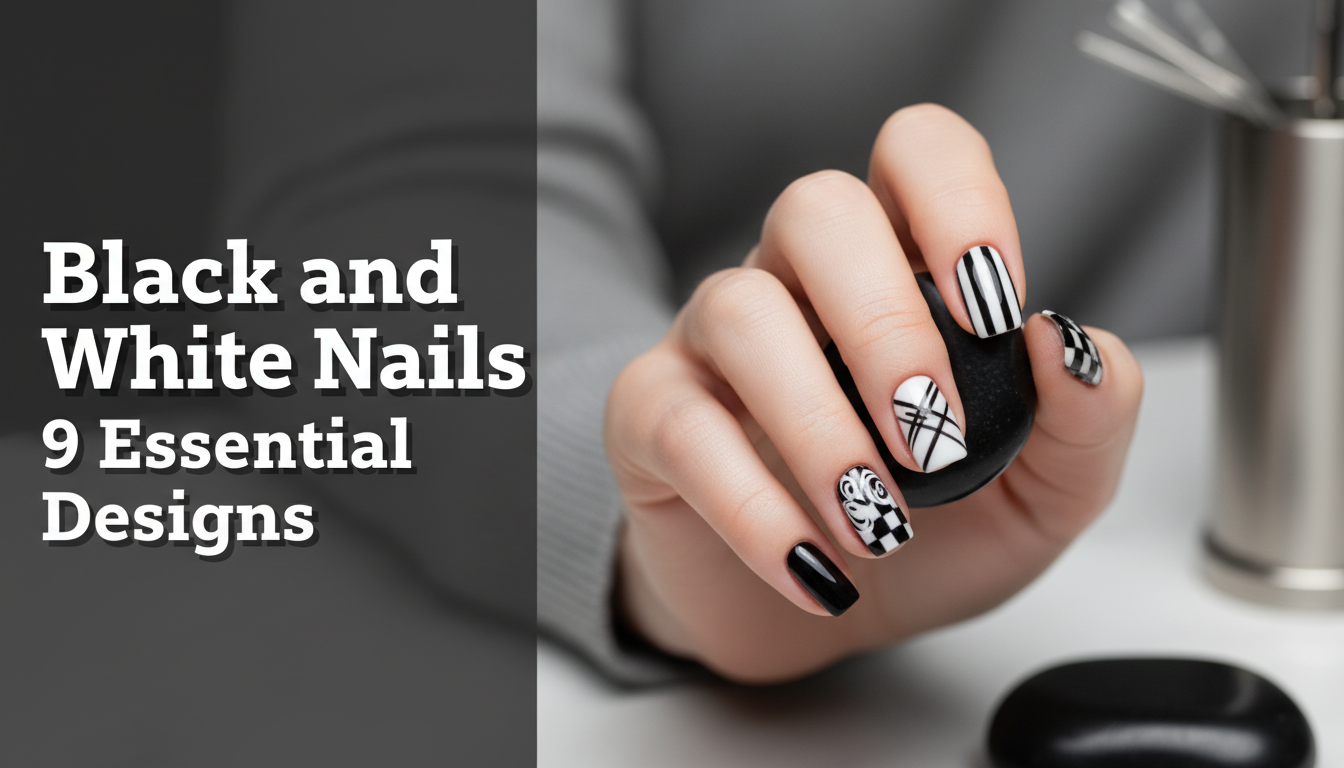
Black and white nails are a timeless and versatile nail art trend that uses a monochromatic palette to create designs ranging from simple and minimalist to bold and intricate. Because of their classic contrast, they suit any occasion, outfit, and nail shape, making them an essential and popular style choice for 2026.
Leveraging tested frameworks and insights from professional nail artists, this guide breaks down the most essential designs. You will discover how to create nine stunning looks that showcase exceptional style. Get ready to master the art of the perfect monochrome manicure at home.
Why Are Black and White Nails the Ultimate Statement in Timeless Style?
The enduring power of black and white nails lies in their stark, sophisticated contrast. This monochrome palette transcends fleeting trends, offering a level of elegance and versatility that few other color combinations can match. According to professional trend reports for 2026, the appeal of classic black and white nails is their ability to act as both a neutral accessory and a bold statement piece. Whether you’re aiming for a minimalist look with simple lines or an intricate artistic pattern, the high contrast of ebony and ivory guarantees a visually impactful result. This aesthetic is not just about color; it’s a confident style choice that enhances any nail shape, from a short square to a long stiletto, and complements every outfit, securing its place as a perennial favorite in high fashion and everyday wear.
Black and White Nails: 9 Essential Designs for 2026
Now that we understand the timeless appeal of this monochrome look, it’s time for the inspiration you’ve been searching for. This list will deliver on the promise of the nine most essential black and white nail designs for 2026. Each style is broken down into an easy-to-follow guide, complete with the specific products you’ll need and the exact steps to achieve a flawless finish. To ensure you get pro results at home, every design includes a “Pro-Tip” drawn from the experience of a certified nail artist, helping you solve common problems and master the technique. Get ready to find your next signature look, whether it’s a stunning marble effect or a bold checkered pattern.
1. Create a Classic Black and White French Tip Manicure

Pin this chic French tip idea to your ‘Nail Goals’ board!
Products & Tools Used
- Opaque jet black nail polish
- Crisp white nail polish (opaque coverage, non-streaky formula)
- High-glossy top coat
- Nail polish base coat
- French tip guide stickers or thin stripping tape
- Optional: Fine liner nail art brush for touch-ups
Application Steps
- Prep the nails by cleaning, filing into your desired shape (e.g., almond, square), and pushing back cuticles.
- Apply one thin layer of base coat and let it dry completely.
- Paint two coats of the jet black polish as your base color. Allow each coat to dry fully to prevent smudging.
- Once the base is completely dry, place the French tip guide sticker or a piece of stripping tape across your nail, leaving the tip exposed.
- Carefully paint the exposed tip with the crisp white polish. Apply a second coat if needed for full opacity.
- While the white polish is still slightly wet, gently peel off the guide sticker or tape to reveal a clean line.
- Finish with a high-glossy top coat to seal the design and add shine.
Pro-Tip: To solve the common problem of streaky white polish, always look for a formula labeled ‘one-coat’ or ‘crème’. Shaking the bottle is not enough; roll it between your palms for 30 seconds to mix the pigments without creating air bubbles.

2. Design a Stunning Black and White Marble Effect

Save this mesmerizing marble technique for your next manicure!
Products & Tools Used
- White gel polish
- Black gel polish
- Blooming gel (for gel polish users)
- A fine-point nail art brush or a dotting tool
- No-wipe glossy top coat
- Base coat
- UV lamp to cure the gel
Application Steps
- Prep and prime your nails, then apply a base coat and cure under the UV lamp for 60 seconds.
- Paint one or two coats of the white gel polish, curing after each layer. Do not apply a top coat yet.
- Apply a generous layer of blooming gel over the white base. DO NOT CURE.
- While the blooming gel is wet, take your fine-point brush, dip it into the black gel polish, and draw a few wavy lines across your nail.
- Watch as the black polish magically feathers and spreads out, creating a natural marble effect. You can use the brush tip to gently guide the spread.
- Once you’re happy with the pattern, cure immediately under the UV lamp for 60-90 seconds to lock the design in place.
- Finish with a layer of no-wipe glossy top coat and cure one final time.
Pro-Tip: For an even more realistic marble effect, add a touch of silver glitter gel polish into one of the black veins before curing. This enhances the design by mimicking natural mineral deposits found in real marble.

3. Paint a Bold Black and White Checkered Pattern

Pin this bold checkered look to your ‘Edgy Nails’ inspiration board!
Products & Tools Used
- Opaque white nail polish
- Opaque black nail polish
- A very thin, long liner nail art brush
- A matte or glossy top coat
- Base coat
Application Steps
- After prepping and applying a base coat, paint all nails with two coats of the opaque white polish. Let dry completely.
- Using the long liner brush and black polish, paint two thin vertical lines down the nail, dividing it into three equal sections.
- Next, paint two thin horizontal lines across the nail, creating a nine-square grid. Don’t worry about perfection yet.
- Now, carefully fill in the corner squares with black polish. Then fill in the center square.
- Fill in the remaining alternating squares, creating the checkered pattern. Use the liner brush to sharpen any uneven lines.
- Let the design dry for at least 15-20 minutes to prevent bleeding colors.
- Seal the design with your choice of a matte vs glossy top coat for two distinct looks.
Pro-Tip: To get super clean lines, use the “grid” method. After your white base is dry, draw the full grid with a very light touch. Then, go back and fill in the squares. This prevents the brush from being overloaded with polish and creating thick, uneven lines.

4. Achieve a Minimalist Negative Space Design

Pin this chic minimalist idea for an effortlessly cool look!
Products & Tools Used
- A high-quality nail strengthener or ridge-filling base coat
- Black nail art liner polish/gel
- White nail art liner polish/gel
- A glossy top coat
Application Steps
- Prep nails by cleaning, filing, and buffing the nail surface to a smooth, natural shine. This step is critical as the natural nail will be visible.
- Apply one coat of a nail strengthening or ridge-filling base coat to provide a flawless canvas. Let dry completely.
- Using the black nail art liner, paint a simple, thin arch or a half-moon shape at the base of the nail, near the cuticle.
- Using the white nail art liner, you can trace a different shape, like a thin line along one side of the nail, leaving most of the nail bare.
- Let the small designs dry completely.
- Apply a glossy top coat over the entire nail to protect the design and give your natural nail a healthy shine.
Pro-Tip: For negative space art, the health of your natural nail is paramount. Before you begin, perform a dry manicure technique by gently buffing away any dry skin and applying cuticle oil 10 minutes before you wash your hands to start the manicure. This creates a perfect, healthy-looking canvas.

5. Create Groovy Black and White Y2K Swirls

Save this Y2K vibe for a fun and trendy nail look!
Products & Tools Used
- A sheer, milky white or nude base polish
- Black liner polish/gel
- White liner polish/gel
- A long striper nail art brush
- Glossy top coat
Application Steps
- After the base coat, apply two coats of your sheer or nude base polish and let it dry completely.
- Dip your long striper brush into the black liner polish. Starting from one side of the nail, paint a single, confident wavy line across to the other side.
- Clean your brush, then dip it into the white liner polish. Trace alongside the black line, creating a parallel swirl.
- Repeat the process, adding more swirls until you’re happy with the abstract pattern. Don’t be afraid to have the lines cross over each other.
- Allow the intricate design to dry thoroughly.
- Finish with a glossy top coat to smooth everything out and add brilliant shine.
Pro-Tip: The key to a perfect swirl is confidence. Don’t try to sketch or feather the line. Load your brush with enough polish and pull it in one continuous motion. It’s better to have one bold, slightly imperfect line than a shaky, hesitant one.

6. Design Delicate Black Polka Dots and Hearts

Pin this cute and simple heart design for your next DIY nail session!
Products & Tools Used
- Opaque white nail polish
- Opaque black nail polish
- A set of nail art dotting tools with various sizes
- Glossy top coat
- Base coat
Application Steps
- Prep and apply a base coat. Then, paint two coats of opaque white polish and let it dry completely.
- Pour a small drop of black polish onto a piece of foil. Dip the smallest dotting tool into the polish.
- Gently press the tool onto your nail to create small, uniform polka dots. Scatter them randomly or create a grid pattern.
- To create the heart: use the same dotting tool to place two dots side-by-side. Then, use the tip of the tool or a toothpick to drag the polish from the bottom of each dot downwards to meet at a point.
- Clean up any mistakes with a small brush dipped in acetone.
- Allow the dots and heart to dry completely before applying a glossy top coat.
Pro-Tip: If you don’t have a dotting tool, you can use the tip of a bobby pin for medium dots, the head of a pin for tiny dots, or the end of a makeup brush handle for larger dots.

7. Blend a Seamless Black and White Ombre Gradient

Save this guide to master the black and white ombre look!
Products & Tools Used
- Black nail polish
- White nail polish
- A small, disposable makeup sponge
- Liquid latex or petroleum jelly for skin protection
- Glossy top coat
Application Steps
- Prep nails and apply a base coat. You can either leave it bare or apply one coat of white polish as a bright base.
- Apply liquid latex or a thin layer of petroleum jelly to the skin around your nail to make cleanup easier.
- On a flat, non-porous surface, paint a stripe of black polish and a stripe of white polish right next to each other, slightly overlapping.
- Take your makeup sponge and dab it directly onto the polish stripes a few times to blend the middle section into a gray gradient.
- Gently dab the sponge onto your nail, moving it slightly up and down to further blend the colors. The first coat will look sheer; this is normal.
- Repeat steps 3-5 for a second and third time, reapplying polish to the sponge each time, until the gradient is opaque and smooth.
- While the polish is still wet, peel off the liquid latex. Clean up any remaining mess with a brush and acetone. Finish with a glossy top coat.
Pro-Tip: To avoid the sponge absorbing all your polish, lightly dampen it with water and squeeze out all the excess before you begin. This prevents the polish from soaking in too quickly and gives you more working time.

8. Combine Matte and Glossy Finishes for an Edgy Look

Pin this ultra-chic matte and glossy combo for a subtle, edgy manicure.
Products & Tools Used
- Opaque black nail polish
- A high-quality matte top coat
- A high-shine glossy top coat
- A thin nail art brush
Application Steps
- After your base coat, paint two coats of opaque black polish on all nails. Let them dry completely.
- Apply one even coat of the matte top coat over the entire nail. It will look shiny at first and then dry down to a flat, velvety finish. Wait a full 5-10 minutes for it to cure completely.
- Pour a small drop of the glossy top coat onto a piece of foil.
- Using your thin nail art brush, dip it into the glossy top coat.
- Paint a design over the matte base. A glossy French tip is a classic choice, but you can also do polka dots, stripes, or swirls.
- The glossy design will be visible as a texture and shine difference. Let it air dry; no additional top coat is needed.
Pro-Tip: This technique is a fantastic way to fix a smudge on a matte manicure. If you smudge your matte polish, simply use a glossy top coat to paint a creative design over the imperfection.

9. Add Glamour with Black and White Glitter and Rhinestones

Save this sparkly design for your next prom, wedding, or holiday party!
Products & Tools Used
- Black nail polish
- White nail polish
- Silver or black glitter polish
- Small rhinestones or nail gems
- A wax pen or toothpick for picking up gems
- Nail glue or a thick builder gel
- Glossy top coat
Application Steps
- Prep and apply a base coat.
- Paint your ring finger with two coats of the glitter polish. Paint the remaining nails with two coats of white polish. Let everything dry.
- On the white nails, apply a small dot of nail glue or builder gel where you want to place a rhinestone (a classic spot is centered at the base of the cuticle).
- Use the wax pen to easily pick up a rhinestone and press it firmly onto the glue dot.
- Once all gems are placed, you must seal them. Carefully paint top coat around the gems, not over them, as that can dull their sparkle. For gel users, use a liner brush to apply a thin layer of builder gel around the base of each gem and cure.
- Finish the glitter nail with a layer of top coat.
Pro-Tip: For maximum durability, especially with larger gems, apply the gem with nail glue, then after it’s dry, use a thin gel top coat and a liner brush to “frame” the gem, sealing the edges to the nail surface. This creates a secure setting that won’t snag.

Key Takeaways
- Technique is Everything: The success of any black and white nail design lies in the right technique. Use a makeup sponge for a smooth ombre, a dotting tool for perfect hearts, and stripping tape for a crisp French tip.
- Solve Problems Proactively: Address common issues like streaky white polish by choosing opaque crème formulas and prevent bleeding colors in detailed patterns by allowing each layer to dry completely.
- Top Coats Create the Style: Your choice of top coat can completely change the look. Use a matte finish for an edgy, velvety look, or a high-glossy top coat to make glitter and intricate designs pop. The matte vs glossy combination offers a subtle, high-fashion effect.
- Tools Make It Easy: You don’t need to be an artist to create beautiful designs. A simple set of dotting tools, liner brushes, and a wax pen for rhinestones are affordable investments that provide pro results at home.
- Preparation is Key: For designs like negative space art or any manicure, nail health is crucial. Always start with a clean, buffed nail and use a quality base coat to protect your natural nail and create a smooth canvas.
People Also Ask About Black and White Nails
What color nails go with a black and white dress?
Black and white nails are the perfect choice, as they create a cohesive, fully coordinated look. For a pop of color, a classic red nail is a timeless and bold option. If you prefer something more subdued, a simple nude or pale pink polish will look elegant and won’t compete with the dress pattern.
Are black and white nails trendy for 2026?
Yes, black and white nails are a major trend for 2026 because they align with the broader minimalist and ‘quiet luxury’ fashion movements. While always a classic, this year sees a focus on modern interpretations like negative space art, micro-French tips, and subtle matte vs glossy textures, making the monochrome look feel fresh and current.
Is black and white nail art professional for work?
Absolutely. Simple and elegant black and white nail designs are very professional. Styles like a minimalist French tip, a subtle half-moon, or a delicate negative space art design are sophisticated and office-appropriate. It’s best to avoid excessive glitter or very long stiletto shapes for a more conservative workplace.
How do you prevent black polish from bleeding into white?
The key is to ensure the white base layer is 100% dry and sealed before adding black details. After applying your white polish, wait at least 15-20 minutes. For best results, apply a quick-dry top coat over the white. This creates a barrier, giving you clean lines when you paint the black design on top.
Should I use a matte or glossy top coat for black and white nails?
This depends entirely on the desired aesthetic, as both are popular choices. A glossy top coat gives a classic, high-shine finish that makes designs look crisp and vibrant. A matte top coat provides a modern, edgy, and velvety look that is particularly striking with simple patterns or solid black nails.
How do I get opaque coverage with white nail polish?
To avoid a streaky white polish, start with a good ridge-filling base coat. Then, apply two to three very thin coats of white polish, letting each one dry for a few minutes in between. Thick coats are the primary cause of streaks and bubbles. Look for formulas specifically marketed as “crème” or “one-coat” for better pigmentation.
What is the black and white coquette nail trend?
The black and white coquette nail trend combines the edgy monochrome palette with hyper-feminine motifs. This style often features a milky white or pale pink base with delicate black details like tiny bows, lace patterns, small hearts, or micro-French tips, sometimes finished with a pearlescent top coat or small gems.
How can I make my black and white manicure last longer?
Proper nail prep and sealing the edges are crucial for a long lasting manicure. Always wipe your nails with alcohol before your base coat to remove oils. After your final top coat, run the brush along the free edge (the very tip) of your nail. This “caps” the edge and helps prevent chipping black polish.
What nail shape looks best with black and white designs?
The versatility of black and white means it complements every nail shape. Almond and coffin shapes provide more surface area for intricate designs like marble or swirls. Short square or oval nails look incredibly chic and classy with minimalist patterns, polka dots, or a simple French tip.
Can you use black and white paint for nail art?
You should not use regular acrylic craft paint for nail art without proper sealing. While some artists use it for fine details, it must be sandwiched between a base coat and a thick top coat. For safety and durability, it is always better to use polishes and paints specifically designed for nails.
Final Thoughts on Mastering Monochrome Nails
You’ve now explored the nine essential black and white nail designs that define style in 2026. From the elegant simplicity of a French tip to the artistic flow of a marble effect, the monochrome palette is not a limitation but a canvas for endless creativity. This guide has provided you with the proven techniques and expert advice to move beyond mere inspiration and achieve salon quality results right at home.
The true beauty of black and white nails lies in their power to be whatever you want them to be: minimalist and professional, edgy and bold, or cute and playful. By mastering a few core methods, you can adapt these designs to suit any mood, outfit, or occasion.
Now it’s your turn to create. Which black and white nail design are you most excited to try first? Share your choice in the comments below.
Last update on 2026-03-04 / Affiliate links / Images from Amazon Product Advertising API


