Does the thought of crowded malls and endless online shopping lists during the holiday season make you feel more stressed than festive? It’s a common feeling. You want to give gifts that are meaningful and full of heart, but it’s easy to get caught up in the commercial rush, often stretching your budget and your patience to their limits. Finding presents that truly express your affection without breaking the bank can feel like an impossible task, leaving you searching for a more personal, thoughtful alternative.
This is where the magic of handmade comes in. Giving a gift you’ve crafted yourself is a powerful way to show someone you care. It’s a present of time, creativity, and affection all rolled into one. As a lifelong crafter, I’ve learned that the most cherished gifts are the ones made with care. These paper gift ideas are my go-to projects for creating something beautiful and meaningful. This post, updated for 2025, is your guide to ditching the holiday stress and embracing the joy of creating.
Paper Christmas gifts are a heartfelt and budget-friendly way to celebrate the holidays. You can create stunning, personalized presents like elegant paper flower bouquets, custom framed art, and intricate quilled designs using simple materials, making your gifts truly unique and memorable. We’ll explore seven easy ideas that look absolutely stunning and are sure to delight everyone on your list.
Feeling Overwhelmed by Holiday Gifting and Looking for a Personal Touch?
The desire to give a meaningful gift during the holidays often conflicts with the reality of busy schedules and tight budgets. Paper crafting offers a versatile, inexpensive, and deeply personal solution to this common dilemma. It allows you to transform simple materials into beautiful, heartfelt presents that show you’ve invested your time and creativity, making the gesture far more valuable than any store-bought item. This guide will walk you through seven stunning ideas that are simple to create but look incredibly impressive.
Why Choose Handmade Paper Gifts This Christmas?
Opting for handmade paper gifts this Christmas is a choice for more personal, cost-effective, and sustainable presents. Unlike mass-produced items, a handmade gift carries a piece of your personality and demonstrates a level of care that money can’t buy. They show the recipient you invested your time and creativity, making the present more meaningful than a generic store-bought item.
The advantages of choosing to craft your gifts are numerous and rewarding:
* Deeply Personal & Thoughtful: A handmade gift is unique. It’s a one-of-a-kind item infused with your personal touch, tailored specifically to the recipient’s tastes.
* Budget-Friendly Without Looking Cheap: With basic materials like paper, glue, and scissors, you can create elegant gifts that look far more expensive than they are, allowing you to give generously without financial strain.
* A Relaxing, Mindful Activity: The act of creating something with your hands can be a wonderful way to de-stress during the hectic holiday season. It’s a mindful process that allows you to slow down and enjoy the moment.
* More Sustainable & Eco-Friendly: Paper is a recyclable and often biodegradable material, making paper crafts a more environmentally conscious choice compared to many plastic-based gifts.
7 Easy Paper Christmas Gift Ideas That Look Stunning
Discovering the perfect homemade gift is simple when you realize the incredible potential of paper. This list provides seven incredible ideas that are easy to execute but deliver a high-impact ‘wow’ factor. Each of these seven ideas has been selected for its beauty and simplicity. I’ll walk you through how to get a professional-looking result every time, sharing tips I’ve picked up along the way, proving that paper is one of the most versatile and beautiful crafting materials for creating stunning, creative, and unique DIY projects.
1. Elegant Paper Flower Bouquets
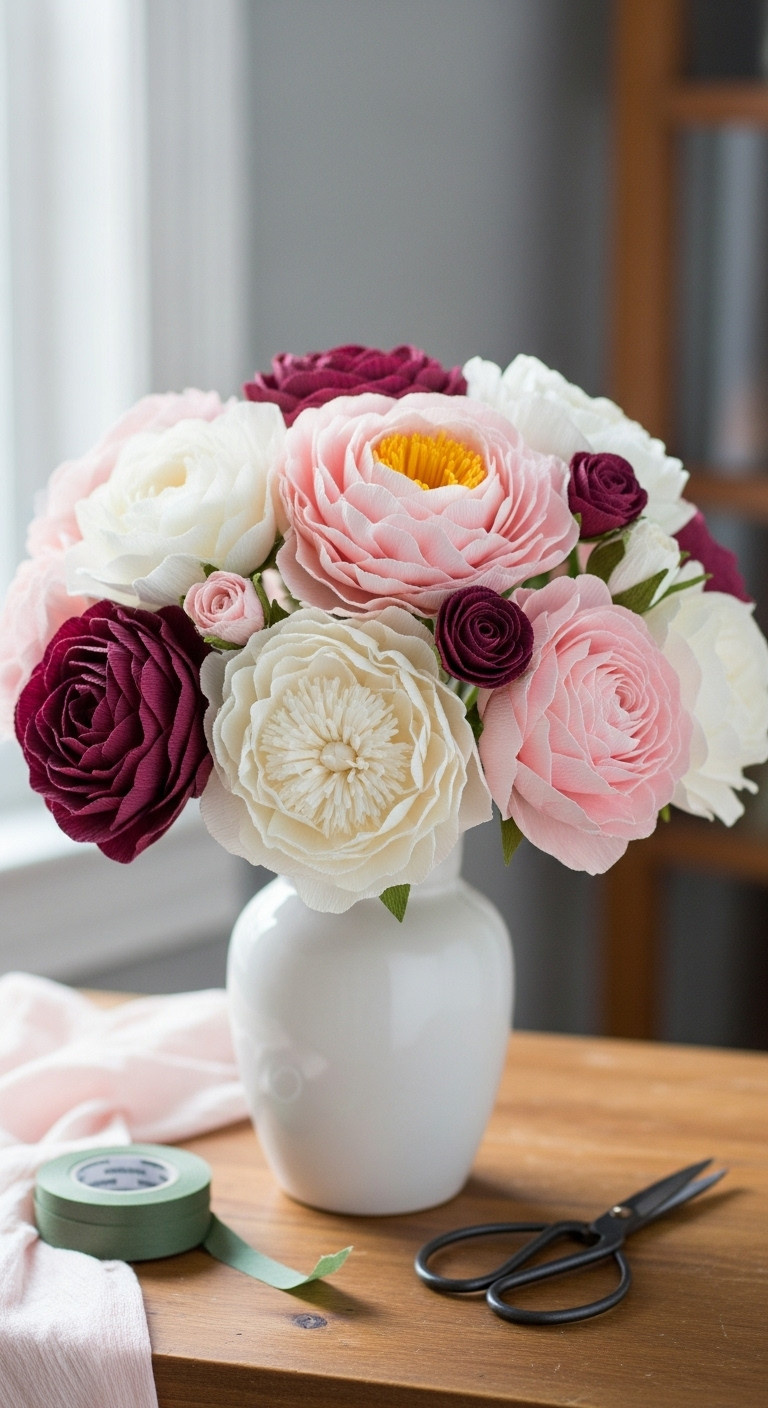
Pin this everlasting bouquet idea for a gift that truly lasts!
A bouquet of fresh flowers is lovely, but a handcrafted paper flower bouquet is a thoughtful, long-lasting gift that will never wilt. Using materials like colored crepe paper, you can create vibrant and intricate floral arrangements that serve as a permanent piece of home decor. This gift shows significant effort and care, as it requires time and attention to detail to achieve a stunning result.
- Materials Needed: High-quality heavy crepe paper in various colors, floral wire, green floral tape, scissors, hot glue gun.
- Step-by-Step Directions:
- Download and cut out petal and leaf templates. Many craft sites, like Hallmark, offer excellent free templates for flowers like peonies.
- Cut your crepe paper according to the templates. Make sure the grain of the paper runs vertically on each petal to allow for a natural stretch.
- Gently stretch and cup each petal with your thumbs. This technique creates a realistic, curved shape that mimics a real flower.
- Begin assembling the flower by gluing the smallest petals around the tip of a piece of floral wire, which will act as the stem.
- Continue adding layers of petals, working your way from the smallest to the largest, to build a full and lush bloom.
- Wrap the base of the flower and the entire wire stem with green floral tape. This not only covers the wire but also holds the petals securely.
- Create several flowers in coordinating colors and arrange them into a beautiful, lasting bouquet that will brighten any room.
Pro-Tip: Using high-quality, heavy Italian crepe paper makes a world of difference. It’s more durable and holds its shape beautifully, giving your flowers a much more realistic and professional appearance.
2. Personalized Decoupage Items
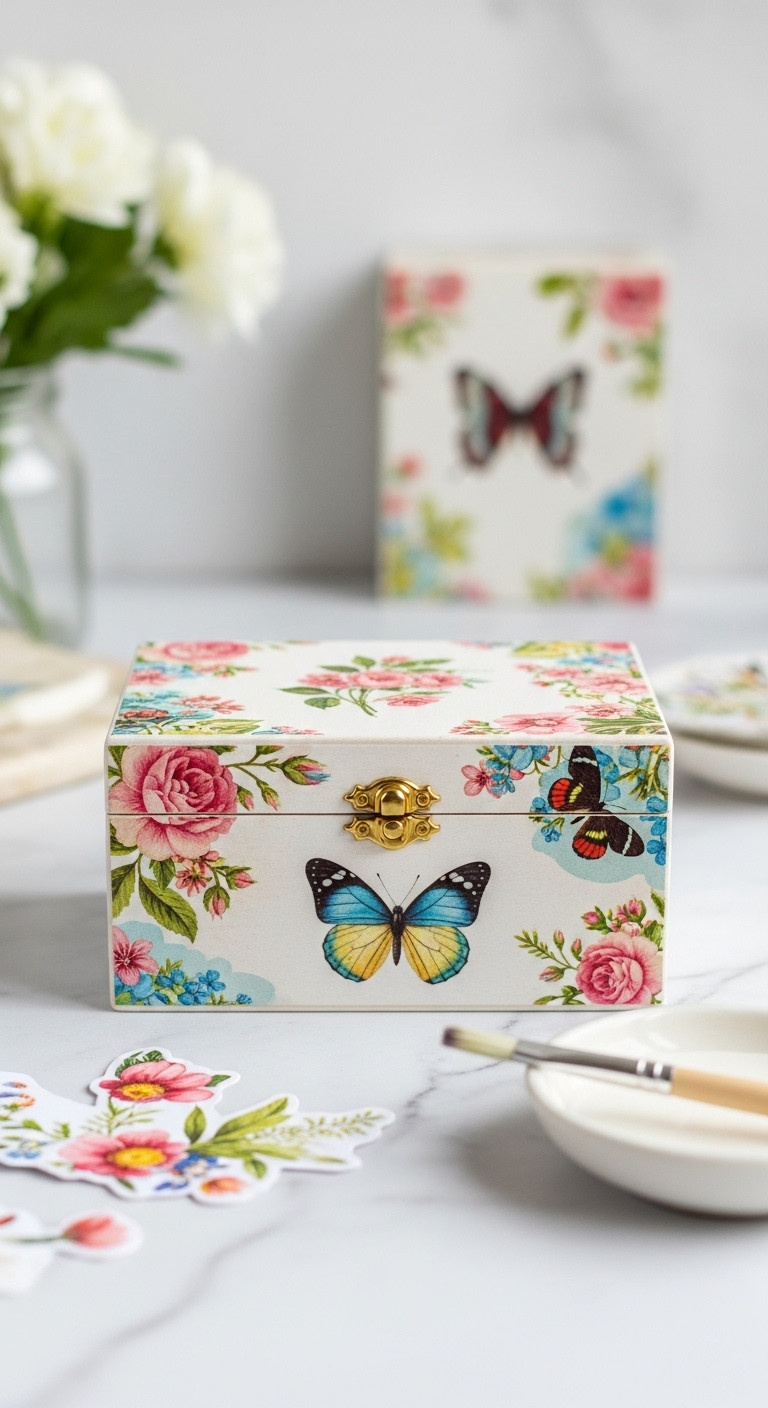
Save this decoupage idea to your ‘DIY Gift’ board!
Decoupage is the art of transforming ordinary items into unique, personalized treasures by adhering paper cutouts to them. This technique allows you to upcycle everyday objects like vases, picture frames, or coasters into bespoke gifts. You can use any paper that inspires you—from wrapping paper and magazine clippings to old book pages—to create a truly custom piece.
- Materials Needed: An object to decorate (e.g., wooden box, picture frame, ceramic vase), decorative paper, a quality decoupage medium like Mod Podge, a paintbrush, scissors.
- Step-by-Step Directions:
- Prepare your surface by ensuring it is clean and dry. If you’re working with a raw material like wood, a light sanding will help the glue adhere better.
- Carefully cut out your desired designs from the paper. Intricate scissors can help with detailed patterns.
- Apply a thin, even layer of decoupage glue to a section of the object’s surface where you plan to place your first cutout.
- Place your paper cutout onto the glued area and smooth it out gently from the center to the edges. This is crucial for removing any trapped air bubbles.
- Once all your paper pieces are in place and the glue has dried, apply a top coat of the decoupage medium over the entire surface. This seals and protects your design. For extra durability, especially on high-use items, apply 2-3 coats, letting it dry completely between each layer.
Lesson Learned: Don’t oversaturate the paper with glue, as it can cause it to tear or wrinkle. It’s much more effective to apply a thin layer to the object’s surface first, then apply a thin sealing layer on top once the paper is in place.
3. Custom Framed Prints
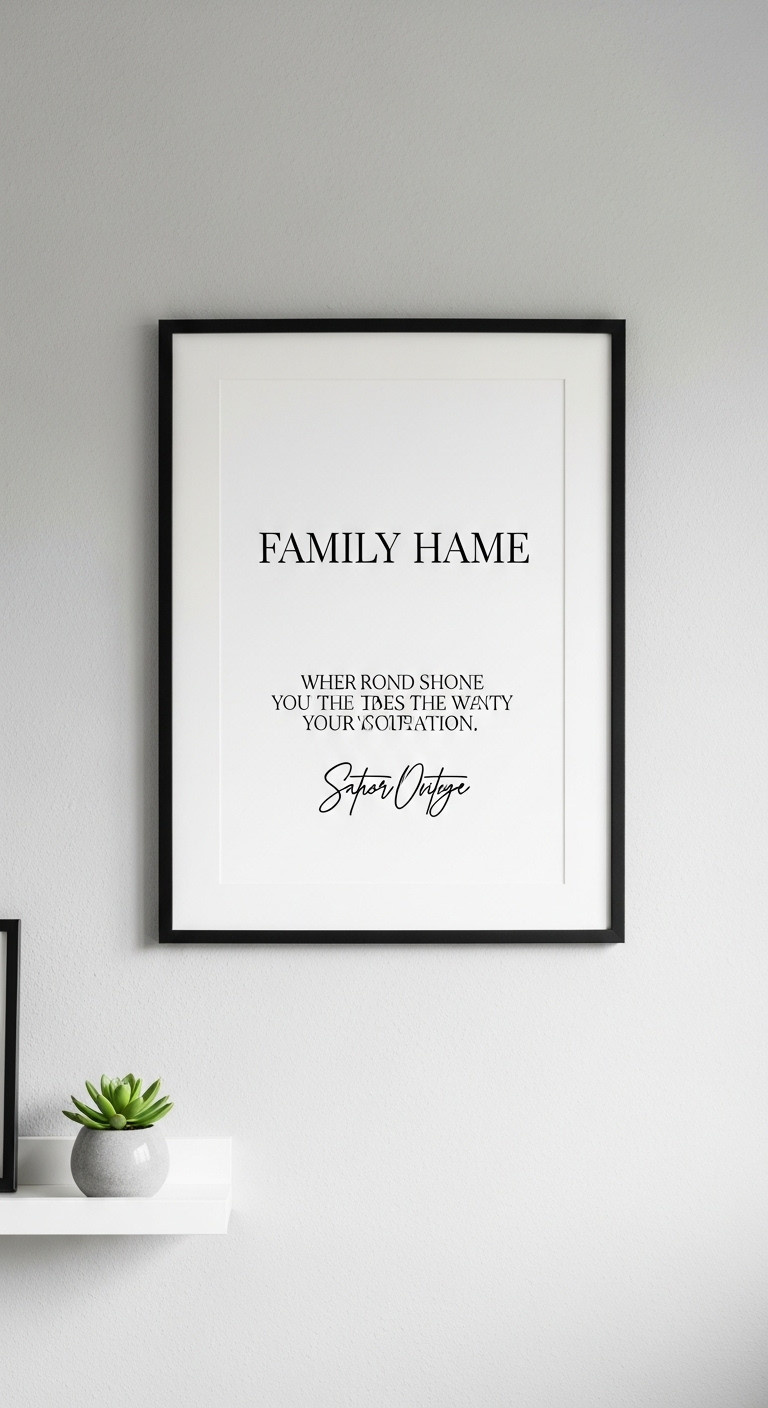
Pin this for a quick, chic, and personal gift idea!
For a gift that is both trendy and deeply personal, creating your own custom framed print is an incredibly cost-effective option. This DIY approach offers endless possibilities for customization, allowing you to choose meaningful words, specific fonts, and a color scheme that perfectly suits the recipient. It’s a guaranteed way to bring a smile to their face with a piece of art that speaks directly to them.
- Materials Needed: A sheet of high-quality cardstock paper, a home printer, and a simple yet elegant picture frame.
- Step-by-Step Directions:
- Use a simple design program to create your artwork. Free tools like Canva are perfect for this, but even Microsoft Word or Google Docs will work.
- Choose your content. This could be a meaningful quote, a favorite song lyric, a person’s name along with its etymology, or an important date and location.
- Experiment with modern and classic fonts. Select a simple color palette that will complement the recipient’s home decor.
- Print your final design on premium cardstock paper. Using a heavyweight, matte cardstock will give you a much more professional and expensive-looking result compared to standard printer paper.
- Carefully place your finished print into the frame. Simple black, white, or natural wood frames often provide the most timeless and sophisticated look.
Pro-Tip: When designing, remember that less is more. A minimalist design with plenty of white space often looks more high-end and intentional than a cluttered one. Pay close attention to your font choice, as it sets the entire mood of the piece.
4. Hand-Drawn Bookmarks
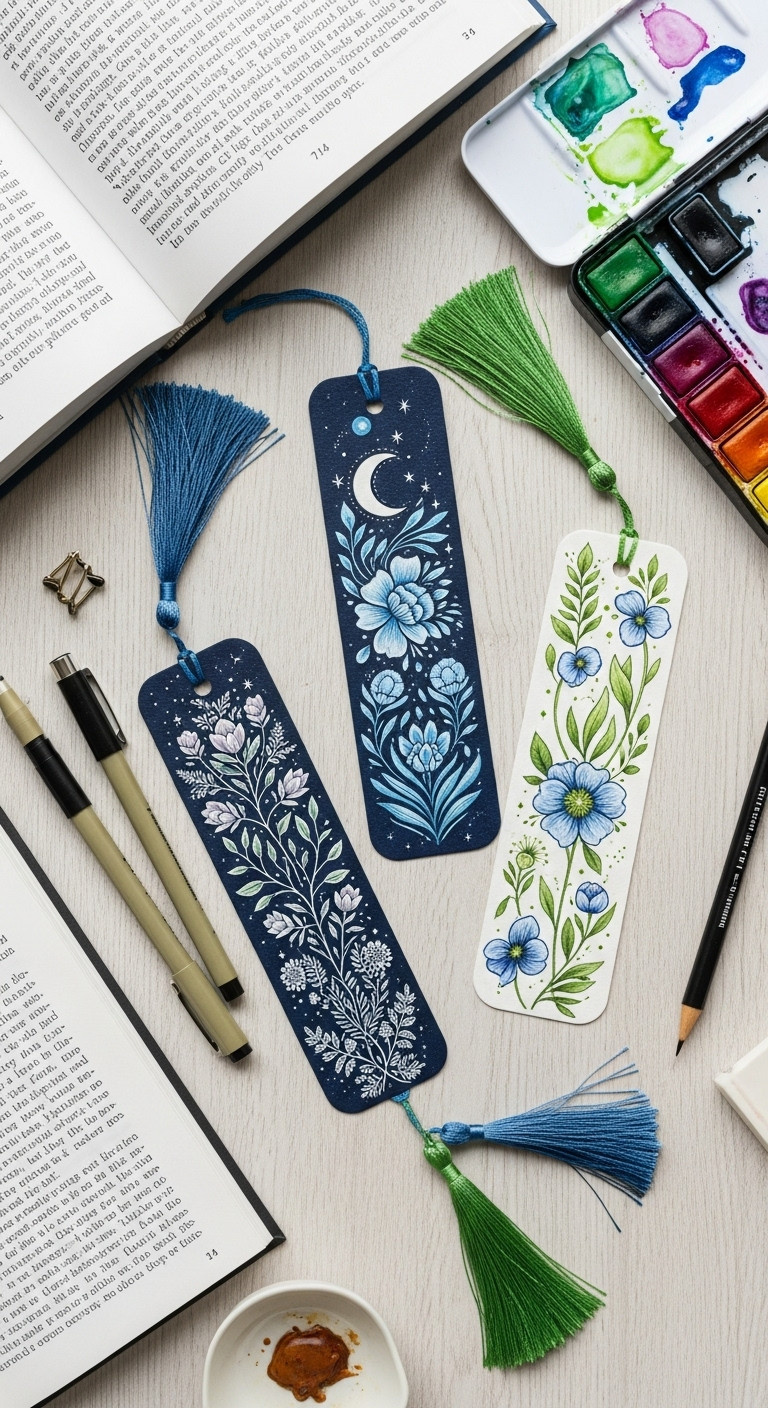
Save this charming idea for the book lover in your life!
For the avid reader in your life, a hand-drawn bookmark is a charming, practical, and incredibly personal gift. The handmade aesthetic adds to their charm, allowing for artistic expression that can be tailored to the recipient’s tastes. They are also ideal for sending long distances due to their flat shape and low postage cost, making them a thoughtful and easy present to mail.
- Materials Needed: Heavy cardstock or watercolor paper, fine-line pens, colored pencils or watercolors, scissors or a paper cutter, a hole punch, and a ribbon or tassel.
- Step-by-Step Directions:
- Cut your paper to your desired bookmark size. A standard dimension is 2 inches by 6 inches. Using pre-cut watercolor paper bookmarks can save you time and provide a very professional base.
- Sketch your design lightly in pencil. This could be anything from an intricate pattern or a favorite character to a floral design or the recipient’s name.
- Go over your pencil sketch with fine-line pens and then add color using your chosen medium.
- Once the ink and color are completely dry, you can gently erase any remaining pencil marks.
- Punch a hole at the top center of the bookmark and thread a colorful ribbon or a pre-made tassel through it for a beautiful finishing touch.
Pro-Tip: If you’re not confident in your drawing skills, don’t worry! Try creating geometric patterns, zentangle designs, or even simple color gradients with watercolors. The handmade aesthetic is a key part of the charm, so don’t stress about achieving perfection.
5. Intricate Quilled Creations
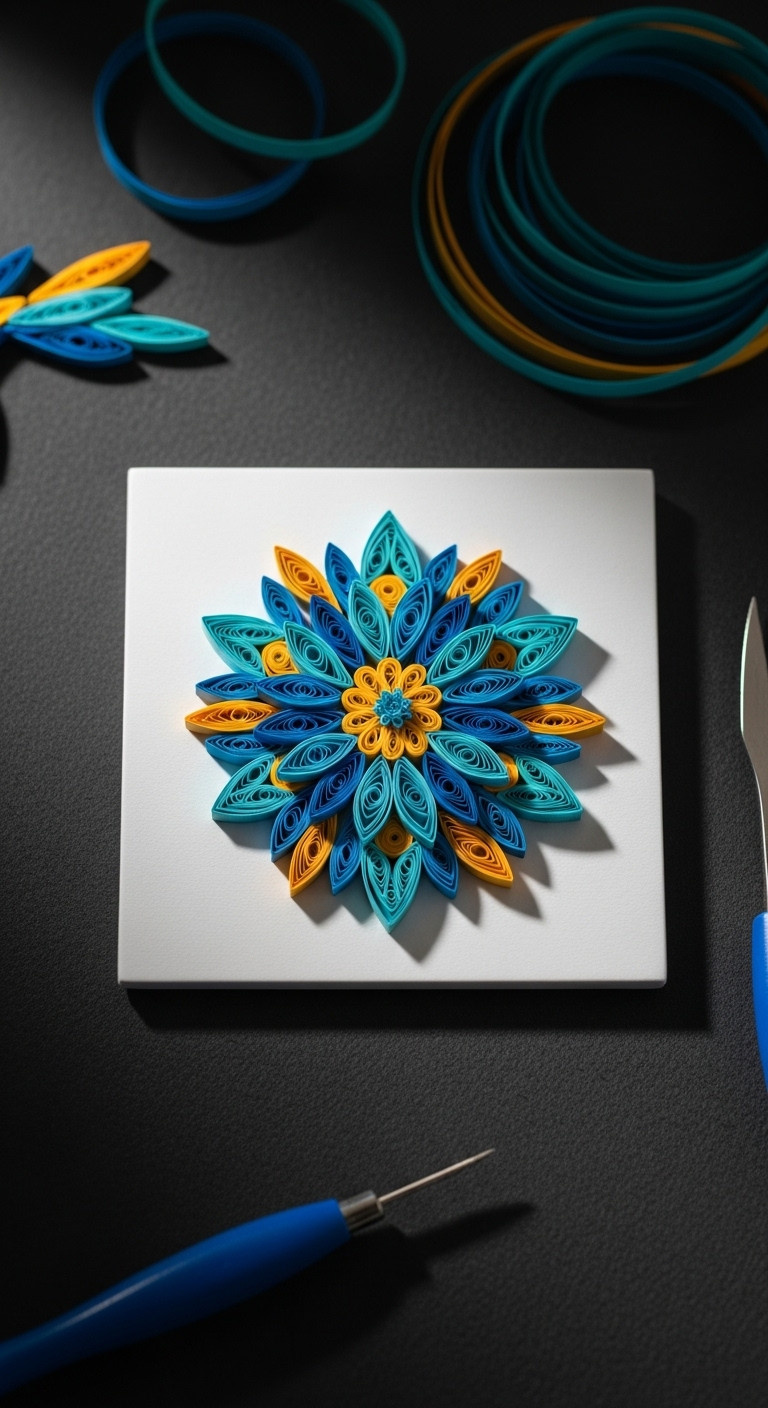
Pin this beautiful paper art technique to try later!
Quilling is an art form that involves rolling thin strips of paper into intricate shapes and designs. This historical craft can be used to create everything from delicate animals to complex mandalas. These quilled items can be framed as standalone decorative pieces or used to embellish other gifts, such as handmade Christmas cards, adding a stunning 3D element.
- Materials Needed: Colored quilling paper strips, a slotted quilling tool, scissors, and craft glue with a fine-tip applicator. For ease, a beginner’s paper quilling kit is the simplest way to get all the essential supplies in one package.
- Step-by-Step Directions:
- Insert the end of a paper strip into the slot of your quilling tool.
- Twirl the tool with an even tension to roll the paper into a tight coil.
- Gently slide the coil off the tool and allow it to loosen slightly to your desired size.
- Apply a tiny dot of glue to the loose end of the strip to secure the coil and prevent it from unraveling.
- You can create a wide variety of shapes by pinching the round coil. Pinch one side for a teardrop shape, or pinch opposite sides to create a marquise (eye) shape.
- Arrange and glue your collection of finished shapes together on a piece of cardstock to bring your design to life.
Pro-Tip: Consistency is key to a polished quilling project. Try to let your coils expand to a similar size for a uniform look. You can use a circle template board to ensure all your coils are identical before shaping them.
6. DIY Paper Christmas Decorations
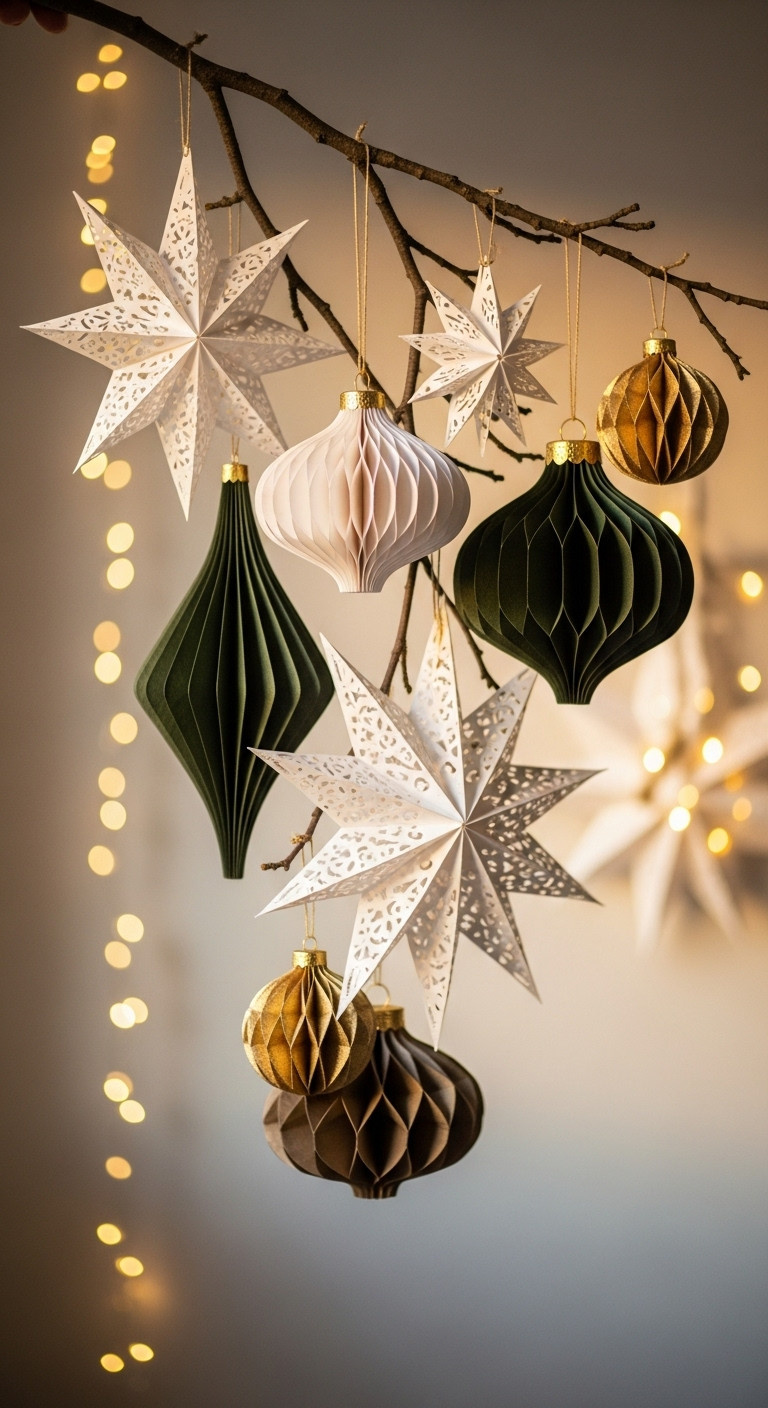
Save this festive decor idea to your ‘Handmade Christmas’ board!
A set of handmade paper Christmas decorations makes for a personal and cherished gift that adds a special touch to holiday decor. Paper is an incredibly versatile material for creating festive ornaments, from vintage-inspired designs to modern 3D baubles. These can be gifted as a complete set or individually as thoughtful add-ons to other presents.
- Materials Needed: Sturdy cardstock in festive colors, scissors or a precision craft knife, a scoring tool, strong craft glue or a hot glue gun, and string or ribbon for hanging.
- Step-by-Step Directions (for a 3D Star):
- Find and print a 5-point star template online. Trace and cut out two identical stars from your cardstock.
- Use a scoring tool and a ruler to score a straight line from each inner corner to the opposite outer point on both star cutouts.
- Carefully fold along all the scored lines. You will want to fold the lines going to the points inwards (a valley fold) and the lines between the points outwards (a mountain fold). This process is what gives the star its 3D shape.
- Apply a thin line of glue to one of the inner flaps on the back of one star.
- Align the second star directly on top of the first, pressing the glued flaps together firmly to join the two halves into one dimensional ornament.
- Before the glue fully sets, sandwich a loop of string or ribbon between the two halves at one of the points for hanging.
Pro-Tip: A bone folder is the ideal scoring tool, but the back of a butter knife or an empty ballpoint pen works well in a pinch. Scoring the paper before folding is the absolute secret to getting crisp, clean, professional-looking creases every time.
7. Personalized Washi Tape Diaries
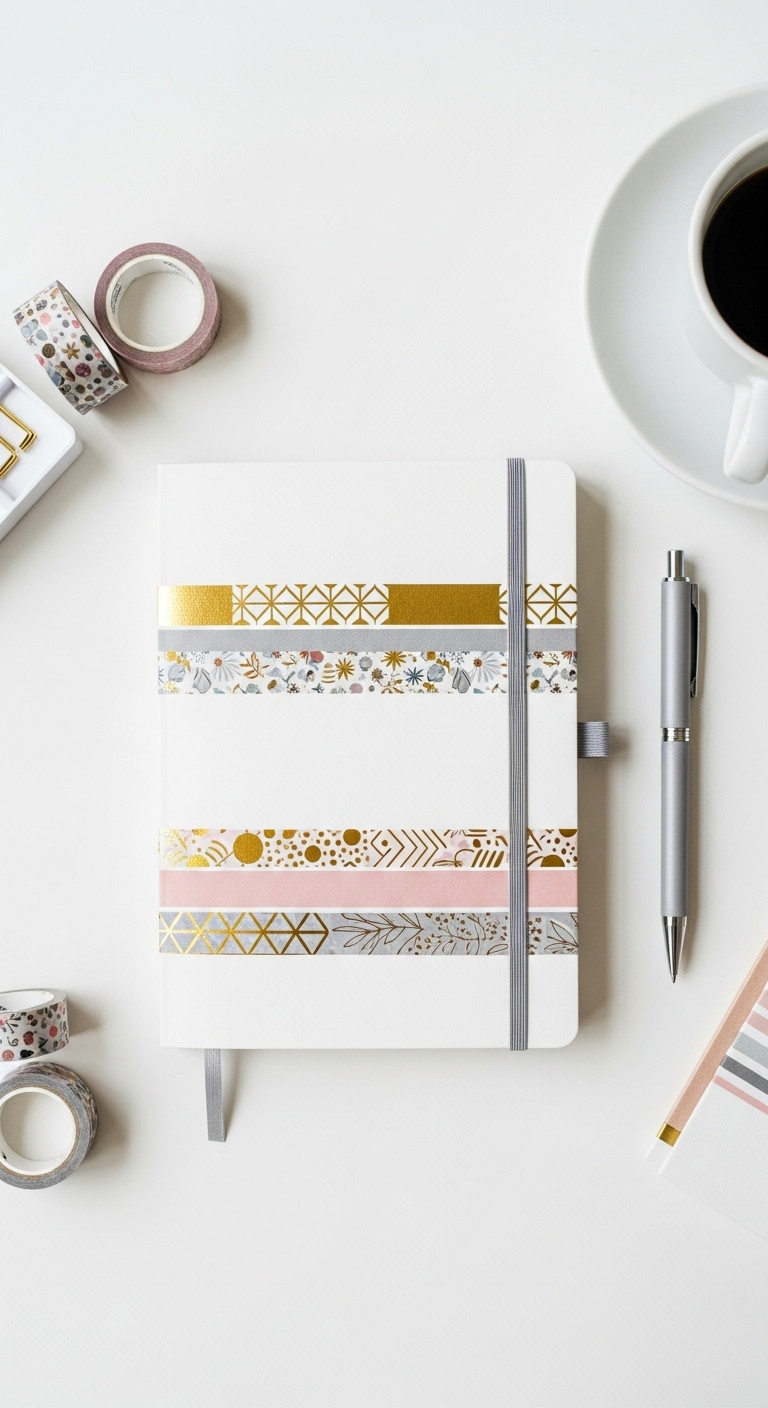
Pin this super easy and cute customization idea!
Transform a plain notebook into a decorative and personalized diary using washi tape for an easy, beautiful, and highly customized gift. Washi tape comes in a seemingly endless variety of designs and colors, making it an excellent resource for sprucing up a journal. This gift is perfect for anyone who enjoys journaling, planning, or simply appreciates beautiful, customized stationery.
- Materials Needed: A plain notebook or journal and a selection of washi tapes in coordinating colors and patterns. An aesthetic washi tape set that includes gold foil accents can add an extra touch of elegance.
- Step-by-Step Directions:
- Start with a clean, dry notebook cover. Make sure it’s free of any dust or debris.
- Plan your design before you begin. You can create simple horizontal stripes, a cool diagonal pattern, a clean border, or even a complex geometric design by masking off sections.
- Tear or cut a strip of washi tape and carefully apply it to the cover, smoothing it down with your finger to prevent any air bubbles.
- Continue adding strips of tape to build out your pattern. Washi tape is wonderfully forgiving, so you can often gently lift and re-stick it if you make a mistake.
- For a perfectly clean edge, you can either fold the excess tape over the edge of the cover to the inside or trim it flush with a sharp craft knife for a seamless look.
Pro-Tip: Combine washi tapes of different widths and patterns from the same color family for a cohesive and visually interesting design. For example, pairing a wide solid-color tape with a thin patterned tape and a metallic foil tape can create a sophisticated, layered look.
Key Takeaways: Your Quick Guide to home made christmas gift ideas paper
To make your holiday gifting both memorable and manageable, turning to homemade paper gifts is a fantastic solution. Here’s a quick recap of the most impactful ideas that are sure to impress:
- Embrace Everlasting Beauty: Ditch the wilting flowers and create stunning paper flower bouquets that serve as a permanent piece of beautiful home decor.
- Personalize Anything: Use the simple art of decoupage to turn ordinary items like plain wooden boxes, picture frames, or vases into unique, personalized treasures.
- Think Like a Designer: Craft custom, framed prints with meaningful quotes, names, or dates for a trendy and deeply personal gift that is also incredibly affordable.
- Small & Thoughtful Wins: For the readers and art lovers in your life, hand-drawn bookmarks and intricate quilled art are perfect, personal gifts that show you care.
- Customize with Tape: Easily and quickly transform a simple diary or notebook into a vibrant, personalized journal using the endless patterns of decorative washi tape.
People Also Ask About home made christmas gift ideas paper
Navigating the world of DIY gifts can bring up a few questions. Here are clear, direct answers to some of the most common queries about creating homemade Christmas gifts from paper.
What are some good paper gift ideas for adults?
For adults, the best paper gifts are sophisticated, functional, and personalized. Elegant paper flower arrangements in a stylish vase, custom-framed quote art for their home or office, a beautifully decoupaged jewelry box, or a personalized journal decorated with chic washi tape are all excellent choices that feel thoughtful and grown-up.
How can I make paper gifts look expensive and not cheap?
To make paper gifts look high-end, you must focus on quality materials and clean, precise execution. Use heavyweight cardstock or premium Italian crepe paper, ensure your cuts are perfectly straight, and your folds are crisp and sharp. Often, a minimalist design and a cohesive, limited color palette will appear more sophisticated than overly busy or colorful projects.
What is the easiest paper gift to make for a beginner?
The easiest and most approachable paper gifts for a beginner are custom framed prints and personalized washi tape diaries. A framed print simply requires designing something on a computer and printing it out, while a washi tape diary involves applying decorative tape to a notebook. Both of these projects require minimal crafting skill to achieve a beautiful and impressive result.
Final Thoughts
In the end, the most memorable and cherished Christmas gifts are the ones that come from the heart, not just from the store. Taking the time to create something with your own two hands is a powerful expression of love and appreciation. You’re not just giving a physical item; you’re giving a piece of your time, your creativity, and your thoughtfulness. I encourage you to pick one of these paper craft ideas and give it a try this holiday season. You might just discover a new passion while creating a gift that will be treasured for years to come.
Which of these paper gift ideas are you most excited to try first for someone on your list?
Last update on 2025-12-03 / Affiliate links / Images from Amazon Product Advertising API


