Tired of impractical, high-maintenance nails that get in the way of life? You want an elegant, polished look, but wonder if you can achieve true sophistication with short classy nails.
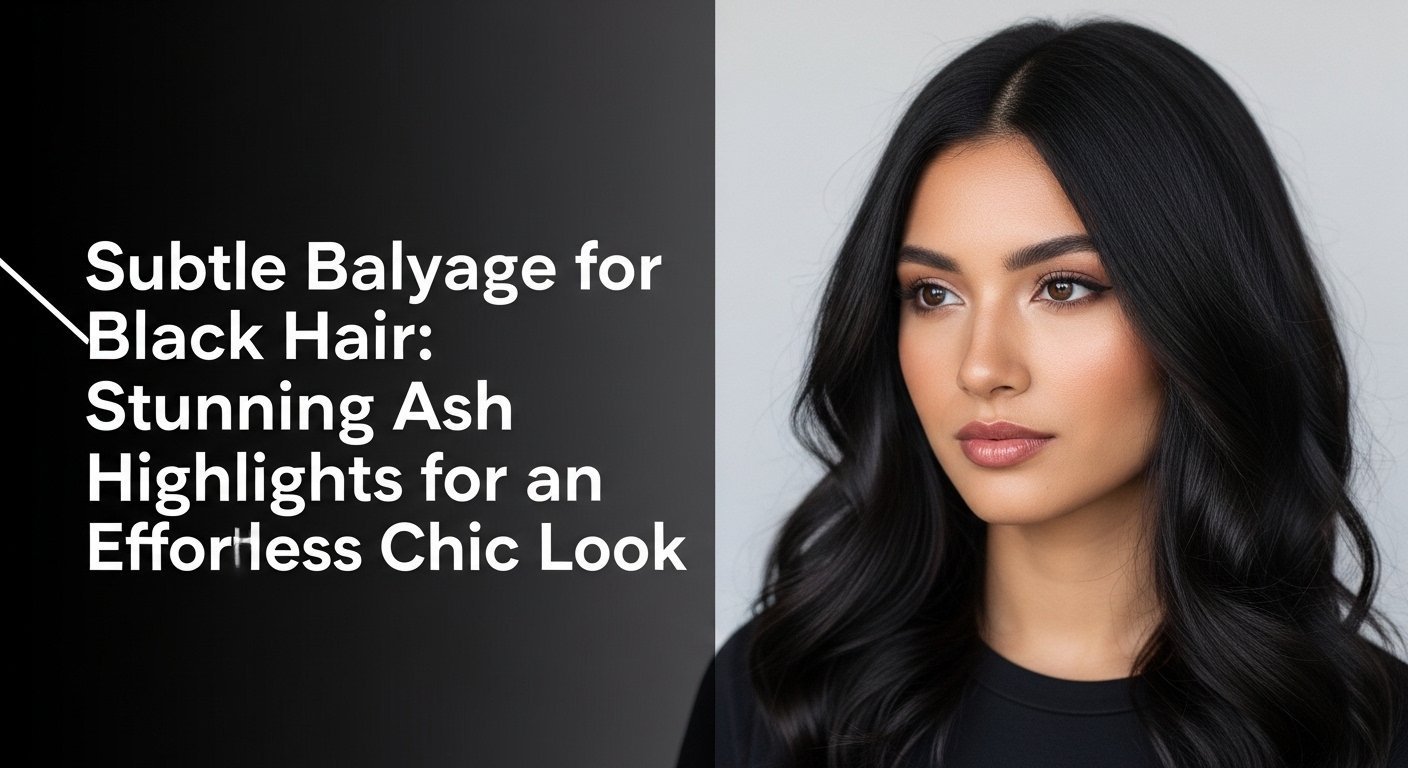
Short classy nails are a timeless and sophisticated choice, especially popular in 2026 for their minimalist and professional appearance. They are the hallmark of the ‘quiet luxury’ and ‘clean girl’ aesthetics, prioritizing nail health and understated elegance over length. A well-executed short manicure looks polished, neat, and effortlessly chic.
Drawing from established best practices and an analysis of current trends, this guide provides more than just inspiration. This post will show you how to achieve 11 distinct, elegant designs. You’ll discover the techniques and pro-tips to elevate your manicure, proving that impeccable style comes from health and precision, not length.
Are Short Classy Nails in Style for 2026?
Absolutely. In 2026, short classy nails are not just in style; they are the pinnacle of modern elegance and a core component of the quiet luxury nails trend. The focus has shifted from elaborate, high-maintenance extensions to the undeniable sophistication of healthy nails. This look, often associated with the clean girl aesthetic and the old money aesthetic, champions a polished and practical appearance. It sends a message of confidence, suggesting that your style is inherent and doesn’t require overt displays. Celebrity nail artists and trendsetters are increasingly favoring shorter, more natural lengths, proving that a well-cared-for, neat short nail is the ultimate status symbol. Far from being a compromise, choosing short nails is a deliberate and fashionable decision that aligns with a minimalist and professional lifestyle.
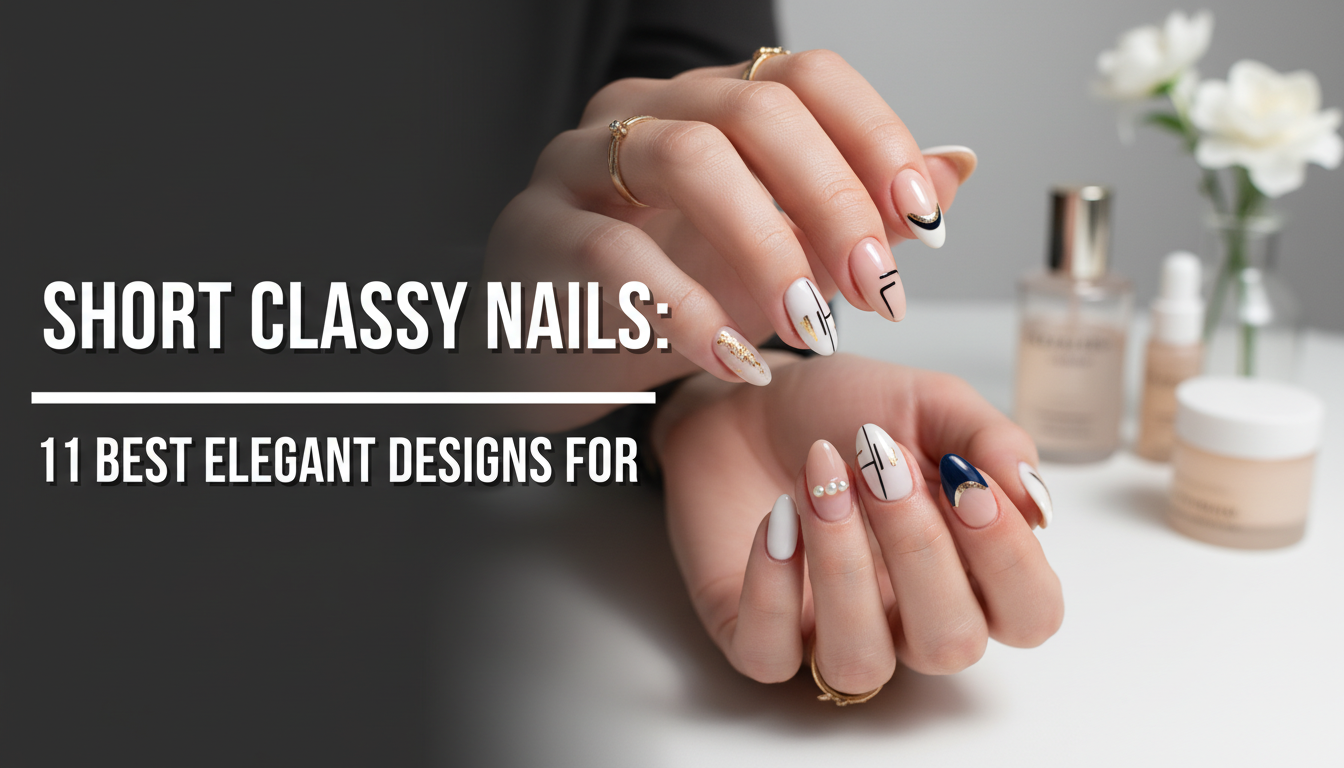
11 Best Elegant Designs for Short Classy Nails in 2026
Finding the perfect design for short nails is about celebrating their neatness and practicality while adding a touch of personal flair. The following 11 ideas are more than just inspiration; they are mini-guides designed to be achievable, elegant, and incredibly chic. From the ultimate understated classic to modern textured effects, each design emphasizes that sophisticated short nails are all about precision and proportion. We’ll explore how specific products and tools, from BIAB to a simple dotting tool, can transform your natural nails into a polished work of art.
1. The Micro French: The Ultimate Understated Classic

Pin this chic look to your ‘Nail Inspo’ board!
Products & Tools Used
- Sheer pink or nude nail polish (e.g., OPI Bubble Bath)
- Opaque white polish (e.g., Essie Blanc)
- A professional grade ultra-thin liner brush or a silicone nail stamper
- Glossy, chip-resistant top coat
Application/Styling Steps
- Prepping: Begin with clean, filed nails. Apply one coat of your sheer base color and let it dry completely.
- Painting the Tip: For the brush method, place a small dot of white polish on a palette. Dip your liner brush and gently trace the very edge of your nail’s free edge. For the stamper method, paint a line of polish on the stamper and gently press your nail into it at a 45-degree angle.
- Cleaning: Use a small brush dipped in acetone to clean up any mistakes for a razor-sharp line.
- Finishing: Once the white tip is dry, apply a glossy top coat to seal the design and add shine.
Pro-Tip: In our experience, the key to a micro french on short nails is proportion. The white line should be barely-there, almost a suggestion. This elongates the look of the nail bed.

2. The “Old Money” Sheer Nude: A Polished Whisper

Save this to your ‘Quiet Luxury’ board for a timeless look.
Products & Tools Used
- A high-quality ridge filler base coat
- A sheer, milky pink or nude polish (e.g., Dior Nail Glow, Essie Mademoiselle)
- Nourishing cuticle oil
- A high-shine, long-lasting top coat
Application/Styling Steps
- Prepping: This look is all about nail health. Push back cuticles gently, buff the nail surface lightly, and apply a ridge filler base coat to create a perfectly smooth canvas.
- Applying Polish: Apply one thin coat of your sheer polish. For a slightly more opaque look, wait 2 minutes and apply a second thin coat. The key is to still see the whites of your nail tips faintly.
- Finishing: Seal with a high-shine top coat. Once dry, massage cuticle oil into the skin around the nail for a healthy nails look.
- Maintaining: Re-apply top coat every 2-3 days to maintain that “just-manicured” gloss and prevent chipping.
Pro-Tip: The secret to the old money look is the finish. It shouldn’t look like you’re wearing a block of color, but rather that your natural nails are just impossibly perfect and glossy. Choose a HEMA-free gel for a durable, salon-like finish at home.

3. “Glazed Donut” Chrome: The Modern Sheen

Pin this trendy glazed look for your next salon visit!
Products & Tools Used
- A sheer white or milky pink gel polish (e.g., Beetles polish in a sheer shade)
- A salon quality no-wipe gel top coat
- White pearl finish chrome powder
- A small eyeshadow applicator
- An LED or UV lamp
Application/Styling Steps
- Prepping: Apply your gel base coat and one coat of sheer white gel polish, curing after each step according to the lamp’s instructions.
- Applying Top Coat: Apply a thin layer of the no-wipe gel top coat and cure for the recommended time (usually 60 seconds). It is CRITICAL that it’s a no-wipe formula.
- Burnishing the Chrome: Immediately after curing, dip your eyeshadow applicator into the chrome powder. A little goes a long way. Gently but firmly rub the powder onto the nail surface until it becomes a shimmery, mirror-like surface.
- Finishing: Dust off any excess powder with a fluffy brush. Apply another layer of the no-wipe top coat to seal the chrome powder and cure one final time.
Pro-Tip: For the most authentic Hailey Bieber look, the base should be very sheer. Don’t use an opaque white. The magic comes from the chrome powder interacting with the semi-transparent base, which elevates the entire manicure.

4. A Single Minimalist Dot: Chic & Playful

Pin this simple but chic idea for your next DIY manicure!
Products & Tools Used
- Your favorite sheer nude or base coat
- A contrasting polish color (black, gold, or navy work well)
- A nail art dotting tool (or the tip of a bobby pin)
- A glossy top coat
Application/Styling Steps
- Prepping: Apply your base coat or sheer nude polish and let it dry completely.
- Painting the Dot: Pour a tiny drop of your contrasting polish onto a piece of foil. Dip the very tip of your dotting tool into the polish.
- Placing: Carefully and firmly press the tool onto your nail. The classic placement is centered, just above the cuticle (lunula). You can also place it just below the tip.
- Finishing: Wait for the dot to dry completely before applying a top coat, otherwise it will smudge.
Pro-Tip: For a more elevated look, use a metallic gold or silver polish for the dot. It compliments jewelry beautifully and adds a touch of warmth. This is perfect for a short classy nails for wedding guest look.

5. Rich “Old Money” Red: A Bold Power Statement

Save this power look for when you want to make a statement.
Products & Tools Used
- An anti-stain base coat
- A classic, blue-based red crème polish (e.g., OPI Big Apple Red, Chanel Pirate)
- A fine-tipped brush for cleanup
- A “plumping” or high-gloss top coat
Application/Styling Steps
- Prepping: DO NOT skip the base coat. Red polish is notorious for staining. Apply one even layer of an anti-stain formula.
- Painting: Apply two thin coats of your red polish. Thin coats are key to avoiding bubbling and ensuring a quick, even dry time.
- Cleaning: This is the most important step for a polished short nails look. Dip a fine-tipped brush in acetone and trace around your cuticle line to create an incredibly clean, sharp edge.
- Finishing: Use a “gel-like” or plumping top coat to give the color depth and an ultra-glossy finish.
Pro-Tip: A true blue-based red is universally flattering and makes teeth appear whiter. For dark skin, a deep, rich oxblood or Bordeaux red looks exceptionally sophisticated. This look transforms short nails from simple to statement-making.

6. A Delicate Pearl Accent: Subtle & Bridal-Ready

Perfect for a wedding or special event! Pin this delicate idea.
Products & Tools Used
- A sheer pink or nude polish
- Tiny, flat-backed nail art pearls (1mm-2mm size)
- Nail glue or a strong gel top coat
- A wax-tipped pencil for picking up gems
Application/Styling Steps
- Painting: Apply two coats of your sheer base polish and let it dry completely.
- Placing: Put a minuscule dot of nail glue where you want the pearl (e.g., center-base of the ring finger). Use the wax pencil to pick up a single pearl and gently press it onto the glue.
- Securing: Wait 30 seconds for the glue to set.
- Finishing: Carefully apply top coat around the pearl, then over the entire nail to seal it. Avoid painting too thickly over the pearl itself to maintain its luster.
Pro-Tip: To make this look damage-free upon removal, use a gel system. A small dot of structural gel to secure the pearl will be stronger than glue and will soak-off cleanly with the rest of the manicure.

7. Rich Chocolate Brown: The Unexpected Neutral

Fall-ready and so chic! Pin this to your ‘Autumn Nails’ board.
Products & Tools Used
- A smoothing base coat
- A rich, warm-toned chocolate brown crème polish (e.g., Essie “Expressie Cold Brew Crew”)
- A high-shine top coat (or a matte top coat for a different vibe)
- Acetone and a cleanup brush
Application/Styling Steps
- Prepping: Apply a base coat to prevent staining and create an even surface.
- Painting: Apply two thin coats of the chocolate brown polish, allowing each to dry for 2 minutes in between.
- Cleaning: A clean cuticle line is essential for dark colors. Meticulously clean the edges with a brush dipped in acetone for a professional short nails look.
- Finishing: Apply a high-shine top coat to make the color look rich and dimensional.
Pro-Tip: Try this color with a matte top coat. It transforms the nail into a velvety, modern texture that is incredibly chic and unexpected, especially during autumn and winter months.

8. Negative Space Half-Moon: A Vintage Nod

A touch of vintage flair! Pin this unique design.
Products & Tools Used
- A clear base coat
- Paper hole reinforcement stickers
- Any opaque polish color (deep red or navy looks great)
- A high-shine top coat
Application/Styling Steps
- Prepping: Apply a clear base coat and let it dry completely. This is crucial for the sticker to not pull up your base.
- Placing Sticker: Place a paper hole reinforcement sticker at the base of your nail, covering the lunula area to act as a stencil. Press it down firmly.
- Painting: Paint two coats of your chosen color over the rest of the nail, painting right over the sticker.
- Removing: While the second coat is still slightly wet, carefully peel off the sticker to reveal a crisp, clean half-moon line. Waiting until it’s fully dry can cause the polish to crack upon removal.
- Finishing: Apply a top coat to the entire nail to smooth everything out.
Pro-Tip: This design is known for making your manicure last longer. As your nail grows, the growth at the cuticle is hidden within the negative space, extending the life of your look by a few days.

9. Subtle “Velvet” Effect: A Luxe Texture

A touch of texture and luxury. Pin this for the holidays!
Products & Tools Used
- A magnetic “cat eye” or “velvet” gel polish
- A strong nail magnet wand
- A gel base and top coat system
- An LED or UV Lamp
Application/Styling Steps
- Prepping: Apply and cure your gel base coat.
- Painting First Coat: Apply one coat of the magnetic polish and cure it without using the magnet. This builds up the base color.
- Painting Second Coat & Magnetizing: Apply a second, thicker coat of the magnetic polish. Before curing, hover the magnet wand over the nail for 15-30 seconds. You will see the magnetic particles gather into a bright, velvety line.
- Curing & Finishing: Once you are happy with the effect, immediately cure the nail in the lamp to lock the design in place. Finish with a layer of top coat and a final cure.
Pro-Tip: For an all-over “velvet” look without a distinct line, hold the magnet at the side of the nail instead of over the top. This pushes the magnetic particles away from the sides and concentrates the shimmer in the center, creating a gorgeous, crushed-velvet depth.

10. A Single Gold Stripe: Minimalist & Modern

Modern, minimal, and so easy to do. Pin this look!
Products & Tools Used
- A nude or beige polish
- A matte top coat
- Thin nail striping tape
- A metallic gold liner polish or regular gold polish
Application/Styling Steps
- Prepping: Apply two coats of your nude base color. Let it dry, then apply one coat of matte top coat and let that dry completely.
- Taping: Place two pieces of striping tape vertically on the nail, creating a thin channel in the center where you want your stripe to be.
- Painting: Using your gold liner polish, carefully paint within the channel created by the tape.
- Removing: Immediately and carefully peel off the striping tape while the gold polish is still wet to reveal a crisp line.
- Finishing: Do not apply a top coat over the final design to preserve the cool contrast between the matte base and the metallic stripe.
Pro-Tip: For an even easier method, skip the regular polish and tape. Simply apply a piece of metallic gold striping tape directly onto your polished nail and seal it with a top coat. It’s a perfect, damage-free hack.

11. Deep Navy: The Sophisticated Alternative to Black

A modern classic. Pin this sophisticated color idea.
Products & Tools Used
- An anti-stain base coat
- A deep, creamy navy blue polish (e.g., Essie “After School Boy Blazer”)
- A high-shine top coat
- An angled brush for precise cleanup
Application/Styling Steps
- Prepping: Always use a base coat with dark colors to prevent yellowing of your natural nails.
- Painting: Apply two thin coats for full, even coverage. A perfect, opaque finish is key to making this color look elevated.
- Cleaning: The cleanup is non-negotiable. A clean, rounded edge around the cuticle makes the manicure look salon quality. Dip your brush in acetone and perfect the shape.
- Finishing: A super glossy top coat makes navy blue look incredibly rich and expensive.
Pro-Tip: For mature skin, a high-gloss finish is generally more flattering than matte, as it reflects light and adds vitality. This deep navy is a sophisticated choice that compliments silver or white gold jewelry perfectly.

Key Takeaways
- Health Over Length: The foundation of all short classy nails is excellent nail health. Focus on cuticle care, moisturizing, and using a quality ridge filler or strengthening base coat.
- Proportion is Everything: Designs like the micro french prove that less is more. The goal is to create optical illusions that elongate and enhance the nail bed, not overwhelm it.
- Prep is Non-Negotiable: For both light (old money nails) and dark (rich reds or navies) colors, the final look is defined by the prep work. A smooth base and meticulous cleanup are what create a salon quality finish.
- Neutrals Are Evolving: “Neutral” no longer just means beige. Rich browns and deep navies are the new, sophisticated neutrals that are exceptionally chic on all skin tones, especially short classy nails for dark skin.
- Texture Adds Luxury: Don’t be afraid to play with finishes. A matte top coat can modernize a dark color, while a pearl finish or velvet nails effect adds dimension and a touch of glamour without needing length.
- DIY Art is Accessible: Simple, graphic elements like a single dot or a vertical stripe are easy ways to dip into short nail art without needing advanced skills.
FAQs About short classy nails
Which shape is best for short nails?
The best shapes for short nails are square, squoval (square-oval), and round as they follow the natural nail line and require less length to look intentional. A short square shape provides a crisp, clean look, while a round or oval shape can help elongate the appearance of the fingers. While a true almond shape can be difficult on very short nails, a “short almond” is achievable and very trendy.
How can I make my short nails look longer and more elegant?
To make short nails look longer, focus on immaculate cuticle care by pushing them back gently to reveal more of the nail plate. Opt for nude or sheer polishes that match your skin tone, as this creates an elongating, seamless line. Vertical nail art, like a thin stripe, also draws the eye upward, giving the illusion of length.
What is the difference between BIAB, Gel, and Acrylics for short nails?
BIAB (Builder in a Bottle) is a strengthening soak-off gel that provides a durable, protective overlay on your natural nails, perfect for preventing breakage on short nails. Standard gel polish is a thinner color coating. Acrylics are the strongest and most durable but can be bulky on short nails and are generally used for creating extensions rather than just overlaying natural nails.
Are short nails more professional for work?
Yes, in many professional environments, short nails are considered more practical and polished. They are hygienic, low-maintenance, and less prone to breaking or chipping, which contributes to a consistently neat appearance. Simple, understated designs like a sheer nude or a micro french are the gold standard for professional short nails.
What are “Old Money Nails”?
“Old Money Nails” refers to a minimalist, hyper-clean manicure style that signals wealth through impeccable health and maintenance rather than flashy designs. The look is characterized by short to medium, perfectly shaped nails with a sheer, milky, or “your-nails-but-better” polish. It’s about looking effortlessly polished, as if you have naturally perfect nails.
How do I prevent my short nails from chipping?
To prevent chipping, always “wrap the tip” of your nail by running the polish brush along the free edge after each coat. Use a quality base coat and top coat, and reapply the top coat every 2-3 days to reinforce the seal. Keeping your hands and cuticles moisturized also improves nail flexibility, making them less prone to breakage.
What nail color makes you look younger?
Bright, warm, and vibrant colors can create a more youthful appearance. Coral, poppy red, and bright pinks can draw attention and add a touch of energy. Additionally, sheer, glossy nudes (like the “Old Money” look) give a healthy, well-maintained glow that is universally flattering and youthful.
Can you get press-on nails for short nail beds?
Absolutely. Many brands like KISS offer “extra short” or “petite” length press-on nails that are specifically designed for short nail beds. They are a great, damage-free way to try out different shapes and designs without the commitment or cost of a salon visit. Look for kits that include a wide range of sizes to find your perfect fit.
Are short dark nails (black or navy) classy?
Yes, short dark nails are considered very chic and modern. A short, square or squoval nail painted in a glossy black, deep navy, or rich burgundy can look incredibly sophisticated and powerful. The key is a flawless application with a very clean cuticle line and a high-shine top coat to keep it looking elevated, not grungy.
What is a “Minimalist Manicure”?
A minimalist manicure focuses on simplicity, clean lines, and negative space. It’s less about complex art and more about subtle, intentional details. Examples include a single, tiny dot at the base of the nail, a very thin vertical line, or a negative space half-moon design. The color palette is usually restricted to neutrals, black, white, and metallics.
Final Thoughts
As we’ve explored through these 11 elegant designs, the era of believing that length equals glamour is officially over. In 2026, the ultimate statement of luxury and style is a perfectly executed, healthy manicure on short classy nails. Whether you gravitate towards the timeless whisper of an old money sheer nude or the modern edge of a deep navy, the power lies in the details: the impeccable prep, the clean lines, and the confidence with which you wear it.
The beauty of short nails is their practicality and versatility, allowing you to move through your life with elegance and ease. They are a canvas for subtle creativity and a testament to the idea that true sophistication doesn’t need to shout. So embrace your natural nails, invest in their health, and have fun experimenting with these designs.
What’s your go-to classy short nail look? Share your favorite style in the comments below.
Last update on 2026-04-05 / Affiliate links / Images from Amazon Product Advertising API