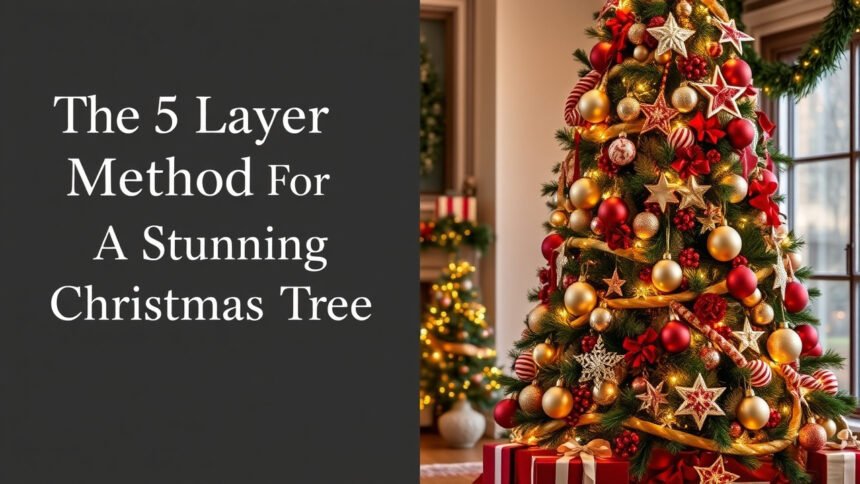
Struggling to make your Christmas tree look as stunning as the ones on Pinterest? You’re not alone. The secret is knowing what to hang on your Christmas tree and, more importantly, in what order. It can be overwhelming to go from a bare tree to a festive masterpiece.
The 5 Layer Method is a tried-and-true decorating technique that professionals use to build depth, texture, and balance. This guide will walk you through each step, from lights to the topper. You’ll learn exactly how to create a designer look christmas tree you’ll be proud of all season.
Why Does My Christmas Tree Never Look Like the Ones on Pinterest?
Have you ever spent hours decorating, only to step back and feel disappointed? Your tree might look a little sparse, the decorations feel disorganized, or it just lacks that magical “wow” factor. This is a common frustration, and it’s not because you have bad decorations—it’s because you’re missing a professional decorating method.
The secret to a professional-looking Christmas tree is decorating in a specific order. Professionals use a layering method to build depth and fullness, starting with lights, then adding garland for structure, hanging ornaments from the inside out, weaving in ribbon and filler, and finishing with a topper. This systematic approach is the difference between a chaotic tree and a cohesive, stunning one. By following the 5 Layer Method, you’ll avoid the common pitfalls and finally get that Pinterest-worthy result.
The 5 Layer Method for a Flawless Christmas Tree
Building a beautiful tree is like creating a work of art—it happens in layers. This foolproof system takes all the guesswork out of decorating. Each of the following five steps builds upon the last, using fundamental design principles like depth, texture, and balance to create a rich, complete look.
The professional 5-layer method for decorating a Christmas tree includes:
1. The Foundation of Light
2. Structural Garland
3. The Star Ornaments
4. Professional Filler & Accents
5. The Crowning Topper
1. Layer 1: The Foundation of Light
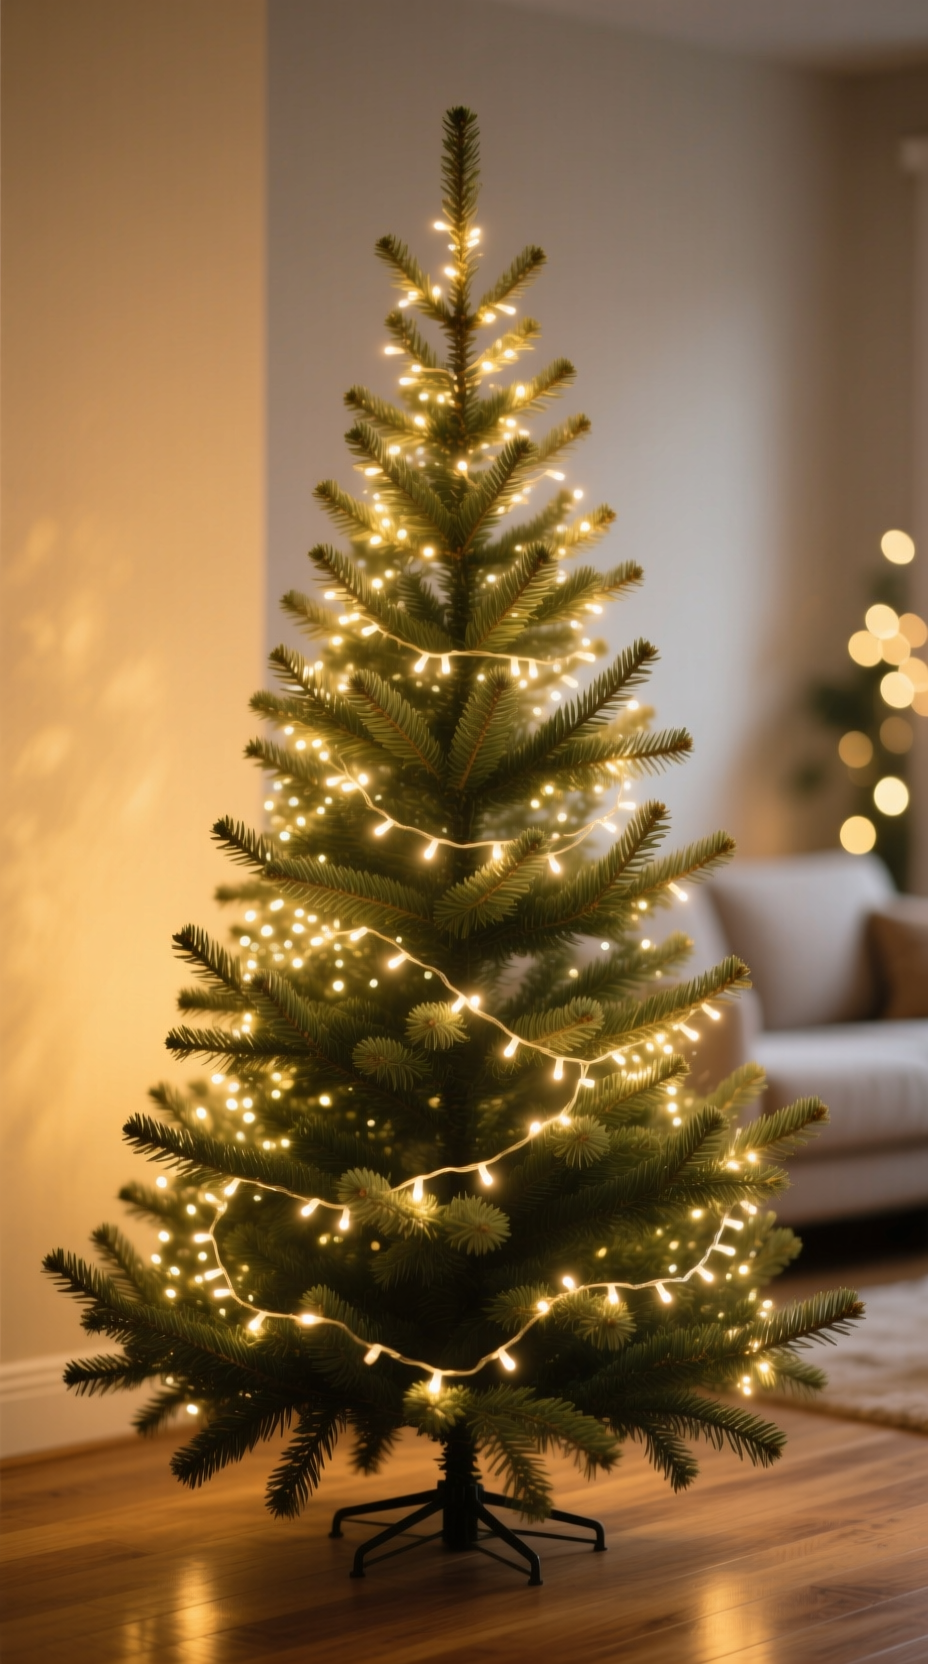
Pin this lighting tip for a magical glow!
What You Need:
- Christmas Lights: Aim for 100 lights per foot of tree height. Warm white LED Christmas lights are energy-efficient and give a classic glow.
- Extension Cord: A green cord will blend in with the tree.
- Light Storage Reels: For easy cleanup and tangle-free storage next year.
- Gloves (Optional): To protect hands while fluffing artificial branches.
Step-by-Step Directions:
- Fluff First: If you have an artificial tree, the most critical first step is to “fluff” every branch. Separate each tip and point them in different directions to create maximum fullness. This is the foundation of a great-looking tree.
- Test Your Lights: Before you do anything else, plug in every single strand of lights on the floor to ensure they all work. It’s much easier to fix a problem now than when they’re already on the tree.
- Start at the Top: Begin with your first strand of lights at the top of the tree, near the trunk.
- Use the Vertical Zig-Zag Method: Instead of wrapping the lights around the tree in a spiral, work in vertical sections. Weave the lights back and forth across a section of the tree, going from the trunk to the tips of the branches and back again, until you reach the bottom.
- Push Some Lights Deep: As you weave, be sure to push some of the bulbs deep into the branches, near the trunk. This creates a beautiful, dimensional glow from within.
- Repeat in Sections: Move to the next section of the tree and repeat the vertical zig-zag until the entire tree is lit.
Always buy one more strand of lights than you think you need. It’s better to have a slightly brighter tree than one with a dark spot at the bottom.

2. Layer 2: The Structural Garland
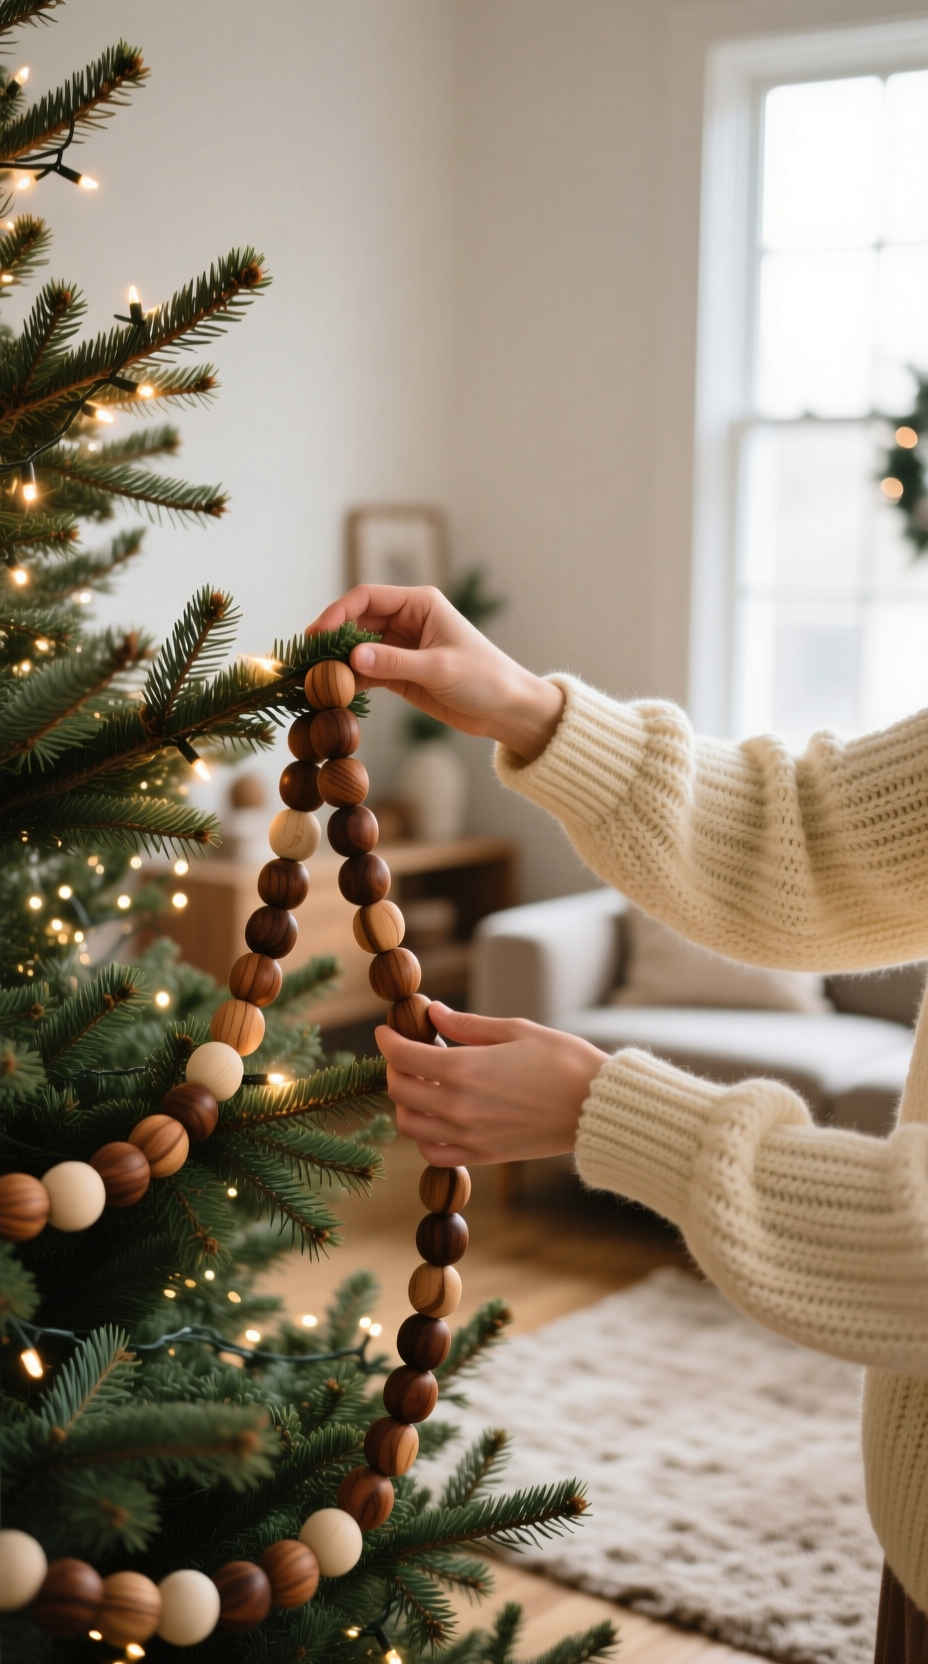
Save this garland trick for a fuller tree!
What You Need:
- Garland of Choice: For a 7.5-foot tree, you’ll need about 2-3 strands of standard-length garland. Consider natural wooden bead garland for a rustic look or faux cedar for a classic feel.
- Floral Wire (optional): To secure the ends of the garland.
Step-by-Step Directions:
- Choose Your Style: Decide on the type of garland that fits your theme. Bead garlands add a delicate touch, while thick faux greenery or burlap ribbon makes the tree feel much fuller.
- Start at the Top: Just like with the lights, begin at the top of the tree. Secure the end of your first garland strand to a branch near the trunk using the branch’s own needles or a small piece of floral wire.
- Drape and Tuck: Loosely drape the garland from branch to branch, moving downwards in a spiral. Don’t pull it tight. Let it swag naturally.
- Vary the Depth: As you drape, sometimes rest the garland on the tips of the branches, and other times tuck it slightly deeper into the tree. This continues to build that crucial visual depth.
- Connect Strands Invisibly: When you reach the end of a strand, start the next one by tucking both the end of the old one and the beginning of the new one deep into the same area, hiding the transition.
If your tree is against a wall, you can cheat by using less garland on the back of the tree, saving your best placement for the front and sides.

3. Layer 3: The Star Ornaments

Pin this pro ornament placement strategy!
What You Need:
- Large Ornaments: Your biggest “statement” or “filler” ornaments. Shatterproof christmas ornament sets are great for these.
- Medium & Small Ornaments: Your more detailed, special, and sentimental ornaments.
- Ornament Hooks or Floral Wire: Green floral wire is more secure for heavy or valuable ornaments.
Step-by-Step Directions:
- Start with the Largest Ornaments First: Gather your biggest ornaments. These could be large simple baubles or unique statement pieces. Distribute them evenly around the tree, spacing them out.
- Hang Them Deep Inside: Place these large ornaments closer to the trunk of the tree, nestled deep within the branches. This is the #1 secret to creating visual depth. It makes the tree look full and established.
- Add Medium-Sized Ornaments: Next, hang your medium-sized ornaments. Place some of these in the middle-depth of the branches and some closer to the tips.
- Finish with Small & Special Ornaments: Your smallest, most delicate, and most meaningful ornaments go on last. Place these on the tips of the branches where they can be seen and appreciated the most.
- Create Visual Triangles: To ensure a balanced look, pick one color or style of ornament and hang them in a loose triangular shape around the tree. Repeat with other colors. This technique helps guide the eye naturally around the tree.
Create high-impact “ornament clusters” by wiring 2-3 baubles of different sizes together with floral wire. Hang the entire cluster as a single, impressive decoration.

4. Layer 4: The Professional Filler

This is the secret to a designer tree! Save this tip!
What You Need:
- Floral Picks & Sprays: Choose items that match your theme, such as glitter berry picks, frosted pinecones, or eucalyptus stems. You’ll need 12-24 picks for a standard tree.
- Wide, Wired Ribbon: Wired ribbon is essential because it holds its shape. A 4-inch wide velvet ribbon adds a luxurious texture.
Step-by-Step Directions:
- Identify the Gaps: Step back from your tree and squint your eyes. This will blur the details and help you see any dark “holes” or sparse areas. These are the spots you’ll target with filler.
- Insert Picks & Sprays: Take your floral picks and simply stick them into the tree in the gaps you identified. The wire stems make them easy to position. Angle them to follow the natural flow of the branches.
- Cut Ribbon into Strips: Instead of using one long, continuous piece of ribbon, cut it into 2-3 foot long strips. This is much easier to work with.
- Use the “Tuck and Billow” Method: Take a strip of ribbon and tuck one end deep into the tree. Let the ribbon billow out loosely for about 12 inches, then tuck it back in.
- Cascade Down the Tree: Continue this “tuck and billow” pattern, working your way down the tree at a slight diagonal. This creates beautiful, effortless-looking cascades of ribbon that look fully integrated into the tree.
Don’t be afraid to trim the stems of your floral picks with wire cutters. Shorter stems are often easier to place and look more natural.

5. Layer 5: The Crowning Topper
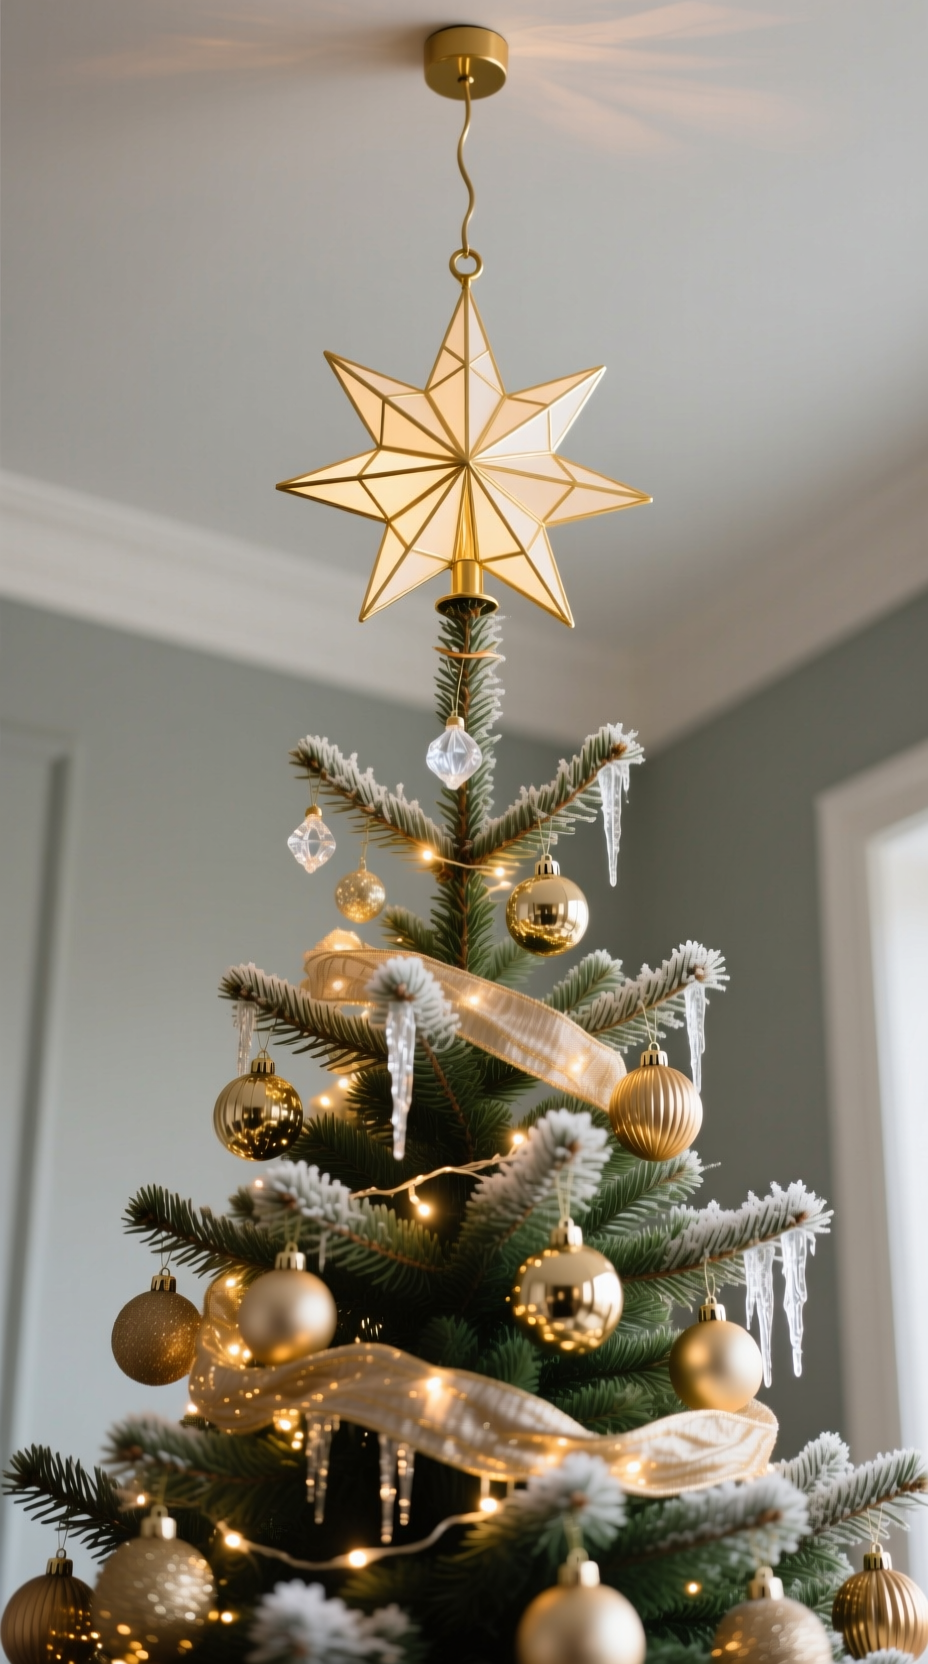
The perfect finish! Pin this tree topper idea.
What You Need:
- Tree Topper: Choose one that is proportional to your tree. A lightweight star or angel tree topper is less likely to cause the top branch to bend.
- Green Zip Ties or Floral Wire: The professional’s secret weapon for a secure topper.
- A Sturdy Step Ladder: For safety.
Step-by-Step Directions:
- Choose the Right Size: Your topper should be in scale with your tree. A good guideline is that a topper should be no more than 1-1.5 inches tall for every foot of tree height (e.g., a 7.5-foot tree gets a topper around 8-10 inches tall).
- Check the Weight: A heavy topper will cause the top branch to droop. Always choose the most lightweight option that fits your style.
- Prepare the Top Branch: If the single top branch feels flimsy, bend it in half to create a stronger, thicker base for the topper to sit on.
- Secure It with a Zip Tie: This is the best trick. Place your topper over the top branch. Then, take a green zip tie or a long piece of floral wire and tightly secure the base of the topper to both the top branch AND the main center pole of the tree. This will keep it perfectly straight and stable.
- Do a Final Check: Step back and look at the topper from all angles to ensure it’s straight before giving the zip tie a final pull and snipping the end.
If you don’t want a traditional topper, you can create a beautiful custom one by wiring several large floral picks (like glittery branches or berries) together and securing them to the top of the tree so they spray upwards.

Key Takeaways: Your 5-Step Guide to a Stunning Tree
- Layer 1: Lights: Fluff your tree, test your lights, and string them vertically from the inside out to create depth.
- Layer 2: Garland: Drape garland loosely to add the first layer of texture and structure.
- Layer 3: Ornaments: Hang your largest ornaments deep inside the tree first, then work your way out to the smallest, most special ornaments on the tips.
- Layer 4: Filler: Use floral picks, berries, and ribbon to fill any gaps and add a professional, textured finish.
- Layer 5: Topper: Choose a lightweight topper and secure it to the main pole for a stable, perfectly straight finish.
People Also Ask About Decorating a Christmas Tree
What is the correct order to decorate a Christmas tree?
The professional order is Lights first, then Garland, then Ornaments, followed by Filler (like ribbon and picks), and finally the Tree Topper. This layering method prevents tangling, ensures a full look, and creates beautiful visual depth, making the process much easier and more effective.
How do you make a Christmas tree look fuller and more professional?
To make a tree look fuller, use “filler” items and hang ornaments deep inside the branches. After hanging your main ornaments, tuck wide ribbon, floral picks, or berry sprays into any gaps. Placing larger, simple baubles close to the trunk adds color and depth, creating the illusion of a much denser tree.
How many ornaments do you need for a 7-foot tree?
A good rule of thumb is 10-15 ornaments per foot of tree, so a 7-foot tree needs approximately 70-105 ornaments. This can be adjusted based on the size of your ornaments and your personal style. For a heavily decorated look, you might use closer to 20 ornaments per foot.
Should you put ribbon on a Christmas tree vertically or horizontally?
Cascading ribbon vertically or at a diagonal generally creates a more modern and professional look. This “waterfall” effect helps draw the eye down the tree. Wrapping ribbon horizontally can sometimes look too tight and constricting, though it can work for a more traditional, cozy style.
Final Thoughts
Decorating the Christmas tree doesn’t have to be a source of stress. By breaking it down into a simple, five-layer system, you have the expert blueprint to create a stunning tree that you can be proud of. This method ensures every element, from the lights to the ribbons and ornaments, works together to create a cohesive and beautiful final result.
What special ornament are you most excited to hang on your tree this year? Share in the comments below
Last update on 2026-01-18 / Affiliate links / Images from Amazon Product Advertising API