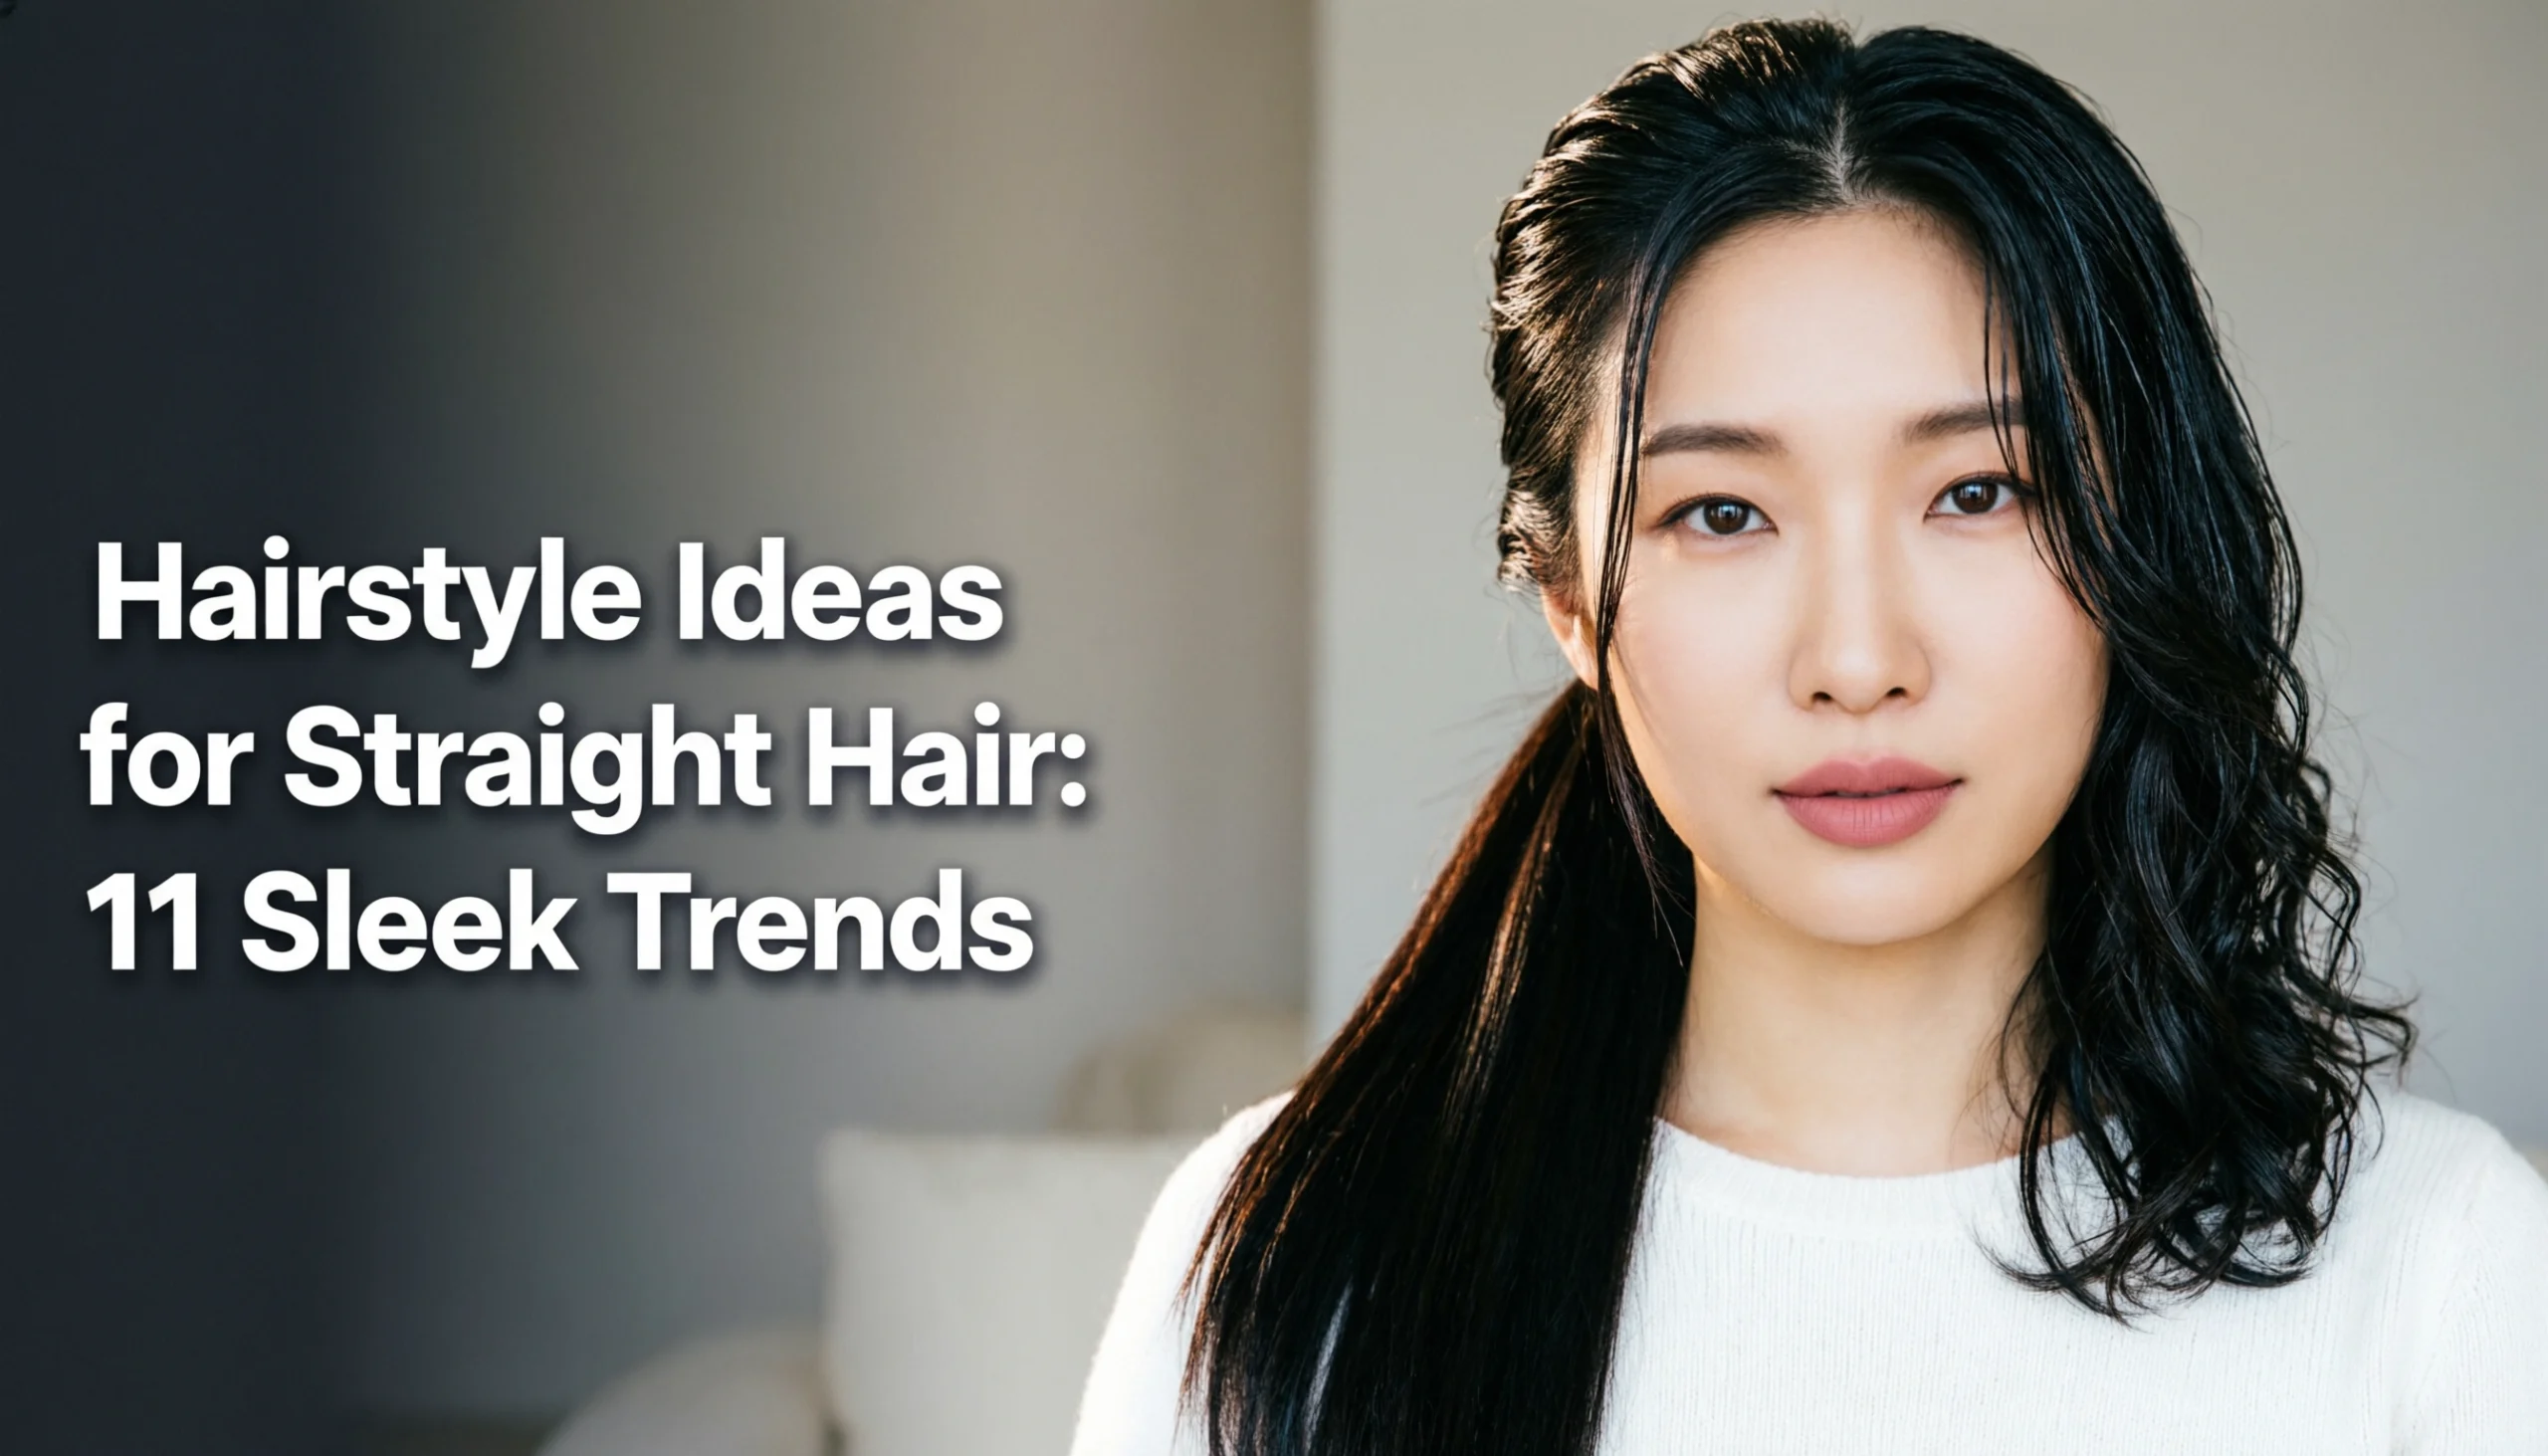
Tired of that harsh line that appears just weeks after leaving the salon? The constant cycle of expensive touch-ups to hide your natural color can be frustrating and costly. You want beautiful, lighter hair, but the demanding upkeep of traditional highlights feels impossible to manage.
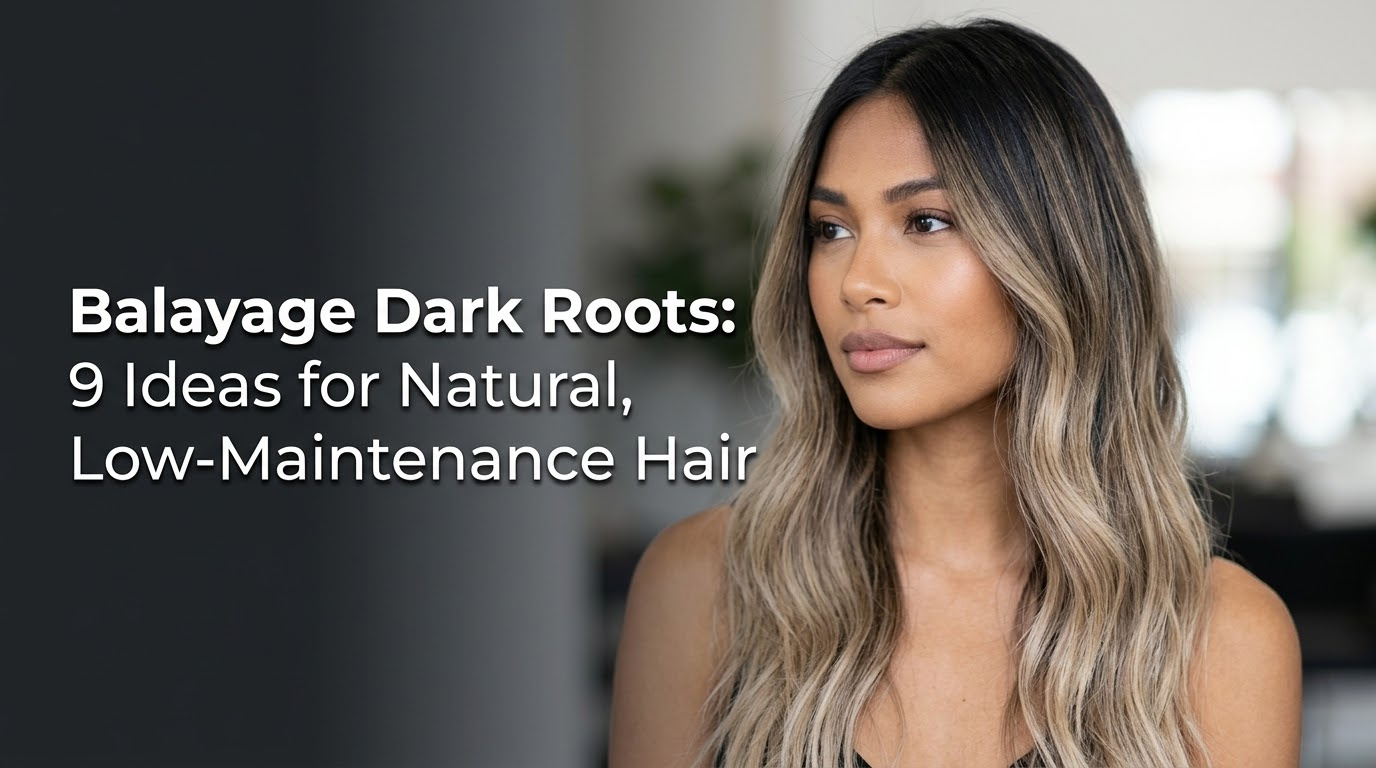
Balayage with dark roots is a hair coloring technique where lighter pieces are hand-painted onto hair, leaving the natural roots untouched or smudged with a darker color. This creates a soft, seamless gradient from dark to light, minimizing the look of regrowth and dramatically reducing maintenance. It’s the perfect way to get that lived-in hair effect.
Drawing from the proven methodologies of professional hair colorists, this guide will show you exactly how to achieve the perfect balayage dark roots. You will discover 9 stunning ideas, from subtle sun-kissed looks to bold, high-contrast styles. Get ready to find your ideal low-maintenance color.
What is Balayage with Dark Roots & Why Is It So Popular in 2026?
Balayage with dark roots is a modern hair coloring technique where a hairstylist hand-paints lighter pieces onto the hair while leaving the natural or a pre-darkened root area untouched or ‘smudged’. This method is celebrated because it creates a soft, seamless blend from the dark root to the lighter ends. Unlike traditional foils that can leave a stark line of regrowth, this approach mimics the natural way hair lightens in the sun, offering a graceful grow-out. The incredible popularity of dark root balayage in 2026 stems from its low maintenance nature. It eliminates the need for frequent salon visits to cover regrowth, saving both time and money. This lived-in hair look offers the best of both worlds: the brightness of lighter hair and the ease of embracing your natural color, creating beautiful depth and dimension without the constant upkeep.
9 Gorgeous Balayage Dark Roots Ideas for a Natural, Lived-In Look
The beauty of balayage with dark roots lies in its versatility. It’s not a one-size-fits-all style; it’s a customizable approach to hair color that can be tailored to your preference, from a subtle sun-kissed glow to a dramatic, high-contrast statement. Below, we explore nine distinct hair color ideas that showcase the incredible range of this technique. Each option provides a unique aesthetic, proving that you can have dark roots light ends that look intentional, chic, and effortlessly beautiful. Whether you desire a warm caramel balayage dark roots or a cool icy blonde, there’s a perfect version for you.
1. Achieve a Seamless Blend with a Cool-Toned Ash Blonde Balayage

Pin this stunning ash blonde balayage dark roots idea to your ‘Hair Goals’ board!
This look is for those who love a modern, sophisticated blonde without any unwanted warmth. Achieving a true ash tone ash blonde balayage dark roots on naturally dark hair is all about proper lifting and effective toning. The biggest challenge is combating the natural orange and yellow underlying pigments that appear when you lighten dark hair. The secret weapon is a powerful, high-quality ash blonde toner with a blue or violet base. This step is non-negotiable as it neutralizes the brassiness, resulting in the clean, cool toned finish that defines this style and ensures a seamless blend from the dark brown roots with ash blonde balayage.
Products & Tools Used
- Hair Bleach (Lightener) suitable for lifting dark hair (Levels 2-4)
- 30 Volume Hair Developer
- Ash Blonde Toner with a blue or violet base to counteract brassiness
- Processing Cap, Gloves, Mixing Bowl, and Application Brush
- Bond Builder additive (like Olaplex or similar) to protect hair integrity
- pH-balanced neutralizing shampoo
Application/Styling Steps
- Sectioning: Divide clean, dry hair into four quadrants.
- Painting: Starting from the back, take thin sections and begin hand-painting the bleach mixture onto the mid-lengths and ends, feathering it softly towards the root area to avoid harsh lines.
- Processing: Cover with a processing cap and let the hair lift to a pale yellow stage (like the inside of a banana peel). This can take 20-50 minutes depending on hair history.
- Rinsing & Toning: Thoroughly rinse the bleach. Apply the ash blonde toner mixed with a 10 volume developer from the smudged root area down to the ends.
- Neutralizing: Let the toner process for 10-20 minutes, or until the desired cool toned blonde is achieved. Rinse with cool water and follow with a bond-sealing conditioner.
Pro-Tip: For a true shadow root effect, apply a semi-permanent color 1-2 shades darker than your natural root color only to the first 1-2 inches of hair after rinsing the bleach but before applying the main toner. This is a form of zone toning that creates incredible depth.

2. Create Warmth and Dimension with a Honey Caramel Balayage

Save this caramel balayage dark roots look for your next salon appointment!
Perfect for brunettes who want a touch of warmth and light, the caramel balayage dark roots style is timelessly beautiful. This look adds rich, warm golden tones that create incredible dimension against dark brown roots with caramel blonde highlights. It’s designed to look like your hair was naturally lightened by the summer sun. The key is to lift the hair to the right level—not too light—and use a gold-based toner to create that perfect caramel shade, rather than a brassy orange. For even more depth, incorporating a few subtle lowlights can make the caramel ribbons pop even more.
Products & Tools Used
- Hair Bleach + 20 or 30 Volume Hair Developer
- Caramel or Golden-Beige Toner: Look for toners with a gold base.
- Application brush, bowl, gloves
- Lowlights Color (Optional): A semi-permanent dark blonde or light brown shade
- Hair Gloss treatment for post-color shine
Application/Styling Steps
- Preparation: Work with dry, unwashed hair for better grip and scalp protection.
- Painting: Use a V-shape painting technique on each section. Apply bleach more heavily on the ends and in two prongs that sweep up towards the root, leaving a darker ‘V’ of natural color in between. This creates depth.
- Add Lowlights (Optional): To enhance dimension, paint a few sections with the lowlights color, especially in the under-layers of the hair.
- Processing: Lift the hair to a golden-yellow stage. Don’t over-lift to pale yellow, as this will remove the pigment needed for a rich caramel tone.
- Toning & Glossing: Rinse thoroughly. Apply the caramel toner to all bleached sections. Process for 15-20 minutes. After rinsing the toner, apply a clear hair gloss for 10 minutes to seal the cuticle and add shine.
Pro-Tip: The key to a luxurious caramel is managing the underlying pigments. Lifting to a Level 7 (orange-gold) or Level 8 (gold) is the perfect canvas. A gold-based toner will refine this pigment into a rich caramel, whereas an ash toner would make it look muddy.

3. Go Bold with a High-Contrast Platinum Blonde and Deep Roots

Ready for a statement? Pin this platinum blonde balayage with black roots blonde hair to your ‘Bold Hair’ board.
For those who crave a dramatic, high-fashion look, the high-contrast style of black roots blonde hair is a showstopper. This platinum blonde balayage makes a bold statement by pairing deep, dark roots with striking icy blonde ends. Achieving this requires the highest level of lifting, so hair damage prevention is paramount. Using a bond builder is not just recommended; it’s essential for maintaining cuticle health. The look is perfected with a root melt technique, which artfully blends the dark root into the platinum for a soft transition that looks intentional and chic, not just overdue for a touch-up.
Products & Tools Used
- High-lift Hair Bleach (9+ levels of lift)
- 20 Volume Hair Developer (using a lower volume over a longer time is safer)
- Bond Builder (e.g., Olaplex No.1) to mix directly into the bleach
- Protein pre-treatment spray
- Violet or Silver Based Toner for a true icy blonde result
- Dark semi-permanent color for the root melt (e.g., Level 2 or 3)
Application/Styling Steps
- Prep: One week before, do a deep conditioning treatment. The day of, spray hair with a protein filler to even out porosity.
- Bleach Application: Apply bleach meticulously, staying 2-3 inches away from the scalp. Fully saturate the ends. To avoid color bleed, you can place foils or cotton between sections.
- Lift & Rinse: Process until hair is a very pale yellow (Level 10). This may require a second bleach application on very dark hair. Rinse thoroughly.
- Root Melt: Apply the dark semi-permanent color to the root area, using a clean brush to “melt” or smudge the edge where it meets the blonde for a soft transition. Process for 20 minutes.
- Tone Ends: While the root melt is processing, apply the platinum toner to the blonde ends, being careful not to overlap with the dark root color. Rinse everything together once processing is complete.
Pro-Tip: For high-contrast looks, saturation levels are everything. Ensure every strand you want platinum is fully coated in bleach. Any missed spots will create a patchy color result that is very difficult to correct later.

4. Add a Pop of Brightness with a Face-Framing Money Piece

Instantly brighten your look! Pin this dark roots + money piece idea.
The money piece is one of the most popular trends for a reason: it delivers maximum impact with minimal commitment. These bold face framing highlights instantly brighten your complexion and add a pop of high contrast excitement to your hair. It’s the perfect way to test the waters of a blonde balayage with dark roots and money piece without coloring your entire head. This technique is relatively quick, budget-friendly, and offers a powerful style update. The key is careful sectioning to ensure the money pieces are symmetrical and frame your face beautifully.
Products & Tools Used
- Small Hair Bleach Kit
- 20 Volume Developer
- Toner that matches your desired blonde shade (ash, golden, or neutral)
- 2-4 hair foils
- Sectioning clips
Application/Styling Steps
- Section the Money Piece: Take a 1/2 to 1-inch section of hair on either side of your part, from the hairline back. The deeper the section, the bolder the look. Clip the rest of the hair away.
- Mix & Apply: Mix your bleach and developer. Place a foil under the first section and paint the bleach from roots to ends.
- Saturating: Ensure the section is fully saturated. Fold the foil to keep the bleach contained and separated from the rest of your hair. Repeat on the other side.
- Processing: This front section of hair is often finer and will lift quickly. Check every 5-7 minutes.
- Rinse & Tone: Once lifted to a pale yellow, carefully rinse only the foiled sections. Apply your chosen toner for 10-15 minutes, then rinse and condition.
Pro-Tip: To make the money piece blend slightly with the rest of your hair, use a backcombing technique. Before applying bleach, gently backcomb the root of the section. The bleach will only saturate the hair that isn’t backcombed, creating a softer, more diffused line at the root.

5. Embrace the Grown-Out Look on Short Hair

Who says you need long hair? Pin this short hair balayage with dark roots inspiration!
A short hair balayage proves that you don’t need long locks to rock a beautiful, dimensional color. This technique looks incredibly chic on bobs and lobs, creating a stylish grown out look that’s both modern and easy to manage. The challenge with short hair is placement; it requires a more delicate hand-painting technique to avoid a stripey effect. The goal is a subtle, lived in blonde with carefully placed pieces that add texture and dimension, perfectly complementing the sharp lines of a shorter haircut.
Products & Tools Used
- Hair Bleach + 20 Volume Developer
- A neutral or beige Toner
- A small, detailed application brush
- Clips for precise sectioning
Application/Styling Steps
- Plan Placement: With short hair, less is more. Plan to paint only a few key pieces around the face, at the crown, and on the very tips of the longest layers.
- Fine Sections: Take very fine, almost see-through sections. This is crucial for a blended look on a bob.
- Feathering: Apply bleach starting at the mid-shaft and lightly feather upwards towards the root. On short hair, you may only be feathering up an inch or two. Fully saturate the very ends.
- Open Air Processing: For a subtler lift, use open-air technique (no foils). This provides a gentler, more natural result perfect for shorter styles.
- Quick Tone: Rinse when the pieces are lifted. Apply a neutral toner for just 5-10 minutes to refine the color without over-darkening it.
Pro-Tip: The secret to beautiful short hair balayage is focusing on the “surface.” Only paint the very top layer of each section you take. This surface painting vs saturation technique keeps the underneath dark, creating maximum dimension and preventing the color from looking solid or unnatural.

6. Master the Subtle Art of the Root Smudge

Learn the pro secret! Pin this guide to the perfect root smudge technique.
The root smudge technique is the professional’s secret to creating perfectly blended roots. This quick process is done after highlighting to blur the line where the lightened pieces begin, creating a diffused line that is the hallmark of a root smudge + seamless look. It differs from a full shadow root in that it’s a sheerer, faster application designed to just “smudge” away any harshness, making fresh highlights look instantly more natural and lived-in. Mastering this technique is key to achieving that coveted salon-quality blend at home.
Products & Tools Used
- Demi-Permanent Hair Color (1-2 shades darker than your blonde, but a similar tone)
- 6-10 Volume Developer (or a dedicated activating lotion)
- Applicator bottle for precise placement
- Wide-tooth comb
Application/Styling Steps
- Best Time to Apply: A root smudge is best done on freshly highlighted, damp hair right at the shampoo bowl.
- Mix & Apply at the Root: Mix your demi-permanent color. Apply it ONLY to the root area, about 1/2 to 1 inch down from the scalp, directly onto the line where the highlights start.
- The “Smudge”: Immediately after applying, take a wide-tooth comb and comb down just once from the root, about one more inch. This is the “smudging” action that diffuses the line.
- Process Quickly: A root smudge processes fast, typically 5-15 minutes. It’s meant to be a sheer wash of color, not an opaque coverage.
- Rinse & Condition: Rinse thoroughly with cool water and follow with conditioner.
Pro-Tip: Use an acidic vs alkaline toner for your smudge. Acidic demi-permanent colors are deposit-only and don’t lift the natural root color. This prevents accidentally creating a new, warmer band of color at the root, a common mistake that a professional hair colorist avoids.

7. Create Ultimate Depth with a Reverse Balayage

Too blonde? Pin this reverse balayage dark roots technique to add depth back in.
What if you’re already blonde and want to transition to a more rooted, low-maintenance look? The answer is a reverse balayage dark roots. This form of corrective color is designed for adding dark roots to blonde hair that has become too solid or over-processed. By strategically painting lowlights back into the hair, a stylist reintroduces the dimension and depth that was lost. This technique not only makes the remaining blonde pop but also sets you up for a much easier grow-out period, making it the perfect solution for those looking to move away from high-maintenance blonde.
Products & Tools Used
- Demi-Permanent Lowlight Color (e.g., dark blonde or light brown)
- Demi-Permanent Shadow Root Color (matches your natural root)
- Red/Gold Protein Color Filler (if hair is very light platinum)
- Application brushes and foils
Application/Styling Steps
- Fill Porous Ends (If Needed): If your ends are near-white, you must first apply a red/gold protein filler and process for 15 mins. This gives the dark color something to hold onto. Rinse and dry.
- Apply Shadow Root: Apply your chosen root color 2-3 inches down from the scalp.
- Weave & Paint Lowlights: Take sections of hair, weave them as you would for a highlight, but apply the lowlight color to the hair left out of the weave. Paint this color down to the ends and wrap in a foil.
- Alternate: Leave some sections of blonde out between your lowlight foils to maintain brightness and contrast.
- Process & Rinse: Let the colors process for 20-30 minutes, then rinse everything together.
Pro-Tip: The key to a natural reverse balayage is interstitial spacing. Leave more of the original blonde around the face and through the top layer, and concentrate the lowlights in the mid-sections and underneath. This mimics how hair naturally has more depth and less sun exposure on the bottom layers.

8. Try a Lived-In Blonde Look for Straight Hair

Yes, you can! Pin this straight hair balayage with dark roots guide.
A common myth is that balayage only looks good on wavy hair, but a straight hair balayage can be stunningly beautiful when done correctly. The trick is absolute precision. Without waves to hide imperfections, the blending and feathering technique must be flawless to create a lived in blonde look and avoid any hint of stripes. Using micro-fine highlights, often called babylights, combined with a heavy backcombing technique ensures an ultra-soft and seamless blend. A clay-based lightener is often preferred here as its thicker consistency allows for more precise application.
Products & Tools Used
- Clay-Based Hair Lightener (this has a thicker consistency that doesn’t swell or bleed, which is ideal for precision on straight hair)
- 20 Volume Developer
- A neutral or natural beige Toner
- A fine-toothed comb for backcombing
Application/Styling Steps
- Deep Backcombing: Take a fine horizontal section. Hold it taut and use your comb to pack 75% of the hair up towards the root.
- Paint the Ends: Apply your clay lightener ONLY to the hair that is left out of the backcombed “cushion.” This ensures a super-soft, diffused transition.
- Place on Foil: Lay the painted section on a foil for clean separation, but do not fold it tightly. This allows for a gentle lift.
- Release and Check: After processing, the backcombing will brush out easily. You will be left with ultra-fine, perfectly blended highlights.
- Tone Globally: Apply a sheer, neutral toner all over for 5-10 minutes to marry the tones together for a perfect lived-in blonde finish.
Pro-Tip: For an even softer look, paint your highlights in a “W” pattern on the section. This creates two small peaks of brightness with a slightly deeper center, which looks incredibly natural when the hair is lying flat and straight.

9. Get a Sun-Kissed Glow with Golden Blonde Babylights

For the most natural look ever, pin this sun-kissed babylights tutorial.
For the ultimate natural looking blonde, the goal is to look like you have no hair color at all—just a perfect, sun-kissed glow from a summer spent outdoors. This is achieved with babylights, a technique that involves creating micro-fine highlights that mimic the subtle, multi-tonal hair of a child. The ‘less is more’ approach is crucial. By using a gentle lightener and concentrating these delicate strands around the face and part line, you create a believable, warm golden glow that results in the most natural regrowth possible.
Products & Tools Used
- A gentle cream lightener
- 10 or 20 Volume Developer
- A highlighting cap OR a pin-tail comb for micro-weaving
- A sheer golden blonde toner or gloss
Application/Styling Steps
- Isolate Micro-Sections: Using the tip of a pin-tail comb, weave out incredibly fine strands of hair from sections around your part line and hairline. We are talking 10-20 hairs per strand.
- Apply with Precision: Mix your gentle lightener. Carefully paint only these micro-strands, placing a piece of foil behind them for separation.
- Process with Care: These fine strands will lift very quickly. Check them every 5 minutes. You are aiming for a subtle, golden blonde, not platinum.
- Rinse and Gloss: Rinse carefully. Instead of an opaque toner, use a sheer golden blonde hair gloss all over for 5-10 minutes. This will add shine and a hint of tone to all the hair, making the babylights blend perfectly.
Pro-Tip: To mimic true sun lightening, concentrate the babylights where the sun would naturally hit: along your part, around your hairline, and on the very tips of your hair. Leave the undersections almost entirely your natural color. This is the secret to a believable sun-kissed look.

Key Takeaways
Your journey to perfect, low-maintenance hair color is within reach. This guide has equipped you with the inspiration and technical knowledge to achieve the ideal balayage dark roots look. To simplify everything we’ve covered, here are the most critical takeaways to remember for your next salon visit or DIY session.
- Embrace the “Smudge” for a Seamless Blend: The key to a low maintenance, lived-in hair look is a root smudge or shadow root. This technique uses a demi-permanent color at the root to blur any lines where highlights begin, preventing a harsh grow-out.
- Toner is Not Optional, It’s Everything: Bleach only lifts color; toner determines the final shade. To fix orange roots or yellow ends, you need a toner with a blue/violet base. For warm caramel or honey tones, you need a toner with a gold base.
- Technique Defines the Look: A balayage is a freehand painting technique. A shadow root creates a deep, intentionally “grown-out” look. A root smudge is a softer, quicker blend right at the root line. Knowing these terms helps you ask your stylist for exactly what you want.
- Protect Your Hair Integrity: High-lift color is demanding on hair. Using a bond builder (like Olaplex) in your bleach and doing weekly deep conditioning treatments is critical for damage prevention and keeping hair healthy.
- Maintenance is Low, Not “No”: While balayage dark roots is a low maintenance solution, you still need to care for it. Use a purple shampoo once a week to fight brassiness on cool blondes and get a professional hair gloss every 6-8 weeks to refresh the tone and add shine.
FAQs About Balayage Dark Roots
What is the difference between shadow root and balayage?
A shadow root is a coloring technique, while balayage is an application method. Balayage is the process of hand-painting highlights onto the hair. A shadow root is when a stylist applies a darker color directly at the roots (usually after highlighting) to create the contrast and depth of a “grown-out” look. You can have balayage without a shadow root, but a shadow root is often used with balayage to create the popular dark roots light ends style.
How do I ask my stylist for a dark root balayage?
Use clear language and bring photos. Ask for a “lived-in blonde” or “rooted blonde balayage.” Specify how much root you want to see (e.g., “about 2 inches of my natural dark root”). Mention keywords like “seamless blend” and “no harsh lines.” The best way is to show them 2-3 inspiration photos from this article and point out what you like about the root depth and the blonde tone.
How often do you need to touch up dark root balayage?
The biggest benefit is the low maintenance, with touch-ups needed only every 3-6 months. Unlike traditional highlights that require touch-ups every 6-8 weeks to cover regrowth, the blended shadow root grows out gracefully. Most people visit the salon for a toner refresh or hair gloss every 8-10 weeks to keep the blonde bright, but the major lightening service is needed far less often.
Can you do balayage on dark roots without bleach?
It is generally not possible to achieve a noticeable blonde balayage on dark hair without bleach. Bleach (or ‘lightener’) is required to lift the natural dark pigment out of the hair. High-lift color can provide a few levels of lift on virgin hair, but it will typically result in a warm caramel or light brown, not a true blonde. For any kind of creamy blonde or icy blonde on dark roots, bleach is a necessary tool.
Why do my balayage roots look orange?
Your roots look orange because the hair wasn’t lifted light enough and/or wasn’t toned correctly. Dark hair lifts in stages, passing through red, orange, and gold before reaching pale yellow. If the lifting process is stopped at the orange stage, you will see orange. This is a common issue that is fixed by using a toner with a blue base, as blue sits opposite orange on the color wheel and effectively neutralizes it.
Is balayage better than highlights for dark roots?
Yes, for low maintenance, balayage is almost always better than traditional highlights for dark roots. Traditional highlights are placed in a uniform pattern right from the scalp, creating a harsh line of demarcation as the hair grows. Balayage combined with a root smudge is specifically designed to blend with your natural color, eliminating that harsh line and allowing for a much softer, more natural regrowth.
How much does dark root balayage cost?
The cost varies widely but expect to pay a significant amount for the initial service in 2026. Prices depend on your location, the salon’s prestige, and the stylist’s experience. The initial appointment is an investment because it’s a long, technical service. However, because the maintenance is so infrequent (every 3-6 months), it can be more cost-effective over the year than traditional highlights.
What is a reverse balayage with dark roots?
A reverse balayage is when a stylist adds dark pieces back into hair that is too blonde. It’s a corrective color technique used to create depth and dimension. The stylist will paint lowlights (darker strands) through the hair and apply a dark root color, breaking up a solid blonde and transforming it into a more natural, multi-tonal balayage dark roots look.
Can you have balayage with black roots?
Absolutely, balayage with black roots creates a very popular high-contrast look. As seen in Idea #3, styles like black roots blonde hair are bold and fashionable. The key is a skillful root melt to ensure the transition from the black root to the lighter ends is blended, even if it’s a dramatic contrast. An expert colorist can make this look intentional and chic rather than just grown-out.
How do you blend dark roots with blonde balayage?
The best blending techniques are the root smudge and the root melt. A root smudge involves applying a demi-permanent color 1-2 shades lighter than your natural root over the area where the highlights begin, then combing it down slightly to blur the line. This is the fastest and most common method used by a professional hair colorist to create a seamless blend.
Final Thoughts on Embracing Your Natural Dark Roots with Balayage
Ultimately, choosing a balayage dark roots style is about embracing a smarter, more modern approach to hair color. It’s a declaration that you can have stunning, dimensional color without being a slave to the salon chair. This technique celebrates your natural hair, using it as a beautiful foundation to build upon, rather than something to constantly cover up. By understanding the key techniques like the root smudge and the critical role of a good toner, you are empowered to work with your stylist to create a look that is perfectly customized for you. This is more than just a trend; it’s a practical and beautiful way to enjoy your hair color. Which of these lived-in hair ideas will you be trying first?
Last update on 2026-04-27 / Affiliate links / Images from Amazon Product Advertising API