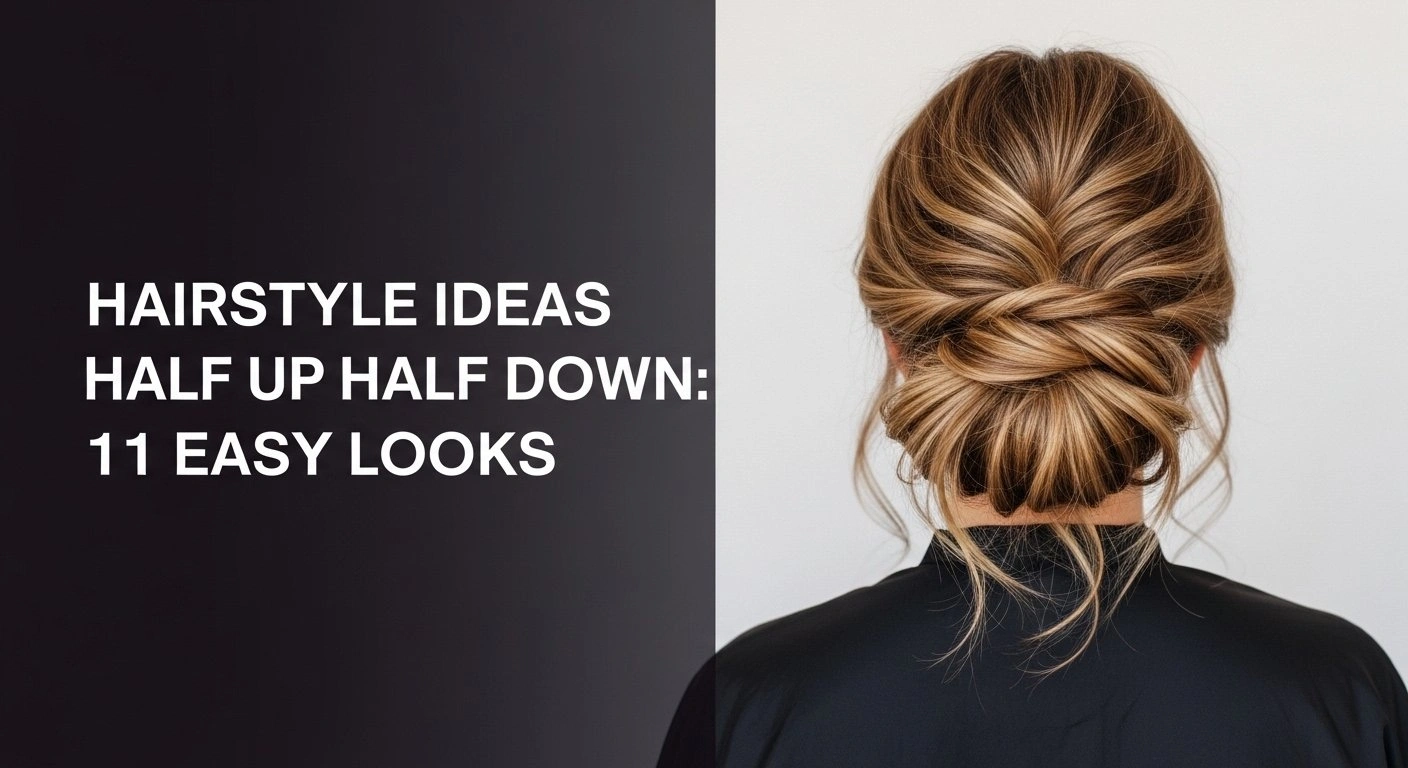
Tired of that harsh regrowth line just weeks after leaving the salon? The cycle of frequent, expensive touch-ups can be frustrating when all you want is beautiful, effortless hair color. You’re looking for a change that enhances your look without demanding constant upkeep.
Balayage is a freehand hair coloring technique where a stylist hand-paints lightener onto the hair, creating a soft, natural, and graduated transition of color. This method avoids the harsh lines of traditional foils, resulting in a sun-kissed hair look that grows out seamlessly and requires far less maintenance.
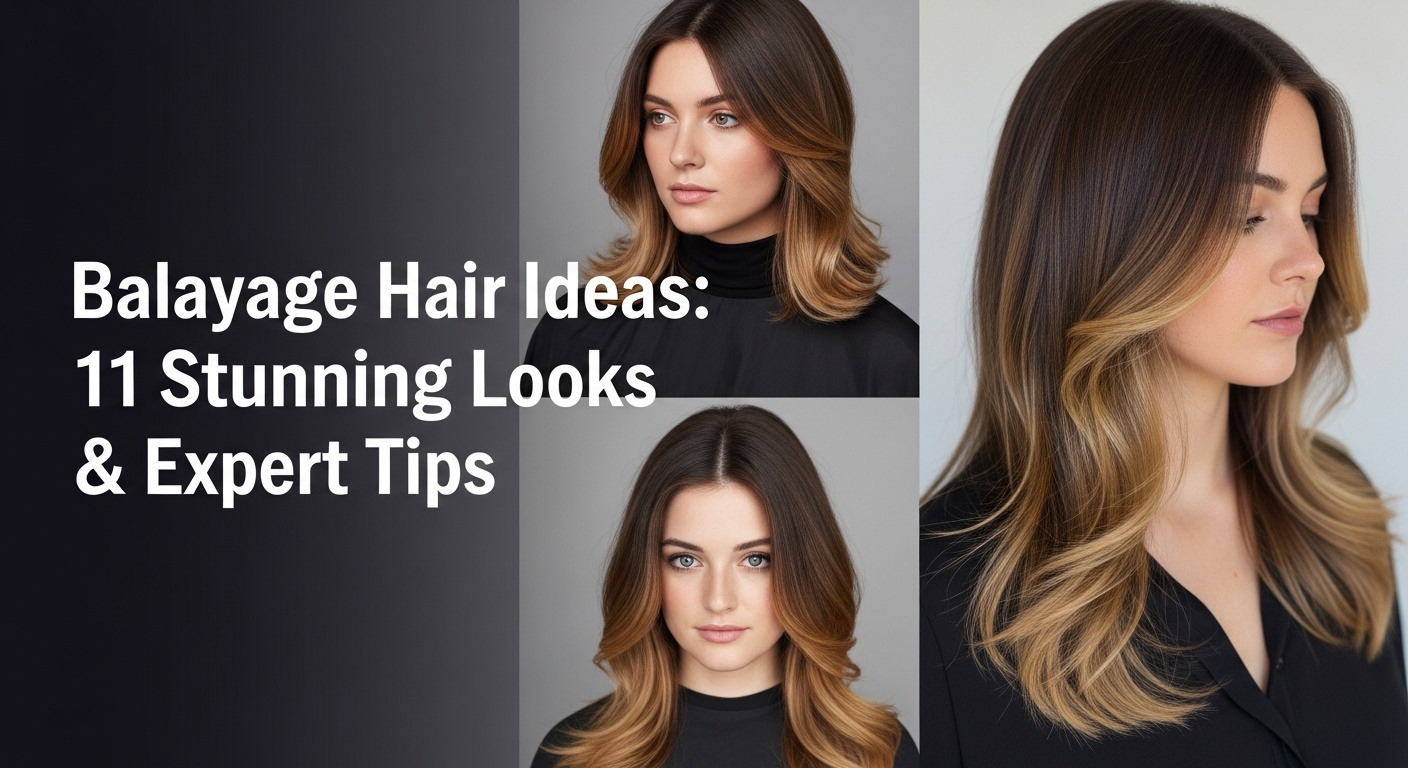
Drawing from established best practices and data from top salon professionals, this guide provides the ultimate visual inspiration for your hair journey. We’ll explore 11 stunning balayage hair ideas, from subtle balayage for beginners to bold, modern looks. You’ll discover exactly what to ask for and how to maintain your perfect, lived-in color.
What Is Balayage and Why Is It the Ultimate Low-Maintenance Hair Color?
At its core, balayage, a French word meaning “to sweep,” is more of an artistic technique than a specific color. Unlike traditional highlighting methods that use foils to create uniform, sometimes stripy, sections, balayage hair color is painted directly onto the hair’s surface. This hand-painted hair approach allows a certified colorist to place light and dimension exactly where the sun would naturally hit, creating a graduated color effect that is both beautiful and incredibly forgiving. The biggest advantage is the elimination of harsh lines during grow-out. Because the color is feathered towards the root, the transition is so seamless that it results in soft regrowth, allowing you to extend time between salon visits from weeks to several months, making it the pinnacle of low-maintenance hair color.
Balayage vs. Ombré vs. Traditional Highlights: What’s the Difference?
Understanding the key differences between popular highlighting techniques is crucial for effectively communicating your desired look to your stylist. While they all involve lightening the hair, their application methods and final results are distinctly different. Balayage vs traditional highlights is a common point of confusion, as is the distinction between balayage and its close cousin, ombré. Choosing the right service ensures you leave the salon with the exact natural-looking or dramatic effect you envisioned. The following table breaks down each technique to help you make an informed decision.
| Technique | Application Method | Final Look | Maintenance Level | Best For |
|---|---|---|---|---|
| Balayage | Freehand, hand-painting technique. Color is “swept” onto the surface of the hair. | Soft, blended, vertical highlights. A natural-looking, sun-kissed hair effect. | Low. Soft regrowth with no harsh lines. Touch-ups every 3-6 months. | Those seeking a natural, low-maintenance color with a graceful grow-out. |
| Traditional Highlights | Uses foils to saturate sections of hair from root to tip. | Uniform, defined, and often linear strands of color. Can be chunky or fine. | High. Creates a clear line of demarcation as hair grows. Root touch-ups needed every 6-8 weeks. | Those wanting a more consistent, patterned, and less subtle lift from root to end. |
| Ombré | A more horizontal color placement, transitioning from a dark base to fully lightened ends. | A dramatic, two-toned gradient effect from dark to light. | Medium. Since the roots are kept dark, there is no urgent need for root touch-ups. | Those looking for a bold, high-contrast style that is intentionally not natural-looking. |
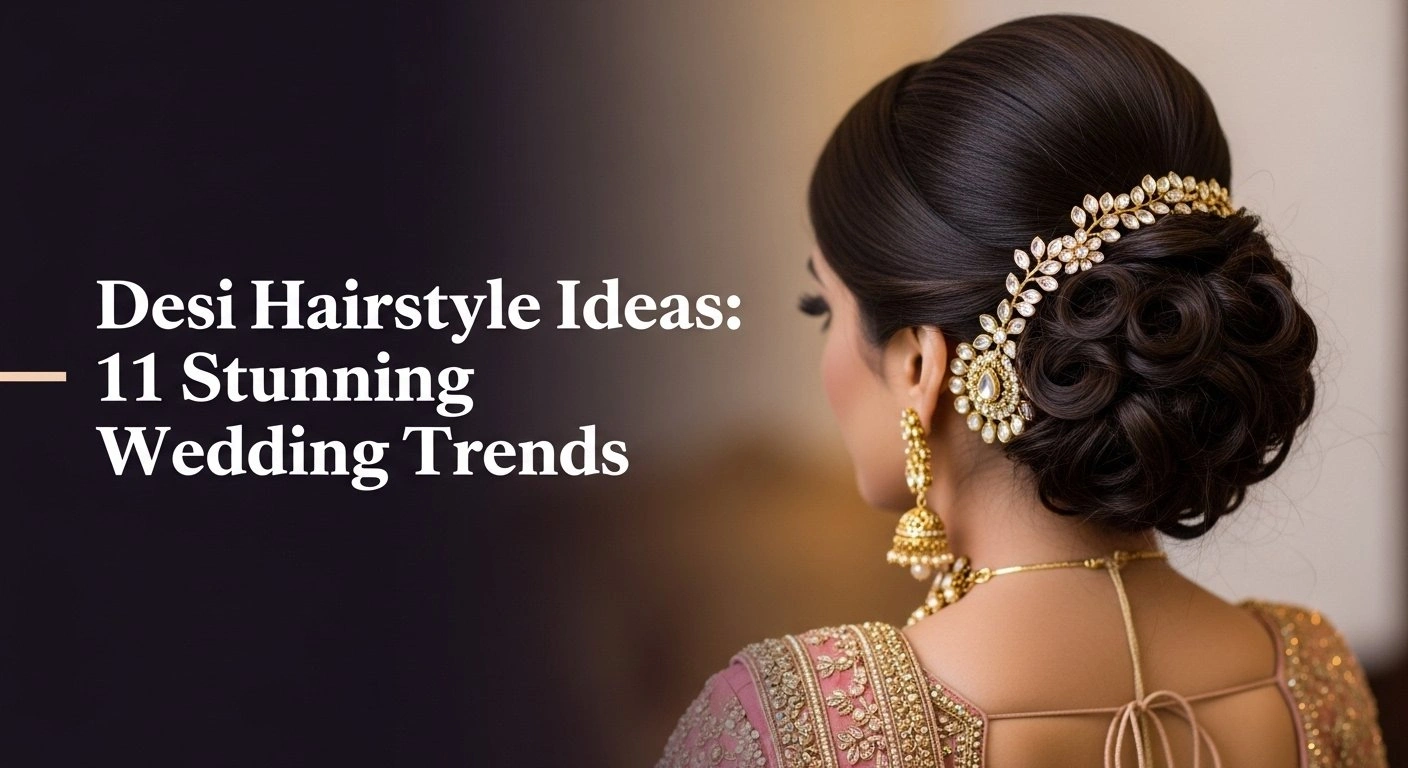
11 Stunning Balayage Hair Ideas for Your Next Salon Visit
This is the ultimate visual gallery to help you find your perfect match. We’ve curated 11 of the most sought-after balayage styles, complete with expert advice on who they’re best for and, most importantly, how to care for them. Whether you’re a brunette looking for a subtle lift or a blonde wanting to add dimension, you’ll find actionable inspiration here. Save your favorite looks to show your salon professional at your next appointment.
1. Achieve a Rich Caramel Balayage for Brunettes

Pin this gorgeous brunette look to your ‘Hair Goals’ board!
The caramel balayage look is a timeless choice for balayage for brunettes. It involves painting warm, honeyed caramel tones onto a dark brown or black base, creating incredible depth and a high-shine finish. This style is perfect for those with dark hair balayage aspirations who want to add warmth and dimension that looks rich and sophisticated, not brassy. It’s an especially beautiful choice for the fall and winter months.
Products & Tools Used
- Sulfate-free shampoo formulated for color-treated hair to prevent fading.
- A gloss treatment designed to boost warm, caramel tones and add a glossy finish.
- Deep conditioning hair mask with bond-building technology (e.g., Olaplex No. 8).
- High-quality heat protectant spray.
- 1.25-inch curling iron to create soft waves that showcase the dimension.
Styling & Maintenance Steps
- Wash hair 2-3 times per week with the color-safe shampoo to preserve vibrancy.
- Once a week, apply the deep conditioning hair mask and leave it on for 10 minutes to repair dry ends and maintain hair health safety.
- Every 4-6 weeks, use the at-home gloss treatment to refresh the caramel tones and prevent them from looking dull.
- Before heat styling, always apply heat protectant spray generously.
- Create loose, flowing waves with the curling iron, curling away from the face to best display the face-framing pieces.
Pro-Tip: Ask your certified colorist to use a root smudge or color melt technique at the crown. This creates an even more seamless blend and ensures the grow-out is incredibly soft regrowth, extending time between salon visits to 3-4 months.

2. Embrace Cool Tones with an Ash Blonde Balayage

Save this chic ash blonde look for your stylist appointment!
An ash blonde balayage is the epitome of cool, modern sophistication. This look features smoky, silvery, or beige blonde tones painted onto a darker ashy base, making it one of the most popular blonde balayage ideas. It’s the perfect choice for those with cool skin undertones who want to avoid the yellow tones common in warmer blondes. Achieving and maintaining this color requires a commitment to banishing brassy hair.
Products & Tools Used
- High-quality purple shampoo to neutralize yellow tones.
- A hydrating, color-safe conditioner.
- A weekly toning mask or gloss in a cool-ash shade.
- Leave-in conditioner with UV protection to prevent color fading.
- Sea salt or texture spray to enhance a piecey, lived-in color look.
Styling & Maintenance Steps
- Use the purple shampoo once every 1-2 weeks. Leave it on for 3-5 minutes for effective toning. Overusing it can deposit a lilac tint.
- On other wash days, use a standard color-safe shampoo and the hydrating conditioner.
- Apply the toning mask every 2-3 weeks to refresh the ashy color and combat any emerging brassiness.
- After showering, spritz with a leave-in conditioner to protect the hair and keep it hydrated.
- Style by scrunching in texture spray for an effortless, cool-girl wave that highlights the subtle contrast.
Pro-Tip: To achieve a true ash without excessive damage, the lightening process may need to be done in multiple sessions. Discuss a long-term plan with your stylist and incorporate bond builders like Olaplex into the service to protect the hair’s structural bonds.

3. Get Sun-Kissed with a Natural Honey Blonde Balayage

Want that “just back from the beach” glow? Pin this look!
If “effortless” and “radiant” are your hair goals, look no further than honey blonde highlights. This classic blonde balayage idea uses warm, golden tones to create the ultimate sun-kissed hair effect. It’s universally flattering and designed to mimic the way sunlight naturally lightens hair, resulting in a healthy-looking glow. The focus is on warm + tones that look bright and bouncy, not bleached.
Products & Tools Used
- Shampoo and conditioner with shine-enhancing properties.
- A gold-toned color-depositing conditioner or mask to boost vibrancy.
- Argan or hair oil for nourishing ends and adding a high-shine finish.
- A round brush and blow dryer for a smooth, voluminous blowout.
- Light-hold hairspray to maintain bounce without stiffness.
Styling & Maintenance Steps
- Wash hair as needed with the shine-enhancing shampoo and conditioner.
- Once a week, use the gold-toned color-depositing conditioner instead of your regular one to amplify the honey shades.
- Apply 1-2 drops of hair oil to damp hair from mid-lengths to ends before blow-drying.
- Use a round brush to blow dry hair in sections, lifting at the root for volume and smoothing the ends to reflect light.
- After styling, rub a single drop of hair oil between your palms and lightly smooth over the surface to tame flyaways and maximize the glossy finish.
Pro-Tip: The key to a perfect honey blonde balayage is varying the brightness. Ask your stylist for a mix of lighter golden pieces and deeper honey tones. This creates true multi-dimensional color that looks more expensive and natural.

4. Try the Trendy Mushroom Brown Balayage

Obsessed with this cool, earthy tone? Pin it for later!
Mushroom brown balayage for brunettes is the high-fashion, earthy alternative to traditional caramel. This sophisticated balayage hair color idea blends cool, ashy light brown and beige tones into a brunette base, creating a subtle balayage effect that is chic and modern. It’s the perfect choice for brunettes who want an update but are determined to avoid any red or golden warmth, resulting in a unique ash brown balayage.
Products & Tools Used
- A blue-toned shampoo to neutralize orange or brassy tones in lightened brown hair.
- Conditioner for damage repair on color-treated hair.
- An ash-brown color-depositing mask.
- A flat iron for creating sleek looks or undone bends.
- Texturizing dry shampoo to add volume and a matte, modern finish.
Styling & Maintenance Steps
- Use the blue shampoo once a week to keep the mushroom tones cool and free of brassiness.
- Focus conditioner on the mid-lengths and ends, where hair is most porous from lightening.
- Every 3-4 weeks, apply the ash-brown mask to refresh the color’s depth and coolness.
- For a sleek look, straighten hair in sections. For a modern, bent look, use the flat iron to create “S” waves.
- Finish by spraying dry shampoo at the roots and through the mid-lengths to create airy texture and separation.
Pro-Tip: Mushroom brown is all about the tonal neutralization. To prevent it from fading warm, ask your stylist for a take-home custom-mixed gloss treatment. This is a service many high-end salons offer and is a game-changer for maintenance.

5. Go Bold with a Vibrant Copper Balayage

Ready to turn heads this fall? Pin this fiery copper balayage!
For a bold, head-turning statement, a vibrant copper balayage for redheads and brunettes is unmatched. This look embodies the best of fall hair colors, with fiery copper and rich auburn tones painted through the hair to create a warm, luminous effect. Copper balayage hair is exceptionally beautiful on those with warm skin tones and is a fantastic way to enhance natural texture in curly or wavy hair, making each curl pop with color.
Products & Tools Used
- A color-safe shampoo specifically for red or copper tones, which are known to fade quickly.
- A copper-toned color-depositing conditioner or mask.
- A curl-defining cream or mousse.
- A diffuser attachment for your blow dryer.
- A light hair oil for sealing in moisture and adding shine.
Styling & Maintenance Steps
- Wash hair with lukewarm or cool water, as hot water opens the cuticle and accelerates red color fading.
- Use the copper color-depositing conditioner every other wash to keep the color vibrant.
- While hair is soaking wet, rake the curl-defining cream through your hair for even distribution.
- Use a diffuser on low speed and medium heat to dry curls, which enhances definition and minimizes frizz.
- Once dry, scrunch in a small amount of light hair oil to break up any cast from the cream and add a radiant shine.
Pro-Tip: Red and copper molecules are larger and fade faster than other colors. To combat faded color, ask your stylist about a clear gloss treatment or cellophane service between color appointments. This seals the cuticle, locks in color, and adds incredible shine.

6. Opt for a Subtle Balayage on Dark Hair

The perfect, low-key upgrade for dark hair. Pin this subtle look!
A subtle balayage is the perfect entry point for anyone with very dark or black hair who is hesitant about color. This dark hair balayage focuses on adding dimension and shine rather than a dramatic color change. A stylist will paint on tones just one or two shades lighter than your base—think deep chocolate or espresso—to create movement and depth. It’s the ultimate low-maintenance option for a natural looking balayage for dark hair that looks polished and professional.
Products & Tools Used
- A shampoo and conditioner designed to enhance shine and protect against UV fading.
- A high-quality shine serum or spray.
- A boar bristle brush for smoothing and distributing natural oils.
- A silk or satin pillowcase to reduce friction and maintain smoothness.
Styling & Maintenance Steps
- This look requires the least maintenance of all. Simply use your shine-enhancing shampoo and conditioner as usual.
- After styling, apply a small amount of shine serum to make the subtle color variations catch the light.
- Brush hair nightly with a boar bristle brush to distribute oils from the scalp to the ends, keeping it naturally conditioned and glossy.
- Sleep on a silk or satin pillowcase. This minimizes frizz and breakage, preserving the sleek, healthy look that makes this style work.
- A clear gloss at the salon every 3-4 months is optional but will dramatically boost the shine.
Pro-Tip: The success of this look is in the placement. Ask your stylist for a partial balayage or just a few “peekaboo” pieces painted underneath and around the ends. This ensures the effect is truly subtle and looks like natural light hitting the hair.

7. Perfect a Balayage on Short Hair (Bob or Lob)

Short hair, don’t care! Pin this chic balayage bob inspiration.
Wondering will balayage work on short hair? The answer is a resounding yes! A short hair balayage on a bob or lob is incredibly chic and modern. The technique is used to add dimension, texture, and the illusion of thickness, preventing a sharp cut from looking flat. For a balayage bob, the color is often concentrated towards the ends and around the face, making the style pop and look effortlessly cool.
Products & Tools Used
- A volumizing shampoo to give lift at the roots.
- A lightweight conditioner that won’t weigh hair down.
- Texturizing spray or salt spray.
- A 1-inch flat iron for creating undone, piecey waves.
- A small amount of matte pomade or wax for definition.
Styling & Maintenance Steps
- Wash hair with volumizing shampoo, focusing on the scalp. Apply conditioner only to the ends.
- On damp or dry hair, liberally spray texturizing spray all over to give it grit and hold.
- Take random sections of hair and use the flat iron to create a slight bend in the middle, leaving the ends straight. This creates a modern, textured look.
- Rub a pea-sized amount of matte pomade between your fingertips.
- Use your fingers to twist and define a few key pieces around the face and on the ends to show off the balayage and create separation.
Pro-Tip: For short hair, the money piece is everything. Ask your stylist to concentrate the brightest pieces around your face. This has a huge impact and makes the whole style look brighter and more intentional.

8. Define Curls with a Custom Balayage

Let your curls shine! Pin this custom-painted balayage idea.
If you have curls, you might ask, can you balayage curly hair without ruining your pattern? Yes, and it can be transformative. For curly + texture, a special technique often called “Pintura” (Portuguese for “painting”) is used. The colorist paints highlights onto individual curls while the hair is dry. This method allows them to see exactly where the light will hit and how to enhance natural texture, creating a halo of dimensional hair color that makes curls look healthier and more defined.
Products & Tools Used
- A sulfate-free, moisturizing co-wash or shampoo for curly hair.
- A very rich, thick deep conditioner or hair mask.
- A leave-in conditioner to provide a base layer of moisture.
- A strong-hold curl gel or cream to define the curl pattern.
- A microfiber towel or t-shirt for drying.
Styling & Maintenance Steps
- Gently cleanse with the co-wash, and detangle hair with your fingers only when it is saturated with conditioner.
- After rinsing, while hair is still soaking wet, apply leave-in conditioner followed by the curl gel using the “praying hands” method to glaze it over your curls.
- Scrunch hair upwards towards the scalp with a microfiber towel to remove excess water and encourage curl formation.
- Air-dry or use a diffuser on low speed and low heat. Do not touch your hair while it is drying to prevent frizz.
- Once 100% dry, gently “scrunch out the crunch” of the gel cast with your hands, to which you can add a drop of oil, to reveal soft, defined, balayaged curls.
Pro-Tip: Finding a stylist experienced in coloring curly hair is non-negotiable. During the consultation, ask if they use the pintura technique or if they plan to paint the highlights on your hair while it’s dry and in its natural curly state. This is critical for perfect placement.

9. Brighten Up with a Face-Framing Money Piece

The fastest way to brighten your look! Pin this money piece inspiration.
One of the biggest balayage trends 2026 is the money piece. This involves adding a bright, face-framing highlight to the front sections of your hair. As a component of a larger balayage service, the money piece provides a high-impact pop of brightness that instantly lifts your complexion and makes your color look fresh. It’s a great way to get a lighter feel without committing to a full head of highlights.
Products & Tools Used
- A purple or blue shampoo, depending on if the money piece is blonde or light brown.
- A bond-repairing treatment (like Olaplex No.3) to use at home on the most processed sections.
- Root touch-up spray for in-between appointments.
- A round brush for styling the front sections.
Styling & Maintenance Steps
- Since the front sections are the most processed and fragile, always handle them with care.
- When using a toning shampoo, you may want to apply it to the money piece sections first, as they might need more toning.
- Once a week, apply a bond builder treatment just to the damp money piece sections and let it sit for 10-20 minutes before washing.
- When blow-drying, use a medium round brush to sweep the money piece sections away from the face for a flattering, feathery effect.
- As roots grow in, use a root touch-up spray at the part-line to blend the regrowth until your next salon visit.
Pro-Tip: A money piece doesn’t have to be platinum blonde. For a more subtle balayage look, ask for a money piece that is just one or two shades lighter than your overall balayage color. This still brightens the face but in a much softer, more natural-looking way.

10. Master the “Lived-In” Reverse Balayage

Too blonde? Pin this reverse balayage idea for a more natural, lived-in color.
So, what is a reverse balayage? It’s a color correction technique for those who have gone too blonde or whose highlights have become a solid mass of color. Instead of painting on lightener, your stylist will paint on lowlights and use a root smudge to add your natural color back in. This breaks up the solid blonde, adds dimension and depth, and creates the ultimate lived-in color look that is incredibly low-maintenance.
Products & Tools Used
- A gentle, color-safe shampoo.
- A conditioner focused on moisture, not toning.
- A clear shine gloss to use at home.
- A blow-dry primer to smooth the hair cuticle.
Styling & Maintenance Steps
- The beauty of this look is its simplicity. There is no special toning shampoo required. Just use your favorite color-safe products.
- The main goal is to keep hair healthy and shiny to show off the new depth. Use a weekly moisture mask.
- When styling, a smooth blowout is ideal for showcasing the seamless color melt from the roots to the ends.
- Apply a blow-dry primer before drying to smooth the cuticle and add shine.
- Your maintenance will be significantly reduced. You may only need a gloss treatment and trim every 3-4 months.
Pro-Tip: The key to a natural-looking reverse balayage is using a semi-permanent or demi-permanent color for the darker tones. This ensures they fade gradually and on-tone, preventing a new, weird line of demarcation as your hair grows. Ask your stylist what type of color they plan to use.

11. Enhance Straight Hair with a Subtle “Ribbon” Balayage

Sleek, chic, and sophisticated. Pin this ribbon balayage for straight hair.
Does balayage look good on straight hair? Absolutely, but the placement has to be perfect. On straight hair, there are no waves or curls to hide a bad blend, so a “ribbon” balayage is key. This technique involves painting very fine, fluid sections of color that flow through the hair like ribbons. This approach prevents harsh lines and creates a subtle sun-kissed balayage for straight hair that looks incredibly chic, adding dimensional hair color and a high-shine finish.
Products & Tools Used
- A smoothing, anti-frizz shampoo and conditioner.
- A high-quality flat iron with temperature control.
- A heat protectant cream (creams are often better than sprays for even coverage on straight hair).
- An anti-humidity finishing spray.
- A fine-toothed comb for creating a clean part.
Styling & Maintenance Steps
- Wash and condition with smoothing products to create a sleek canvas.
- Apply heat protectant cream evenly throughout damp hair.
- Blow dry hair as smooth as possible, using a paddle brush and pointing the nozzle downwards to seal the cuticle.
- Set your flat iron to the appropriate temperature for your hair type (lower for fine hair, higher for coarse).
- Pass the flat iron over 1-2 inch sections from root to tip in a single, smooth motion. Do not go over the same section multiple times to prevent damage.
- Lightly mist with an anti-humidity finishing spray to lock in the style and block out frizz.
Pro-Tip: The blend is less forgiving on straight hair. Ask your colorist about a foilyage technique. This involves placing some of the hand-painted sections in foils to achieve a slightly brighter lift, then blending it all with a final gloss treatment for a perfect, fluid finish.

Key Takeaways
- Balayage is a Low-Maintenance Technique: Its primary benefit is the hand-painted application that creates a soft regrowth, allowing you to go 3-6 months between salon appointments.
- It’s Different From Traditional Highlights: Balayage creates a natural, graduated color effect, while traditional foil highlights create more uniform, defined strands from the root.
- Maintenance is About Tone, Not Roots: The biggest challenge is not grow-out, but keeping your color from turning brassy. Using the right toning products (purple shampoo for blondes, blue for brunettes) is essential.
- It Can Be Customized for Everyone: Whether you have short hair, curly hair, or stick-straight dark hair, a salon professional can adapt the technique (like “pintura” for curls) to flatter your features and hair type.
- Protect Your Investment with Professional Products: Using salon-grade, sulfate-free shampoos and bond builders like Olaplex is non-negotiable to prevent faded color and hair breakage.
- Communication is Key: Know the right language. Use terms like root smudge, money piece, and tonal neutralization when talking to your certified colorist to get the exact look you want.
People Also Ask About Balayage Hair
How long does balayage last?
A balayage color can last anywhere from 3 to 6 months, which is its main appeal. The hand-painted technique creates such a soft regrowth at the root that you don’t get a harsh line as your hair grows. While the color placement lasts, you may need a gloss treatment or toner refresh every 6-8 weeks to maintain the desired shade and combat brassiness.
Does balayage damage your hair?
Any process involving lightener or bleach can cause some level of damage, but balayage is often less damaging than traditional all-over highlights. Because it’s painted on specific sections and often avoids the roots, less of your hair is being processed. A skilled colorist using salon-grade products and a bond builder like Olaplex can significantly minimize damage and protect your hair’s integrity.
How much does balayage cost on average?
The cost of balayage varies widely, typically ranging from $200 to $500 or more. Factors influencing the price include your location (major cities are more expensive), the salon’s prestige, the stylist’s experience level, and your hair’s length and thickness. A partial balayage or just a money piece will be less expensive than a full balayage.
Can you do balayage on dark or black hair?
Yes, balayage looks beautiful on dark hair and is one of the best ways to add dimension without a drastic change. For very dark hair, a stylist may create a subtle balayage using deep chocolate, espresso, or caramel tones. It’s important to have realistic expectations, as lifting black hair to a very light blonde in one session can be damaging.
Is balayage low maintenance?
Yes, balayage is considered a very low-maintenance hair color regarding regrowth. You won’t need root touch-ups every 4-6 weeks like with traditional foils. However, it does require maintenance at home to preserve the tone. You will need to invest in color-safe shampoos and potentially toning products to keep the color looking fresh and prevent brassy tones.
How is balayage different from ombré?
The main difference is in the application and final look. Balayage involves painting vertical, diffused highlights throughout the hair for a blended, sun-kissed effect. Ombré is a more horizontal color transition, with the hair gradually shifting from a dark root color to a much lighter color at the ends, creating a more dramatic, two-toned look.
How often do you need to touch up balayage?
You typically only need to get your balayage placement touched up two to three times per year. Many people go every 4-6 months. However, to keep the tone perfect, you might book a quicker, less expensive gloss treatment or toning appointment every 2 months in between your full balayage services.
Will balayage work on short hair?
Absolutely. Balayage on short hair, like a bob or lob, is very popular and looks incredibly chic. A stylist uses finer, more precise strokes to add dimension and movement, which can even make short hair appear thicker. A face-framing money piece is particularly effective on shorter styles.
What should I ask my stylist for a natural looking balayage?
Use keywords like “soft,” “blended,” “lived-in color,” and “sun-kissed.” Show them inspiration photos, but also point out what you like about them (e.g., “I like how soft the regrowth is”). You can also ask for a root smudge or color melt to ensure the transition from your natural color is completely seamless.
How do I prevent my balayage from turning brassy?
The key to preventing brassiness is using the correct toning products at home. If you have an ash blonde balayage, use a purple shampoo. If you have a caramel or mushroom brown balayage for brunettes, use a blue shampoo. These products deposit cool-toned pigments that neutralize unwanted warm or orange tones.
Final Thoughts on Your Balayage Journey
Ultimately, balayage has remained the reigning champion of hair color for a reason: it offers completely customized, beautiful results without demanding a lifestyle built around salon appointments. It’s a technique that works with your hair’s natural color, texture, and growth pattern, not against it. By investing in an initial high-quality service from a professional stylist and committing to a proper at-home care routine with the right products, you can enjoy stunning, dimensional hair color that looks just as good months after your appointment as it did the day you left the salon.
Now that you’re armed with inspiration and expert knowledge, which of these balayage hair ideas will you be taking to your stylist?
Last update on 2026-04-27 / Affiliate links / Images from Amazon Product Advertising API