Struggling to find a fun, trendy, and surprisingly easy nail art design to do at home? You’ve seen the playful and chic cow print nails all over your social feeds and want to give them a try.
Creating cow print nails at home involves three simple stages: applying a solid base coat (usually white), using a dotting tool or bobby pin to create irregular black “blobs” or spots, and sealing the design with a glossy top coat. This technique works with both regular and gel polish and requires no special artistic skill, making it a perfect beginner-friendly nail art design for 2026.
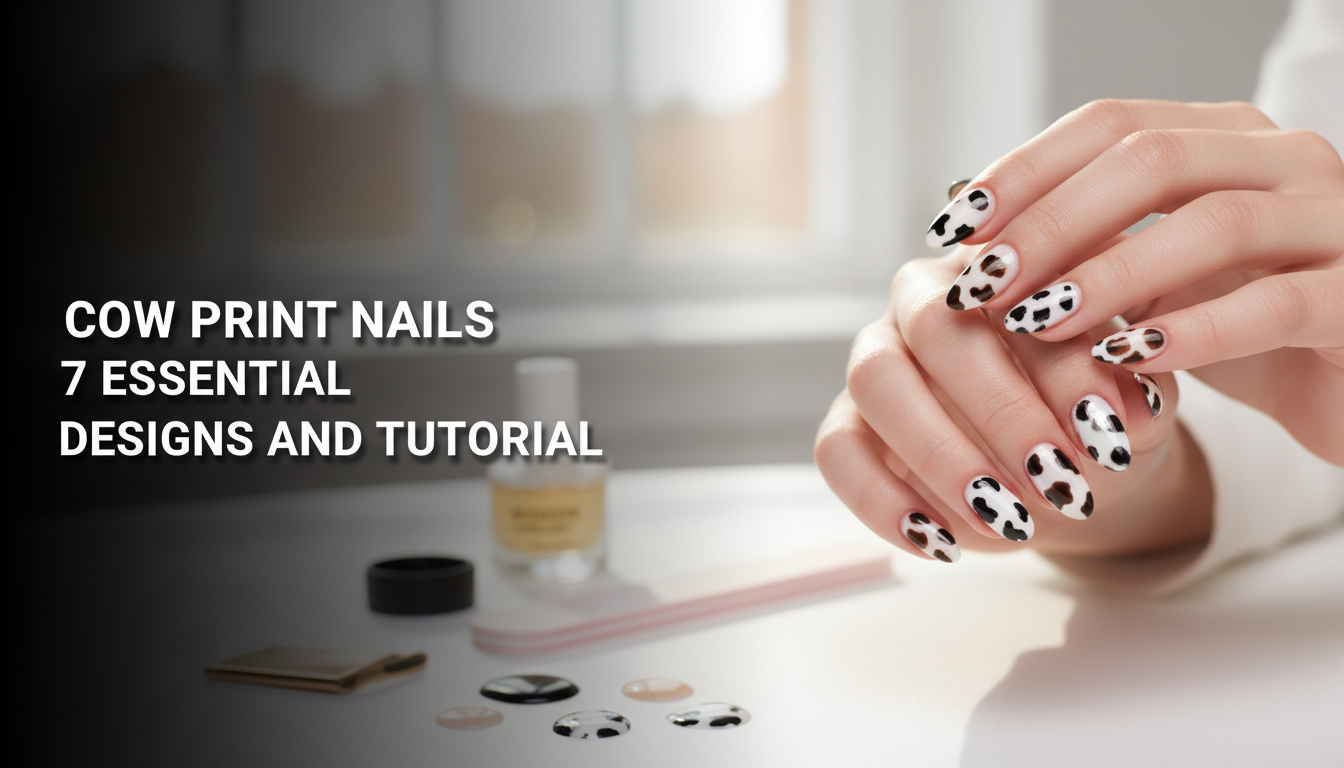
Drawing from comprehensive analysis and proven nail art methods, this guide breaks down everything you need to know. We will explore seven essential designs, from classic black and white to chic pastels. Get ready to transform your nails into a playful masterpiece with our step-by-step tutorials.
How to Do Cow Print Nails at Home? A Beginner’s Guide
Welcome to the wonderful world of cow print nail art! If you’re new to DIY manicures, you’ve picked the perfect design to start with. Unlike more complicated patterns that require a steady hand and artistic precision, the beauty of the cow print manicure lies in its imperfection. The goal is to create organic, irregular spots, which makes it incredibly forgiving and fun for beginners. All you need are a few basic supplies, including a base coat, your chosen colors, a top coat for a long-lasting finish, and a simple nail art tool like a dotting tool or even the end of a bobby pin. This guide will walk you through the essential techniques to achieve salon-quality cow print nails right from your own home.
7 Essential Cow Print Nail Designs & Tutorials for 2026
Now that you know how simple the basic technique is, it’s time for the fun part: exploring all the creative possibilities! The cow print nail trend is incredibly versatile, allowing for endless customization to match your personal style. In this section, we’ll dive into seven essential designs that showcase the range of this playful pattern. From the timeless classic cow print to chic variations like brown cow print nails and glamorous looks with gold foil, there’s a style here for every occasion and mood. Each tutorial below provides a step-by-step guide, product recommendations, and expert tips to help you recreate the look flawlessly.
1. Create the Classic Black & White Cow Print

Pin this timeless design to your ‘Nail Art Inspo’ board!
This is the iconic look that started it all. The black and white cow print nails are timeless, bold, and surprisingly easy to create. It’s the perfect starting point for anyone trying DIY cow print for the first time because its charm comes from its organic, imperfect spots. This design works beautifully on all nail shapes, from short and natural to long and dramatic almond cow print nails.
Products & Tools Used
- Base Coat
- An opaque white polish for the base color
- A pigmented black polish for the spots
- A dotting tool or the end of a bobby pin
- A high-gloss top coat
Application Steps
- Prepare Nails: Start by filing your nails to your desired shape and apply a base coat to protect them.
- Paint the Base: Apply two coats of your opaque white polish, allowing each coat to dry completely.
- Create Cow Spots: Pour a small amount of black polish onto a piece of foil. Dip your dotting tool into the black polish and begin creating irregular blobs and spots on your nails. Vary the size and shape for a natural look.
- Add Smaller Spots: Use a smaller dotting tool or a toothpick to add a few tiny dots in the gaps.
- Seal the Design: Once the spots are fully dry, seal with a top coat for a glossy, long-lasting cow print finish.
Pro-Tip: For the most authentic cow spot designs, avoid making perfect circles. Intentionally wiggle the dotting tool slightly as you press it onto the nail to create more organic, patchy shapes.

2. Style the Earthy Brown Cow Print Nails

Save this cozy look for your fall manicure inspiration!
For a warmer, more sophisticated take on the trend, look no further than brown and white cow print nails. This earthy variation swaps the classic black and white for a cozy palette of creams, beiges, and rich chocolates. It’s a versatile look that feels both chic and down-to-earth, making it perfect for autumn or for anyone who prefers a more neutral aesthetic in their earthy nail art.
Products & Tools Used
- Base Coat
- A creamy off-white or light beige nail polish
- A rich chocolate brown nail polish
- A fine-tipped nail art brush or dotting tool
- A glossy or matte top coat
Application Steps
- Start Clean: Apply a quality base coat to your clean, filed nails.
- Apply Beige Base: Paint two coats of your chosen creamy beige polish, ensuring a smooth, even layer.
- Paint Brown Spots: Using the brown polish and a fine-tipped brush, paint irregular, elongated splotches. Think about how spots on a brown cow might look slightly different than a Holstein’s.
- Vary Tones (Optional): For added depth, add a few smaller spots with a slightly lighter or darker brown polish.
- Finish the Look: Let the design dry completely. Seal with a top coat—a matte finish looks especially chic with this brown cow print style.
Lesson Learned: A common mistake is making the spots too uniform. For brown cow print nails, layering two shades of brown or mixing a little white into your brown for some of the spots adds incredible dimension and a more realistic feel.

3. Design Chic Pink Cow Print French Tips

Add this modern French mani to your ‘Cute Nails’ board!
Combine two major trends with these cute cow print nails in a French tip style. The cow print french tip is a modern, playful twist on a timeless classic. This design is especially popular on longer coffin cow print nails or almond shapes, as it provides a perfect canvas for the delicate pattern. It’s a chic way to incorporate the trend in a more subtle and feminine way.
Products & Tools Used
- Base Coat
- A sheer nude or pale pink polish for the base
- An opaque baby pink polish for the tips
- Black nail polish
- A very fine-tipped nail art brush or toothpick
- Glossy Top Coat
Application Steps
- Build Your Base: After your base coat, apply one or two coats of the sheer nude/pink polish to the entire nail.
- Create the French Tip: Once dry, carefully paint the tip of your nail with the opaque baby pink polish. You can do this freehand or use a French tip guide for a cleaner line.
- Add Tiny Spots: Using your finest nail art brush and black polish, paint very small, delicate cow spots onto the pink tip area only.
- Keep it Dainty: The key to this look is keeping the spots small and sparse to avoid overwhelming the delicate French tip.
- Gloss and Go: Let the intricate design dry fully, then seal with a glossy top coat to make the colors pop.
Pro-Tip: To get super crisp French tips, try the “silicone stamper hack.” Paint your tip color onto a clear silicone nail stamper, then gently press the tip of your nail into the polish at a 45-degree angle. It creates a perfect curve every time.

4. Achieve the Trendy Matte Cow Print Nails

Love a matte finish? Pin this edgy cow print look!
Want to give your cow print an instant high-fashion update? Just add a matte top coat. Matte cow print nails have a sophisticated, velvety finish that completely transforms the look and feel of the design. This simple switch from glossy to matte creates a more subdued, modern, and edgy vibe that looks incredibly chic.
Products & Tools Used
- Base Coat
- White or Beige Nail Polish
- Black Nail Polish
- Dotting Tool
- A high-quality matte top coat
Application Steps
- Follow the Classic Steps: Complete steps 1-4 of the “Classic Black & White Cow Print” tutorial (or the brown variation).
- Wait for it to Dry: This is CRITICAL. Ensure the colored polish and spots are 100% bone dry. Applying a matte top coat over wet polish can cause smearing and a streaky finish.
- Apply the Matte Finish: Apply one even coat of your matte top coat over the entire nail.
- Watch the Magic: The polish will appear glossy at first but will dry down to a flat, velvety, non-reflective finish within a minute.
- Do Not Add More Coats: One coat is usually sufficient. Adding more can sometimes create a gummy texture.
Pro-Tip: To prevent a chalky look, always shake your matte top coat bottle gently before use. After it dries, you can restore moisture to your hands by applying cuticle oil, which also makes the matte design look even more lush and intentional.

5. Create Playful Pastel Cow Print Nails

Perfect for spring! Pin this dreamy pastel nail art.
Who says cow print has to be black and white? Pastel cow print nails are a dreamy, whimsical take on the trend that’s perfect for spring and summer. Think lavender spots on a mint green base, or baby blue with white spots. This is your chance to get creative with your favorite colorful cow print nails and create a manicure that’s soft, playful, and uniquely you.
Products & Tools Used
- Base Coat
- A pastel base color (e.g., baby blue, mint green, light yellow)
- A contrasting pastel spot color (e.g., lavender, soft pink) OR white
- Dotting Tool
- Glossy Top Coat
Application Steps
- Prep and Base Coat: Begin with your standard nail prep and a solid base coat.
- Apply Pastel Base: Paint two to three coats of your chosen pastel base color. Pastels can sometimes be streaky, so build up thin layers for an even finish.
- Choose Your Spot Color: Select a contrasting pastel for the spots. A popular combination is a mint green base with lilac spots, or a blue cow print nails base with white spots.
- Create the Spots: Using your dotting tool, apply the spot color in the same irregular blob pattern as the classic design.
- Seal with Shine: Allow the spots to dry completely before applying a high-gloss top coat to enhance the soft colors.
Pro-Tip: If your pastel spot color isn’t showing up well on your pastel base, apply your spots with white polish first. Let them dry, then paint your pastel color directly over the white spots. This makes the pastel color pop.

6. Add Glam with Cow Print and Gold Foil

Pin this luxe nail design for your next special occasion!
Ready to take your cow print to the next level? Adding gold foil flakes instantly elevates the design from playful to glamorous. Cow print nails with gold accents are perfect for a special occasion, a night out, or any time you want your manicure to make a statement. The metallic shine against the matte spots creates a stunning contrast of texture and light.
Products & Tools Used
- Base Coat
- White Nail Polish
- Black Nail Polish
- Dotting Tool
- Gold nail foil flakes
- A pair of fine-tipped tweezers
- Glossy Top Coat
Application Steps
- Create the Cow Print Base: Complete steps 1-3 of the “Classic Black & White Cow Print” tutorial.
- Place the Gold Foil: While the base polish is still slightly tacky (or after applying a thin layer of nail foil glue), use tweezers to pick up small pieces of gold foil.
- Strategically Accent: Gently place the gold foil flakes in some of the empty white spaces between the black cow spots. Don’t overdo it—a few strategically placed flakes are more effective.
- Pat it Down: Lightly pat the foil with your fingertip or a silicone tool to ensure it lays flat against the nail.
- Encapsulate with Top Coat: Apply a generous layer of glossy top coat to seal in the foil and the spots. You may need two coats to create a completely smooth surface over the textured foil.
Pro-Tip: For perfect foil application, apply your top coat over the base cow print first and let it dry. Then, use a tiny dab of nail art glue where you want the foil. Wait 30 seconds for it to get tacky, then press on the foil. This gives you more control and prevents the foil from sticking everywhere.

7. Try a Minimalist Cow Print Accent Nail

The perfect way to try the trend! Pin this minimalist nail idea.
Not ready to commit to a full set of cow print? A minimalist cow print accent nail is the perfect solution. This understated approach is incredibly chic and office-appropriate. By isolating the pattern to a single nail (usually the ring finger) and pairing it with a solid, complementary color like nude or black on the other nails, you get a subtle pop of personality without overwhelming your look.
Products & Tools Used
- Base Coat
- A solid color polish (e.g., nude, black, or pink)
- White polish
- Black polish
- Dotting Tool
- Glossy Top Coat
Application Steps
- Prep and Coat: Apply a base coat to all nails.
- Paint Solid Colors: Paint the solid color of your choice on your thumb, index, middle, and pinky fingers. Two coats are usually best.
- Create the Accent Nail: On your ring finger, paint two coats of white polish.
- Add the Spots: Using a dotting tool and black polish, create your cow spots on the white accent nail.
- Seal Everything: Once all nails are dry, apply a single, unifying layer of glossy top coat across all ten nails to bring the look together.
Pro-Tip: For an even more minimalist cow print look, use a nude base on your accent nail and add just three or four tiny black spots near the cuticle or along one side of the nail. This “peek-a-boo” pattern is incredibly chic and subtle.

Key Takeaways
You’re now equipped with seven fantastic ways to rock the cow print trend. Here’s a quick recap of the most important things to remember for a flawless cow print manicure every time:
- The Right Tools are Simple: You don’t need expensive equipment. A dotting tool or even a bobby pin is perfect for creating the signature spots of cow print nail art.
- Irregular is Better: The key to authentic cow spot designs is to avoid perfect circles. Vary the size, shape, and placement of your spots for a natural, organic look.
- A Solid Base is Crucial: Always start with two smooth coats of your base color (like opaque white polish) and let it dry completely before adding spots to prevent streaking.
- A Top Coat is Non-Negotiable: Whether you choose a glossy or matte finish, a quality top coat is essential to protect your nail design, prevent chipping, and give it a professional, long-lasting cow print look.
- Don’t Be Afraid to Customize: Cow print nails are incredibly versatile. Experiment with different color combinations like pink cow print nails or brown cow print nails, or try a minimalist cow print accent nail to make the trend your own.
People Also Ask About Cow Print Nails
Even with a simple design, questions can pop up. Here are answers to some of the most common queries about getting the perfect cow print manicure.
Are cow print nails still popular in 2026?
Yes, cow print nails are definitely still in style for 2026. This design has proven to be more than a fleeting trend, evolving into a playful neutral that works across seasons. It’s constantly being reinvented with new colorways like pastel cow print nails and textures like matte finishes, keeping it fresh and popular in the nail art community.
How do you make cow spots on nails not look like circles?
The best technique is to intentionally wiggle your dotting tool as you place the polish. Instead of just pressing down, gently rock the tool from side to side or pull it slightly in one direction. This breaks the perfect circular shape and creates the organic, irregular blobs that are characteristic of a natural cow print.
What’s the difference between cow print and dalmatian nails?
The main difference is the shape and density of the spots. Cow print nails feature larger, more irregular, and patch-like “blobs” that are often spaced further apart. Dalmatian nails, on the other hand, have smaller, rounder, and more numerous spots, creating a denser, more speckled appearance.
Can you do cow print nails with regular polish?
Absolutely! You can easily create cow print nails with regular nail polish. All the tutorials in this guide are suitable for standard polish. The key is to allow each layer—base coat, color, spots—to dry thoroughly before moving to the next step to avoid smudged polish.
What base color is best for cow print?
A classic, opaque white is the most traditional and popular base color for cow print. However, off-white, beige, or even light nude colors work beautifully for a softer look. For colorful variations, a pastel base like mint green or baby blue is a great choice. The goal is to have enough contrast for the spots to be visible.
How do you fix a smudged cow print nail?
If the smudge is minor, you can often fix it with a small brush dipped in nail polish remover. Very carefully dab the smudged area to clean it up. For a larger mistake, it’s often easiest to wipe the nail clean with a cotton pad and repaint that single nail rather than trying to patch a large area.
What tools do you need for cow print nails?
You only need a few basic nail art tools. The most essential item is a dotting tool to create the spots. If you don’t have one, the rounded tip of a bobby pin, a toothpick, or the head of a pin will also work perfectly. A thin nail art brush is helpful for more control but not required.
How do you get cow print on short nails?
Cow print looks fantastic on short nails! The key is to scale down the size of your spots. Use a smaller dotting tool to create daintier spots so the pattern doesn’t overwhelm the smaller surface area of the nail. A minimalist cow print accent nail is also a great option for short cow print nails.
How do you make cow print nails last longer?
Proper prep and a quality top coat are essential for a long-lasting cow print manicure. Always start with a base coat, and be sure to “wrap the tip” of your nail with both your color and your top coat. This means running the brush along the free edge of your nail to seal it, which helps prevent chipping.
Is cow print nail art difficult for beginners?
No, cow print is considered one of the most beginner-friendly nail art designs. Because the pattern is meant to be irregular and imperfect, there’s very little pressure to be precise. It’s a fun and forgiving design that’s perfect for anyone just starting with DIY nail art.
Final Thoughts on Mastering Cow Print Nails
Embracing the cow print nails trend is all about having fun and expressing your creativity. As you’ve seen, this design is far more than just black and white spots; it’s a versatile canvas that can be adapted to be chic, glamorous, minimalist, or colorful. By following these proven nail art methods and using simple tools, you can easily achieve a durable cow print finish that looks like it came straight from the salon. Now that you have the inspiration and the know-how, which cow print design will you try first?
Last update on 2026-04-27 / Affiliate links / Images from Amazon Product Advertising API