Ever feel like your eyeshadow tutorials end up looking like a muddy, patchy mess? You’ve watched the videos, you bought a pretty eyeshadow palette, but the final result never looks quite right. This is one of the most common frustrations for anyone searching for eyeshadow tutorials for beginners.
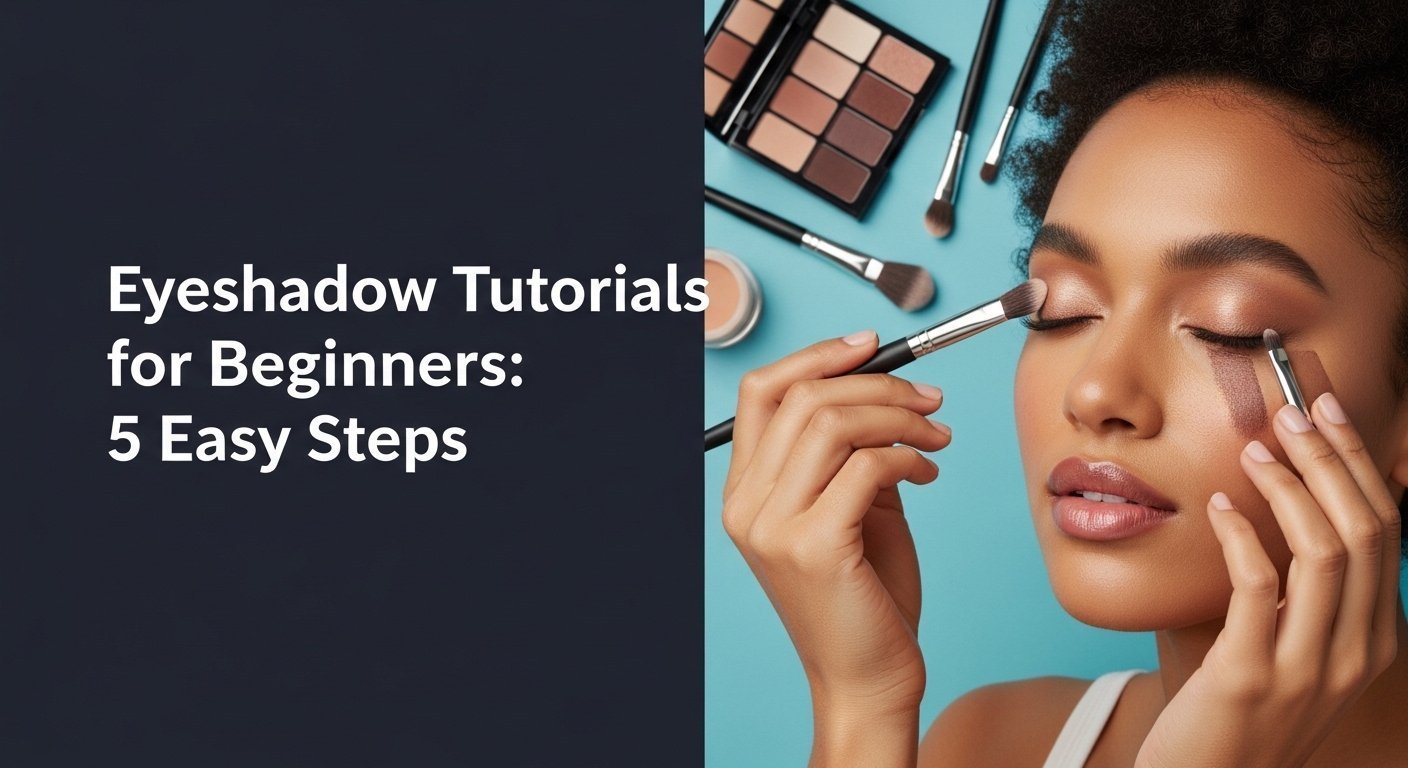
Applying eyeshadow for beginners involves five key steps: priming the lid, applying a neutral transition shade to the crease, adding depth to the outer corner, placing a light shimmer on the lid, and highlighting the brow bone and inner corner. This proven process creates a simple, polished, and natural look that is easy for anyone to master.
Leveraging tested frameworks and data-driven insights from countless tutorials, this guide breaks down the process into a stress-free method. We’ll go beyond just the steps to explain the ‘why’ behind each technique. You will learn to create a flawless easy everyday look with confidence.
How Do You Apply Eyeshadow for Beginners?
The journey from beginner to confident with eyeshadow starts not with color, but with understanding your canvas: your eye. Many guides jump straight into application, but a key piece of makeup artist techniques is knowing the basic anatomy. Understanding the difference between your eyelid, your crease area, and your brow bone is the single most important first step. The eyelid is your main canvas, the crease is the hollow area above your eyelid where you’ll create dimension, and the brow bone is the prominent area just below your eyebrow that you’ll highlight to create lift. Mastering these simple zones is the secret to unlocking any look and avoiding common beginner mistakes like patchy blending and muddy colors. This guide will walk you through a proven method that respects this anatomy for real-life results.
5 Easy Steps for Flawless Eyeshadow Application in 2026
Now that you understand the basic map of your eye, we can dive into the application. The following five steps are a foolproof sequence designed to build a beautiful and balanced eye look every single time. This step by step process is the foundation of almost every natural eye makeup look you see. We will cover everything from creating the perfect base to the final finishing touches that make your eyes pop.
1. Prime Your Eyelid to Create a Smooth Canvas

Pin this essential first step to your ‘Makeup Basics’ board!
Priming the eye is the non-negotiable secret to a professional-looking and long-lasting eye makeup look. The natural oils on your eyelids are the primary cause of eyeshadow creasing and dull pigment. An eye primer or a good concealer creates a barrier, giving the powder something to grip onto and ensuring the color you see in the pan is the color you get on your eye.
Products & Tools Used
- An eye primer or a thin layer of your favorite matte concealer. Look for a formula that is long-lasting and has a slightly tacky finish once dry.
- A translucent setting powder (optional, for very oily lids).
- A clean fingertip or a small, flat synthetic brush.
Application Steps
- Prep: Ensure your eyelid is clean and dry.
- Apply: Squeeze a pin-sized amount of eye primer onto your fingertip. If using concealer, dot a tiny amount on the lid.
- Blend: Gently dab and blend the product all over the eyelid, from the upper lash line up to the brow bone. Ensure a thin, even layer.
- Set (Optional): If your lids are extra oily, lightly sweep a translucent powder over the primer to set it.
Pro-Tip: For mature or dry skin, choose a hydrating primer to prevent a crepey look. For hooded eyes, make sure to extend the primer slightly higher above your natural crease to create a larger canvas.

2. Sweep on a Transition Shade to Define the Crease

Save this blending technique—it’s the key to everything!
The transition shade is your secret weapon for a seamless blend. This is a neutral matte shadow that’s a few shades deeper than your skin tone. Its purpose is to create a soft gradient in the crease area, which helps all the other colors you apply later blend together smoothly instead of looking like harsh, separate blocks of color.
Products & Tools Used
- A neutral matte shadow from your eyeshadow palette that is 2-3 shades deeper than your skin tone.
- A clean, fluffy blending brush.
Application Steps
- Load Brush: Gently dip the tip of your fluffy blending brush into the transition shade.
- Tap Off Excess: Crucially, tap the brush handle against the palette or your wrist to remove any excess powder. This prevents fallout.
- Apply: Starting at the outer corner, place the brush into your crease area.
- Blend: Use gentle, back-and-forth “windshield wiper” motions to sweep the color along the crease. Use small circular motions to buff and diffuse any harsh edges.
Pro-Tip: Hold the brush near the end of the handle. This gives you lighter pressure and a more delicate, airbrushed blend. A common beginner mistake is using too much pressure, which leads to patchy blending.

3. Pack on a Deeper Shade to Build Outer Corner Depth

This simple trick adds instant dimension! Pin it for later.
This step is where you create shape and the illusion of depth perception, much like contouring for your face. By adding a darker, pigmented shade to the outer corner of the eye, you add definition and can subtly shape your eye. This is the foundational technique for everything from a natural look to a matte smokey eye.
Products & Tools Used
- A darker matte eyeshadow (e.g., a deep brown, charcoal, or plum) from your palette.
- A smaller, denser eyeshadow brush (like a pencil brush or a flat shader brush).
Application Steps
- Load Brush: Lightly press your denser brush into the dark eyeshadow. Tap off excess.
- Pack: Gently pack or press the color onto the outer corner of your eyelid, forming a small sideways “V” shape from your lash line up into the crease.
- Concentrate: Keep the dark color concentrated on the outer third of your eye. Don’t bring it too far inward.
- Soften: Take your original fluffy blending brush (with no new product on it) and gently buff the edges where the dark shade meets the transition shade to create a seamless gradient.
Pro-Tip: For downturned eyes, angle the “V” shape slightly more upwards towards the tail of your eyebrow to create a lifting effect. This simple application of color theory can visually reshape the eye.

4. Apply a Light Shimmer to the Center of the Lid

Pin this easy hack for making your eyes look bigger and brighter!
This is the step that brings your eye look to life. Applying a light-reflecting shimmer finish or metallic eyeshadow to the center of the lid catches the light and makes your eyes look bigger, brighter, and more awake. This is a classic makeup artist technique that creates a focal point and adds beautiful dimension.
Products & Tools Used
- A light, shimmer finish or metallic eyeshadow (e.g., champagne, light gold, soft pink).
- Your clean ring finger or a flat, stiff shader brush.
Application Steps
- Pick Up Product: Swirl your ring finger gently in the shimmer eyeshadow.
- Apply: Gently dab or press the shadow directly onto the center of your eyelid, focusing on the area between your iris and your pupil.
- Blend Edges: Tap gently at the edges where the shimmer meets the matte shades to create a soft blend. Avoid rubbing, which can cause fallout.
- Intensify (Optional): For a more intense pop, lightly mist your brush or finger with setting spray before dipping into the shimmer shadow.
Pro-Tip: Using your finger instead of a brush warms up the product, which is especially effective for creamy texture shimmers. It minimizes product fallout and gives a more intense, foiled effect.

5. Highlight and Smudge to Complete the Look

The final touches make all the difference! Save this to remember.
These final touches are what separate a good look from a great one. Highlighting the brow bone and inner corner brightens and lifts the entire eye area, while softly defining the lower lash line ensures the look is balanced and cohesive. Finishing with mascara ties it all together.
Products & Tools Used
- The lightest matte or satin shade from your palette (the highlight shade).
- The transition shade from Step 2.
- A small, precise brush (a pencil brush or even a clean lip brush works).
- Your favorite mascara and eyeliner pencil (optional).
Application Steps
- Highlight Brow Bone: Using a small brush, sweep the highlight shade directly underneath your eyebrow arch. This creates an instant lift.
- Highlight Inner Corner: Dab a tiny amount of the same highlight shade (or the shimmer from Step 4) onto the inner corner of your eye to brighten and open up the eyes.
- Define Lower Lash Line: Take the small brush, dip it into your transition shade (not the darkest one!), and gently smudge it along your lower lash line, concentrating on the outer two-thirds.
- Finish: Curl your lashes and apply one or two coats of mascara to your top and bottom lashes.
Pro-Tip: For a softer, more daytime-appropriate look, use a brown eyeliner pencil instead of black and only apply it to the outer third of your upper lash line, smudging it slightly.

Key Takeaways: Your Quick Guide to Eyeshadow for Beginners
- Always Prime Your Lids: A simple layer of eye primer or concealer is the secret to preventing creasing and making colors appear vibrant all day.
- Use a Matte Transition Shade: A neutral matte shadow swept into the crease with a fluffy blending brush is the foundation for a seamless, non-patchy look.
- Build Depth Gradually: Pack a darker matte shade onto the outer corner in small amounts. It’s always easier to add more product than to take it away.
- Use Your Finger for Shimmer: For the most intense color payoff and least fallout, apply shimmer finish shades to your lid with your fingertip.
- Don’t Forget the Lower Lash Line: Gently smudging your transition shade under the lower lashes is a professional secret that balances the entire look.
- Tools Matter: You only need two essential brushes to start: a fluffy blending brush for the crease and a smaller, denser brush for the outer corner.
People Also Ask About Eyeshadow for Beginners
What is the easiest eyeshadow look for a beginner?
The easiest look is a simple two-color gradient. Use a matte transition shade all over the crease and then press a single shimmer finish shade onto the lid with your finger. This easy everyday look takes less than two minutes and always looks polished without requiring complex blending or multiple brushes.
Why does my eyeshadow look muddy or patchy?
This is usually caused by either skipping primer or using too much dark shadow too quickly. A primer creates a smooth base. When blending, always use a light hand and build colors up slowly, from lightest to darkest. Use a clean fluffy blending brush to soften edges, which prevents colors from mixing into a muddy mess.
How do I stop my eyeshadow from creasing?
The non-negotiable solution is to use an eye primer. Oily eyelids cause makeup to break down and settle into fine lines. Applying a thin layer of eye primer or a matte concealer first creates a barrier that absorbs oil and grips onto the eyeshadow, preventing eyeshadow creasing for hours.
What brushes do I absolutely need to start?
You only need two essential brushes for a basic look. First, a fluffy blending brush to apply and diffuse your transition shade in the crease. Second, a smaller, flatter shader brush to pack color onto the lid or the outer corner. Anything else is a bonus for more advanced techniques.
Can I use my fingers instead of brushes?
Yes, especially for shimmer shades. Your fingers warm up cream and powder products, leading to a richer color payoff. They are perfect for applying a pop of shimmer to the lid. However, for blending matte shades in the crease, a fluffy blending brush provides a much softer, more diffused finish.
What is a transition shade and why do I need it?
A transition shade is a neutral matte eyeshadow, a few shades darker than your skin, that acts as a bridge between colors. It’s applied in the crease to create a soft gradient. This single step is what makes an eyeshadow look appear blended and professional, rather than having harsh, separate blocks of color.
How do I apply eyeshadow for hooded eyes?
The key is to apply your crease color higher than your natural crease. With your eyes open, look straight into the mirror and apply the transition shade slightly above where your eyelid folds. This creates the illusion of a deeper crease and ensures the color is visible when your eyes are open.
Is cream or powder eyeshadow better for beginners?
Powder eyeshadow is generally more forgiving for beginners. It’s easier to blend and build up color gradually. Cream eyeshadows can be beautiful but often set very quickly, leaving little room for error. Start with a quality powder eyeshadow palette to master your technique first.
How do I avoid fallout under my eyes?
Always tap your brush to remove excess powder before it touches your face. Tap the handle of the brush firmly against your wrist after dipping it in the eyeshadow. This simple action, “tap off excess,” is the number one way professionals prevent messy fallout. You can also apply your eye makeup before your foundation.
Can I use concealer as an eye primer?
Yes, in most cases, a thin layer of matte concealer works well. It can help to even out the skin tone on your lid and provide a tacky base for shadow to stick to. However, if you have particularly oily lids, a dedicated eye primer with oil-absorbing properties will provide superior longevity and creasing prevention.
Final Thoughts on Your Eyeshadow Journey
Mastering eyeshadow is a skill built through practice, not an innate talent. This five-step method is your reliable foundation, a proven method you can return to again and again. Don’t be afraid to experiment with the colors in your eyeshadow palette once you feel comfortable with the technique. Remember to prime your lids, use a transition shade, build depth slowly, add a pop of shimmer, and always blend the edges. What part of the process are you most excited to try first?
Last update on 2026-04-27 / Affiliate links / Images from Amazon Product Advertising API