Are you constantly fighting flat roots and limp strands that visibly expose your scalp? Finding the right hairstyle ideas thin hair can feel like an endless, frustrating battle against gravity.
The best hairstyle ideas for thin hair utilize blunt perimeters and strategic layering to create the illusion of thickness. By keeping the ends blunt rather than wispy, and adding subtle internal layers, stylists can instantly make low-density hair look fuller, bouncier, and more voluminous.
Drawing from a comprehensive analysis of current data and proven salon methodologies, this guide reveals transformative stylist secrets. You will discover 11 actionable cuts designed to deliver instantly thicker hair. Prepare to unlock professional, low-maintenance strategies that truly work.
How Can You Transform Flat Roots With The Best Hairstyle Ideas For Thin Hair?
Transforming flat roots requires implementing specific cutting techniques—like blunt perimeters and internal layers—that actively mask low hair density and create a fuller look. By prioritizing architectural cuts over wispy layers, you can build permanent volume into your foundation.
Before diving into aesthetic solutions, it is critical to address the widespread “thin vs fine hair” debate. Understanding this distinction is a priority for choosing the right haircuts for thin hair. Fine hair refers strictly to the cortex diameter of individual strands—meaning the hair itself is physically skinny. Thin hair, however, refers to your follicular density, meaning you have fewer hairs per square inch on your scalp. You can have coarse hair that is thin, or fine hair that is thick. When dealing with true low-density hair, the ultimate goal of any stylist is to mitigate scalp visibility and maximize the illusion of thickness.
Based on trichologist recommended insights, addressing natural low density or conditions like androgenetic alopecia requires preserving your hair’s mass. Unlike social media tutorials featuring models with thick hair pretending to have thin hair solutions, authentic low-density realities require specialized techniques. Industry standards dictate that fragile hair needs structural support from the bottom up. By leveraging expert stylist tips and relying on proven geometry, you can easily shift your look from flat to fabulous.
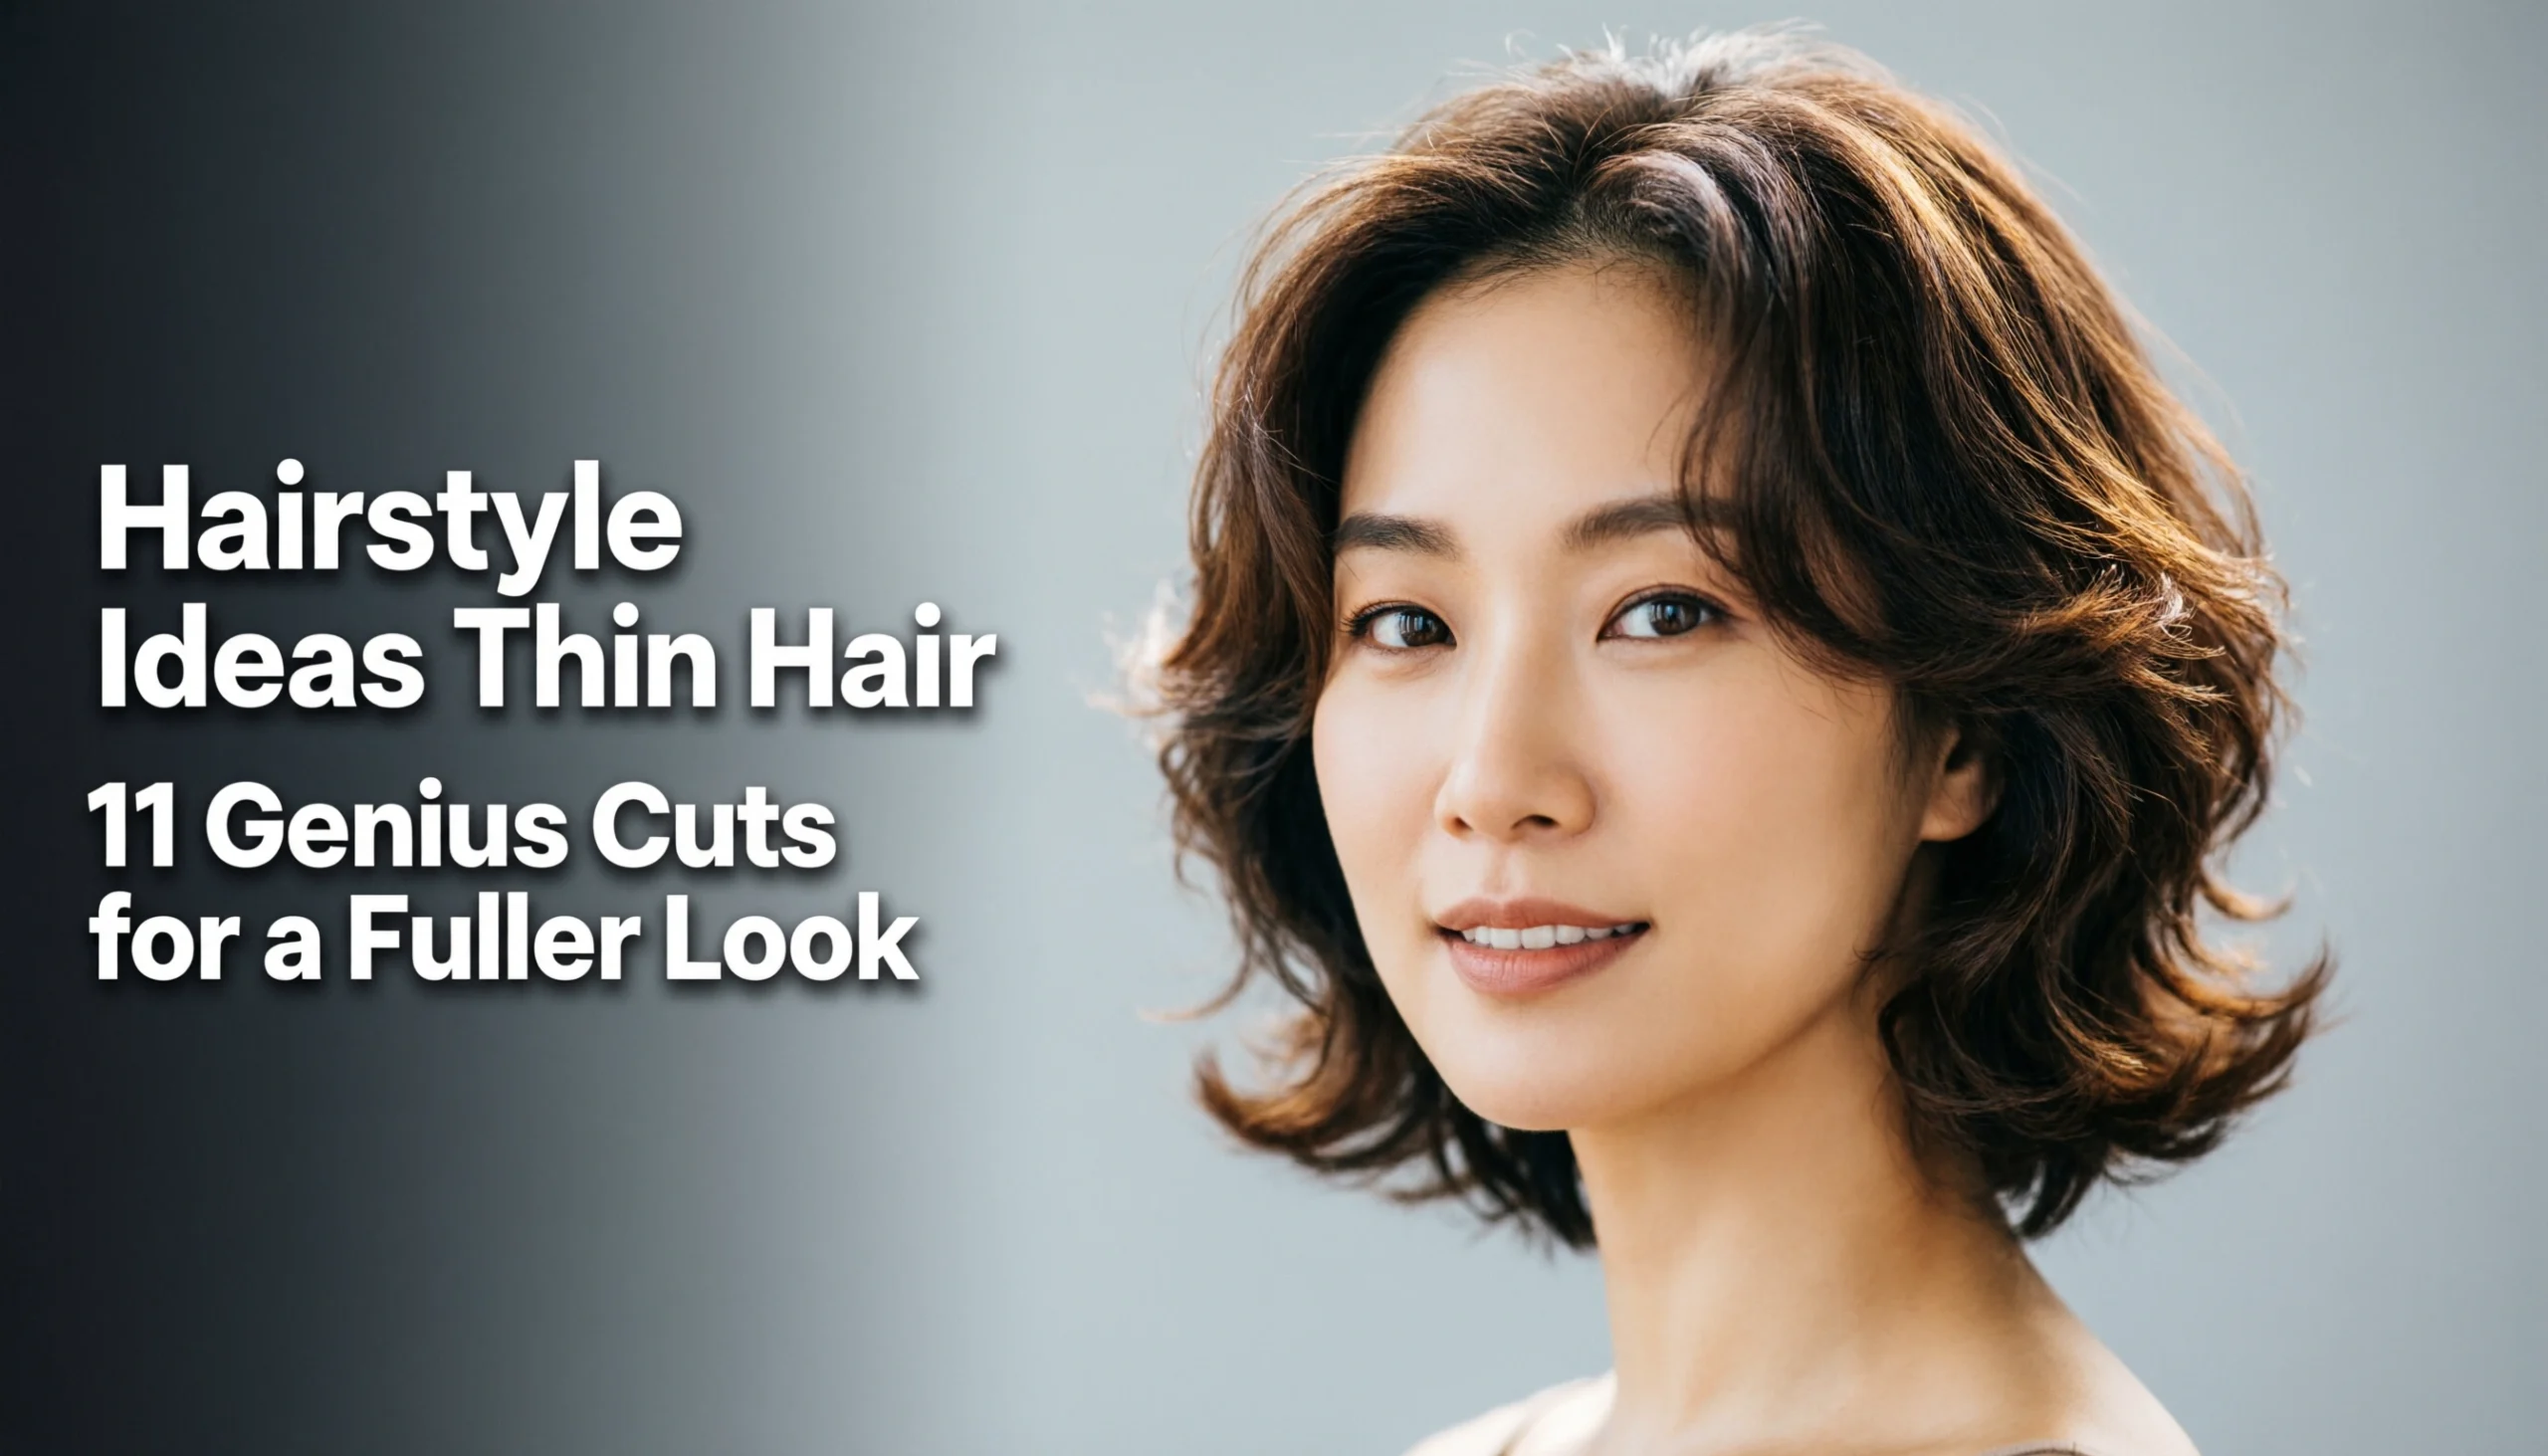
Hairstyle Ideas Thin Hair: 11 Genius Cuts for a Fuller Look
Navigating the world of modern haircuts for thin hair requires balancing your face shape, daily routine, and density goals. The secret to success lies in understanding how different lengths and angles manipulate visual weight. Whether you prefer short hairstyles thin hair solutions or medium length hairstyles thin hair options, the overarching rule remains the same: preserve your perimeter.
In our experience cutting fragile hair, combining the right geometric cut with a targeted “Stylist’s Toolbox” of volumizing mousses, round brushes, and root lifters changes everything. The following 11 flattering cuts for thin hair are designed to serve as low maintenance haircuts that look incredible from the moment you wake up. From rounded bobs to texturized pixies, these salon-approved techniques provide realistic expectations and achievable density for every face shape.
1. Volumize With The Classic Blunt Bob Cut

Pin this stylist-approved blunt bob to your hair inspiration board to show your stylist at your next appointment!
A blunt bob cut is the ultimate architectural solution for banishing see-through ends. When you choose blunt cutting, you are packing 100% of your hair’s density into one sharp, solid line. This geometric approach prevents the stringy appearance common with shoulder-length layers, forcing the hair to look instantly thicker. By eliminating wispy tails at the bottom, the entire perimeter creates a powerful illusion of fullness.
Expert stylist tips continually warn against heavy bottom layers for low-density hair. If you remove bulk from the bottom, you lose your foundation. A blunt baseline serves as a structural wall, pushing the hair above it outward and upward.
Products & Tools Used
- Lightweight volumizing mousse with heat protection to plump individual strands without heavy residue.
- Medium ceramic round brush designed to create root lift without snagging fragile hair.
- Professional ionic blow dryer with a concentrator nozzle for smooth, downward airflow.
Styling Steps
- Apply a golf-ball-sized amount of volumizing mousse directly to damp roots, distributing evenly with a wide tooth comb.
- Rough-dry the hair until it is 80% dry, using your fingers to lift the roots away from the scalp.
- Section the hair and use the round brush to smooth the mid-lengths, rolling the ends slightly under to emphasize the blunt perimeter.
- Lock in the volume with a lightweight, flexible-hold texturizing spray focused at the crown.
What most guides miss: In my experience as a certified colorist, pairing a blunt bob with strategic highlights and lowlights adds incredible visual depth. This completely transforms low-density hair by tricking the eye into seeing more texture than actually exists.

2. Texturize A Low-Maintenance Pixie Cut

Save this chic textured pixie cut to your Pinterest boards for your next bold hair transformation!
For women seeking a true wash and go lifestyle, a pixie cut for thin hair is an absolute game-changer. Shorter hair inherently carries less weight, which automatically stops gravity from dragging your roots down. This lack of weightiness naturally allows for maximum, effortless volume.
By integrating point cutting techniques—an established industry standard—stylists can create soft, airy movement without further thinning the hair. The goal is to texturize the top canopy to create a choppy, top-heavy silhouette that actively hides scalp visibility and mitigates low-density concerns.
Products & Tools Used
- Matte finish texturizing paste or clay designed for fine hair (avoids greasy separation).
- Scalp-friendly root lifter spray for targeted volume at the crown.
- Fine-tooth styling comb for precise sectioning and directing the hair forward.
Styling Steps
- Spritz a lightweight root lifter directly onto the crown of towel-dried hair.
- Blow-dry using just your fingers, pushing the hair forward toward the face to disguise a receding hairline or thinning in front.
- Warm a pea-sized amount of matte texturizing paste between your palms until completely invisible.
- Scrunch and pinch the ends of the top layers lightly to create piecey, choppy definition without weighing down the root.
Expert insight: If you suffer from androgenetic alopecia with thinning primarily at the crown, keeping the top layers of your pixie cut slightly longer allows you to cross-style and effectively conceal those sparse, vulnerable patches.

3. Layer A Shoulder-Length Lob With Face-Framing

Pin this stunning face-framing lob to remember how strategic layers can completely transform thin hair!
A choppy lob style sits perfectly in the sweet spot for those who want to retain shoulder-length hair without succumbing to the flat, stringy look. It provides the best of both worlds: enough length to comfortably tie back, but short enough to maintain a healthy, structurally sound baseline.
The mechanics of layering thin hair require precision. Shoulder length layers must be concentrated primarily around the face, preserving the bluntness of the back perimeter. This ensures your hair maintains its critical tensile strength and mass while the face framing layers add beautiful sweeping dimension and width.
Products & Tools Used
- Invisible dry shampoo or volumizing spray to add instant grit and width to slippery strands.
- 1.25-inch ceramic curling iron for creating soft, dimensional bends.
- Silk scrunchie for damage-free tying (protects fragile hair from breakage).
Styling Steps
- Prep dry hair by spraying dry shampoo through the mid-lengths and roots to create a thicker, textured foundation.
- Sectioning the hair into two tiers, use the curling iron to create loose waves, alternating the curl direction to prevent them from clumping together.
- For the face-framing layers, always curl away from the face to open up your features and create an airy, sweeping effect.
- Allow curls to cool completely, then aggressively detangle with your fingers (not a brush) to merge the waves into a voluminous, piecey lob.
An often-overlooked strategy: Tested on thin hair, the “C-shape” layering technique right at the front of a lob naturally pushes the hair forward. This creates a dense illusion of thickness right around your cheekbones where you look in the mirror the most.

4. Lift With An Asymmetrical Bob

Pin this edgy asymmetrical bob to your style board to show how geometry creates instant volume!
When evaluating professional styles thin hair, an asymmetrical bob stands out as a geometric powerhouse. By cutting one side longer than the other, you force the styling into a deep side part. This immediately concentrates all your available hair mass onto the heavier side, creating undeniably thick visual weightiness.
This concentrated mass is highly effective at concealing a thinning crown or a sparse natural part line. It’s a salon-approved technique frequently recommended for women transitioning through postpartum hair loss, as the dramatic sweeping front effortlessly hides uneven baby hairs and front-line regrowth.
Products & Tools Used
- Targeted root lifting spray with a directional nozzle for precise application.
- Boar bristle teasing brush for gentle backcombing without damaging the cuticle health.
- Smoothing serum (use sparingly) to keep the sweeping front section sleek.
Styling Steps
- Create a deep side part on the side opposite to where your hair is naturally thinnest.
- Apply root lifting spray strictly to the roots of the heavier side, then blow-dry in the opposite direction of how the hair will naturally lay to build maximum lift.
- Take your teasing brush and gently backcomb the layers right beneath the top canopy of the heavy side to create a hidden cushion of volume.
- Smooth the top layer over the teased section, applying a micro-drop of smoothing serum just to the ends for a sharp, professional finish.
Pro-Tip: If your hair suffers from severe fragility, skip the teasing entirely. Instead, tap microscopic hair fibers directly along your deep side part to instantly eliminate any visible scalp contrast without causing breakage.

5. Create Movement With A Choppy Shag & Curtain Bangs

Don’t let thin hair stop you from rocking a shag—pin this curtain bang inspiration for your stylist!
Many women worry that they cannot pull off bangs if they have fine strands, but curtain bangs thin hair styling works beautifully because of how they drape. Because curtain bangs are parted down the middle, they push density toward the outer edges of the face. This is incredible for hiding thinning temples, a frequent concern in aging hair care.
When incorporating a choppy, shaggy texture, expert stylist tips dictate that the layers must be kept relatively long compared to a traditional thick-hair shag. If the layers are cut too short, the bottom perimeter will look like a sparse mullet. Keeping the layers long ensures you get the movement without losing the critical density of the thin hair in front.
Products & Tools Used
- Lightweight sea salt or sugar texturizing spray (sugar sprays provide hold without drying out fragile hair).
- Large velcro hair rollers specifically for the bang area.
- Wide-tooth comb for scrambling the texture without causing breakage.
Styling Steps
- Spritz your damp hair generously with a lightweight texturizing spray, focusing heavily on the mid-lengths and ends.
- While the hair is still warm from blow-drying, roll your curtain bangs upward and away from your face using a large velcro roller, leaving it to set for 10 minutes.
- Scrunch the rest of your hair vigorously with your hands as it air-dries to encourage natural, choppy movement.
- Remove the roller from the bangs, shake them out directly down the middle, and use your fingers to blend them into the shaggy side layers.
Pro-Tip: For women experiencing telogen effluvium (stress-induced shedding), curtain bangs are the ultimate camouflage tool, effectively hiding sparse temples while framing the eyes beautifully.

6. Thicken Ends With A Blunt Collarbone Cut & Internal Layers

Pin this brilliant “invisible layers” technique to show your stylist how to keep your ends looking thick!
When weighing straight vs wavy for volume, straight hair often struggles the most. Enter the holy grail of mid-length styling: the blunt collarbone cut enhanced with internal layers. This hybrid approach brilliantly solves the layers vs blunt cut dilemma by combining the structural integrity of a heavy baseline with the lift of layering.
In this peer-reviewed cosmetology technique, the stylist cuts shorter pieces underneath the top canopy of your hair. Because these layers are invisible from the outside, they act as hidden scaffolding. This internal graduation forces the top layer to bevel outward, instantly mitigating thinning and lifting the hair away from the head without showing any short, choppy pieces on the surface.
Products & Tools Used
- Heat-activated thickening cream that swells the cortex diameter during blow-drying.
- Large paddle brush for smoothing the blunt perimeter without rounding it too much.
- Silk pillowcase to protect the fragile blunt ends from fraying into split ends overnight.
Styling Steps
- Distribute a dime-sized amount of thickening cream evenly through damp hair, focusing strictly on the mid-shaft.
- Section the hair horizontally, and begin blow-drying the bottom layers first using a paddle brush, pulling the hair straight down with slight tension.
- When drying the top canopy, over-direct the hair (pull it straight up toward the ceiling) before bringing it down; this activates the internal layers to stand up and create a cushion.
- Finish with a quick blast of cool air to seal the cuticle and lock in that smooth, voluminous lift.
What most guides miss: If you have silky but thin hair, you must explicitly instruct your stylist to use shears, never a razor. Razoring slices the hair cuticle diagonally, which makes thin ends look instantly frayed, split, and intensely unhealthy.

7. Maximize Crown Volume With A Deep Side Part Sweep

Struggling with a flat crown? Pin this deep side part hack for instant, heat-free volume!
If you are dealing with severe thinning at the crown, comparing a side part vs middle part reveals a clear winner. A middle part naturally falls open where the hair is thinnest, exposing the scalp. Flipping your hair into a deep side part forces the follicles to lay against their natural growth pattern, providing immediate, gravity-defying roots + volume.
To perfect this look, trichologist recommended solutions often involve pairing the deep sweep with a high-quality scalp concealer. By tapping pigmented powders or fibers along the new part line, you completely mask the scalp, creating an unbroken canopy of thick-looking hair without resorting to a drastic haircut.
Products & Tools Used
- Tinted scalp concealer powder or hair fibers that accurately match your root color.
- Pintail comb for creating a razor-sharp, precise part.
- Lightweight, flexible hold hairspray (aerosol is best for fine hair).
Styling Steps
- Starting on completely dry hair, use the pintail comb to create a part directly above the arch of your eyebrow, flipping the bulk of the hair to the opposite side.
- If your hair stubbornly falls back, use a little gentle teasing right at the base of the flip, and lock it in with a quick spray of hairspray.
- Take your tinted scalp concealer and a small makeup brush, gently tapping the powder directly onto the scalp along the part line to eliminate any stark white contrast.
- Gently smooth the top layer of the sweep with the side of your comb to polish the look while maintaining the lifted volume.
Pro-Tip: Train your hair by sleeping with it parted on the opposite side of your preferred daytime part. When you flip it over in the morning, the root lifting volume will remain securely in place all day long.

8. Disguise Scalp Show With A Soft Tapered Crop

Ready for a big chop? Pin this beautiful tapered crop that makes fine hair look incredibly chic and full.
For older demographics or women with significant, advanced hair loss, finding hairstyles for very thin hair that look intentional rather than sparse is critical. A soft tapered crop is an incredibly elegant solution. By graduating the sides tightly against the head, you create an optical illusion: the longer, feathered hair on top automatically looks drastically thicker by comparison.
This specific crop is highly dermatologist backed for women undergoing topical treatments like minoxidil. Because it requires zero tension (avoiding tension alopecia) and relies on air-drying rather than heat damage, it provides perfect scalp + coverage while allowing fragile follicles the perfect environment to recover.
Products & Tools Used
- Ultra-lightweight conditioning styling foam (heavy gels will separate the hair and starkly show the scalp).
- Microfiber hair towel for gentle drying.
- Boar bristle smoothing brush.
Styling Steps
- After washing, press the water out of your hair using a microfiber towel—never rub vigorously, as fragile hair snaps easily when wet.
- Pump a small amount of styling foam into your hands and glide it gently over the top of the head.
- Using the boar bristle brush, brush the short sides flat against your head while pushing the top section slightly forward and up.
- Allow the hair to air dry completely for a soft, feathered hair look that maximizes your density appearance.
Expert insight: If you are currently transitioning to silver or gray, a soft tapered crop is the perfect vehicle. The light-reflecting properties of bright silver hair naturally disguise the contrast between the hair strands and the scalp, drastically increasing density visually.

9. Frame Your Face With Wispy Bangs & Mid-Length Waves

Love bangs but worried your hair is too thin? Pin this wispy bang guide to prove it can be done perfectly!
When debating bangs vs no bangs for baby fine strands, heavy, blunt fringe should be avoided because it steals too much crucial hair mass from the sides and back. However, wispy bangs require very little actual hair to create, yet they effectively break up a high forehead and add instant, intentional style.
Pairing a wispy fringe with mid-length waves + movement provides magnificent lateral volume. A certified colorist will often enhance this pairing by adding delicate highlights + depth, which ensures the thin fringe catches the light and looks multidimensional rather than flat and stringy across the forehead.
Products & Tools Used
- Three-barrel ceramic hair waver (faster and creates wider volume than a standard curling iron).
- Lightweight heat protectant spray (essential to protect cuticle health during diffusing or waver use).
- Mini flat iron (specifically for styling the short bangs accurately).
Styling Steps
- Mist completely dry hair thoroughly with heat protectant and comb through to ensure even distribution.
- Clamp the three-barrel waver on horizontal sections of hair, holding for just 3-5 seconds to create gentle waves + movement rather than tight, severe crimps.
- For the wispy bangs, use the mini flat iron to quickly bend the ends slightly under and sweep them away from the center of the forehead.
- Shake the waves out with your fingers—never a brush—to maintain the textured, voluminous width.
Pro-Tip: When cutting wispy bangs on thin hair, the stylist should start the triangle section further back on the head near the crown, but keep the actual width of the section very narrow. This provides ample forehead coverage without thinning out the sides of your hair.

10. Get The Best Of Both Worlds With A Bixie Cut

Not ready for a pixie but bored of your bob? Pin this “Bixie” cut to your hair goals board!
If you frequently find yourself paralyzed by the bob vs pixie debate, the “Bixie” cut is your answer. It truly offers the best of both worlds. This modern hybrid leaves feminine length around the ears and nape (like a bob) but features the aggressive, heavy top layering of a pixie to combat hopelessly flat roots.
To maintain the optimal texture + weight ratio, industry standards suggest trimming a Bixie every 6-8 weeks. If the heavy top layers are allowed to grow out too long, they will inevitably weigh down the shorter lengths beneath them, collapsing the voluminous structure you worked so hard to build.
Products & Tools Used
- Non-aerosol dry shampoo powder (adds intense grip and volume to the roots without the drying effects of alcohol).
- Small round styling brush.
- Precision blow dryer with a cool shot button.
Styling Steps
- Tap a small amount of dry shampoo powder directly into the roots at the crown of the head, massaging vigorously to activate the raw volume.
- Dampen the front face-framing pieces slightly, and use the small round brush to blow-dry them backward, pulling up and away from the face.
- Use your fingers to piece out the shorter lengths at the nape of the neck so they lay flat and tightly hug the hairline.
- Hit the entire style with the cool shot button on your dryer to instantly freeze the lifted roots in place all day.
Pro-Tip: The Bixie is incredibly flattering for women dealing with postpartum hair loss, as the heavy top layering perfectly and seamlessly blends in the short, spiky baby hairs that sprout erratically along the hairline during the regrowth phase.

11. Stack Volume With An A-Line Bob & Graduated Back

Pin this brilliant stacked A-line bob to remember the ultimate haircut for creating volume in the back!
When it comes to thinner hair styles, a flat, lifeless crown in the back of the head is a major pain point. The stacked A-line bob solves this through sheer geometric cut + illusion. By heavily graduating (stacking) the short layers in the back, the hair physically builds upon itself. This forces the upper layers to flare outward, creating a beautifully rounded, voluminous shape right at the occipital bone.
Master stylists frequently utilize subtle undercutting at the very nape of the neck to perfect this look. By removing wispy, straggly baby hairs underneath, the stacked layers above are highlighted and look exponentially thicker—a true industry standard trick for massive bob + volume.
Products & Tools Used
- Thermal ceramic round brush (retains heat to set the volume deeply into the back layers).
- Strong-hold volumizing mousse.
- Sectioning clips (absolutely crucial for drying the back properly).
Styling Steps
- Apply volumizing mousse heavily specifically to the roots in the back of the head.
- Using sectioning clips, isolate the stacked layers in the back, starting your blowout at the very nape of the neck.
- Place the thermal round brush underneath each horizontal section, lifting straight up and rolling downward while applying heat to maximize the density + appearance.
- Once the back is fully stacked and dry, use a flat iron on just the longer front pieces to create a sharp, contrasting angle.
Pro-Tip: If your hair is exceptionally fine, completely avoid using heavy conditioners on the back of your head. Condition only the longer front pieces. Conditioning the stacked back layers will weigh them down heavily and immediately ruin the geometric lift.

Key Takeaways: Your Quick Guide to Hairstyle Ideas Thin Hair
Synthesizing professional hair care guidance into manageable daily rules is essential for maintaining your new look. If you only remember a few key points from this comprehensive overview of thin hair solutions, ensure they revolve around preserving mass and avoiding techniques that shred your cuticle.
By adhering to these rule-of-thumb insights, you can consistently maintain that crucial illusion of thickness between salon visits.
Key Takeaways:
- Adopt Blunt Perimeters for Maximum Density – When looking for hairstyle ideas thin hair overview, always prioritize a sharp, blunt baseline. Keeping ends blunt rather than wispy creates an immediate, striking illusion of fullness.
- Embrace Internal Layering over Traditional Layers – Standard heavy layers can leave the bottom of your hair looking stringy. Ask your stylist for “invisible” internal layers that provide structure and lift without sacrificing your density + appearance.
- Shorter Lengths Equal Higher Volume – Shorter styles like pixies, bixes, and bobs permanently remove excess weight. This weightlessness stops gravity from pulling down your roots, automatically providing a far more voluminous look.
- Shift Your Part to Hide Thinning – A middle part naturally exposes the most vulnerable area of the scalp. Utilizing a deep side part forces hair against its natural grain, delivering massive root lifting and expertly concealing a thinning crown.
- Never Allow Razor Cutting – As a strict rule for fragile hair, insist your stylist uses shears. Razoring shreds the delicate hair cuticle, leading to severe split ends and making thin hair look instantly frayed, fuzzy, and unhealthy.
- Address Scalp Health Foundationally – While haircuts mask the visual issue, utilizing trichologist recommended routines—like regulating sebum, avoiding heavy silicones, and treating mineral buildup—ensures your hair has the optimal biological environment to thrive.
People Also Ask About Hairstyle Ideas Thin Hair
Even after browsing visual galleries and learning about geometric cuts, navigating daily maintenance brings up specific anxieties. Dealing with oiliness, product buildup, and choosing the right styling tools can quickly overwhelm anyone looking for realistic thin hair solutions.
Below, we address the most common frustrations and styling challenges. These factual, science-backed answers clarify widespread misunderstandings and provide the expert guidance needed to handle thin strands confidently.
What is the difference between thin and fine hair?
The difference lies in density versus diameter; fine hair refers to the physical thickness of individual strands, while thin hair refers to having fewer hair follicles per square inch on your scalp.
You can have fine hair but a lot of it (high density), or thick coarse strands but very few of them (thin/low density). Understanding this distinction is crucial because thin vs fine hair require fundamentally different styling products. Fine hair needs weightless volumizers, while true thin hair benefits most from scalp-concealing techniques and specialized cuts that maximize the illusion of thickness.
Does short hair make thin hair look thicker?
Yes, cutting thin hair short almost always makes it look significantly thicker and more voluminous.
Long hair carries heavy physical weight, which forcefully pulls down on the roots, causing the hair to lay completely flat against the scalp and glaringly exposing thinning areas. By choosing a pixie cut for thin hair or a blunt bob, you immediately remove this weight. This allows the roots to spring up naturally, providing instant lift and minimizing the appearance of limp strands.
Can you have layers with thin hair?
You can have layers with thin hair, provided they are kept minimal, face-framing, or strictly internal, rather than heavy and distributed throughout the back.
If a stylist layers thin hair too aggressively, it removes too much bulk from the foundational perimeter, leaving the bottom looking see-through and stringy. The best haircuts for fine thin hair utilize “invisible” internal layers that sit completely hidden under the top canopy of hair to push it up, or swooping face framing layers that add lateral movement around the cheekbones while keeping the back completely blunt.
How to hide a thinning crown with hairstyles?
To hide a thinning crown, switch to a deep side part and incorporate root-lifting products paired with gentle backcombing.
A traditional middle part exposes the crown heavily. By sweeping the hair over in a deep side part, you physically stack the hair’s mass directly over the thinning area. Additionally, utilizing tinted scalp makeup or microscopic hair fibers directly on the crown eliminates the stark contrast between your pale scalp and your hair, instantly solving the embarrassing issue of a visible scalp.
What hairstyles for thin hair suit a round face?
For a round face with thin hair, an asymmetrical lob or an angled A-line bob are the most flattering and volumizing geometric options.
The ultimate goal is to elongate the facial structure while adding necessary volume. An asymmetrical cut brilliantly draws the eye diagonally, breaking up the horizontal roundness of the cheeks. Pair this with a deep side part to add essential height at the crown, which visually lengthens the face. Avoid chin-length blunt bobs with heavy, straight-across bangs, as these will compress the face and make it look substantially wider.
How often should you wash thin hair?
Thin hair should typically be washed every other day using a high-quality, sulfate-free volumizing shampoo to prevent excess sebum from quickly weighing down the roots.
Because there are significantly fewer hairs to absorb the natural oils produced by your scalp, thin hair tends to look greasy, wet, and flat very quickly. However, daily washing can severely damage fragile hair cuticles over time. To bridge the gap, use a high-quality non-aerosol dry shampoo on the second day to actively absorb oiliness and provide extra texturizing grip.
What hair products are best for thin hair?
The best products for thin hair are lightweight volumizing mousses, root lifters, and dry texturizing sprays that provide hold without leaving heavy, greasy residue.
Strictly avoid heavy conditioning creams, thick styling gels, and silicone-based smoothing serums, which rapidly cause product buildup and plaster thin hair tightly to the scalp. Instead, look for airy foams and sugar-based sprays that swell the cortex diameter temporarily. Always apply styling products primarily to the roots and mid-lengths, keeping the fragile ends clean to maintain a bouncy, weightless finish.
What color hair is best for thinning hair?
Multi-dimensional colors, such as a rich base color expertly paired with subtle highlights and lowlights, are best for thinning hair because they create the powerful optical illusion of depth.
Monochromatic, solid hair colors (especially very dark colors pressed against a pale scalp) act like a flat wall, harshly highlighting sparsity and showing the scalp easily. By working intimately with a certified colorist to add strategic color + dimension, the varying shades trick the eye into seeing intricate shadows and texture, making the hair look significantly denser than it actually is.
How to add volume to thin hair overnight?
You can add massive overnight volume to thin hair by sleeping with slightly damp hair twisted loosely into a high top-knot secured using a soft silk scrunchie.
Before getting into bed, apply a lightweight volumizing mousse strictly to the roots. Gather your hair at the absolute top of your head (which directs the roots forcefully upward) and secure it very loosely to actively avoid tension alopecia. Sleep on a silk pillowcase to eliminate friction and breakage. When you take the bun down in the morning, your roots will be trained upward, providing massive, long-lasting heatless volume.
Are hair extensions good for thin hair?
Hair extensions can be excellent for thin hair, provided you use lightweight, modern options like halo extensions or tape-ins that don’t put excessive, damaging stress on your fragile follicles.
Heavy clip-ins or outdated micro-bead extensions can forcefully pull on weak roots, severely exacerbating existing hair loss. If you choose extensions to achieve instantly thicker hair, ensure they are professionally applied and explicitly color-matched to your natural density. For localized thinning specifically at the part line, lightweight clip-in toppers are almost always a safer and far more effective alternative to a full set of extensions.
Final Thoughts on Hairstyle Ideas Thin Hair
Navigating the complex world of hairstyle ideas thin hair does not have to be an exercise in frustration. As we have thoroughly explored through these 11 transformative cuts, having low-density hair is not a permanent styling limitation—it simply requires a fundamentally different structural approach. By shifting away from heavy, stringy layers and enthusiastically embracing the architectural magic of blunt perimeters, internal layers, and strategic asymmetry, you can completely manipulate how your hair’s density is perceived by the world.
Remember that the absolute best hairstyles for thin hair rely heavily on brilliant optical illusions. Whether it’s forcing a deep side part to create a mountain of root lift, or using a tailored bixie cut to permanently remove gravity’s downward pull, your ultimate goal is to maximize the visual impact of the hair you already have. Armed with the right lightweight mousses, root lifters, and dry texturizing sprays, recreating these stunning salon-approved styles at home is entirely within your reach. Even the most glamorous red carpet hairdos routinely rely on these exact optical illusions and specialized cutting techniques to manage celebrity thin hair.
The next time you sit in the salon chair, do not be afraid to loudly advocate for your hair’s unique structural needs. Confidently ask for shears instead of razors, request sharp blunt baselines, and demand lightweight products that actively support your scalp health without weighing you down. You now possess the expert vocabulary and the visual inspiration necessary to get exactly what you need.
Which of these 11 genius thinner hair styles are you pinning to show your stylist at your next appointment? Are you brave enough to try the dramatic asymmetrical bob, or are you heavily leaning toward the soft, sweeping face-framing lob? Let us know your thoughts and your own voluminizing secrets in the comments below!
Last update on 2026-04-27 / Affiliate links / Images from Amazon Product Advertising API