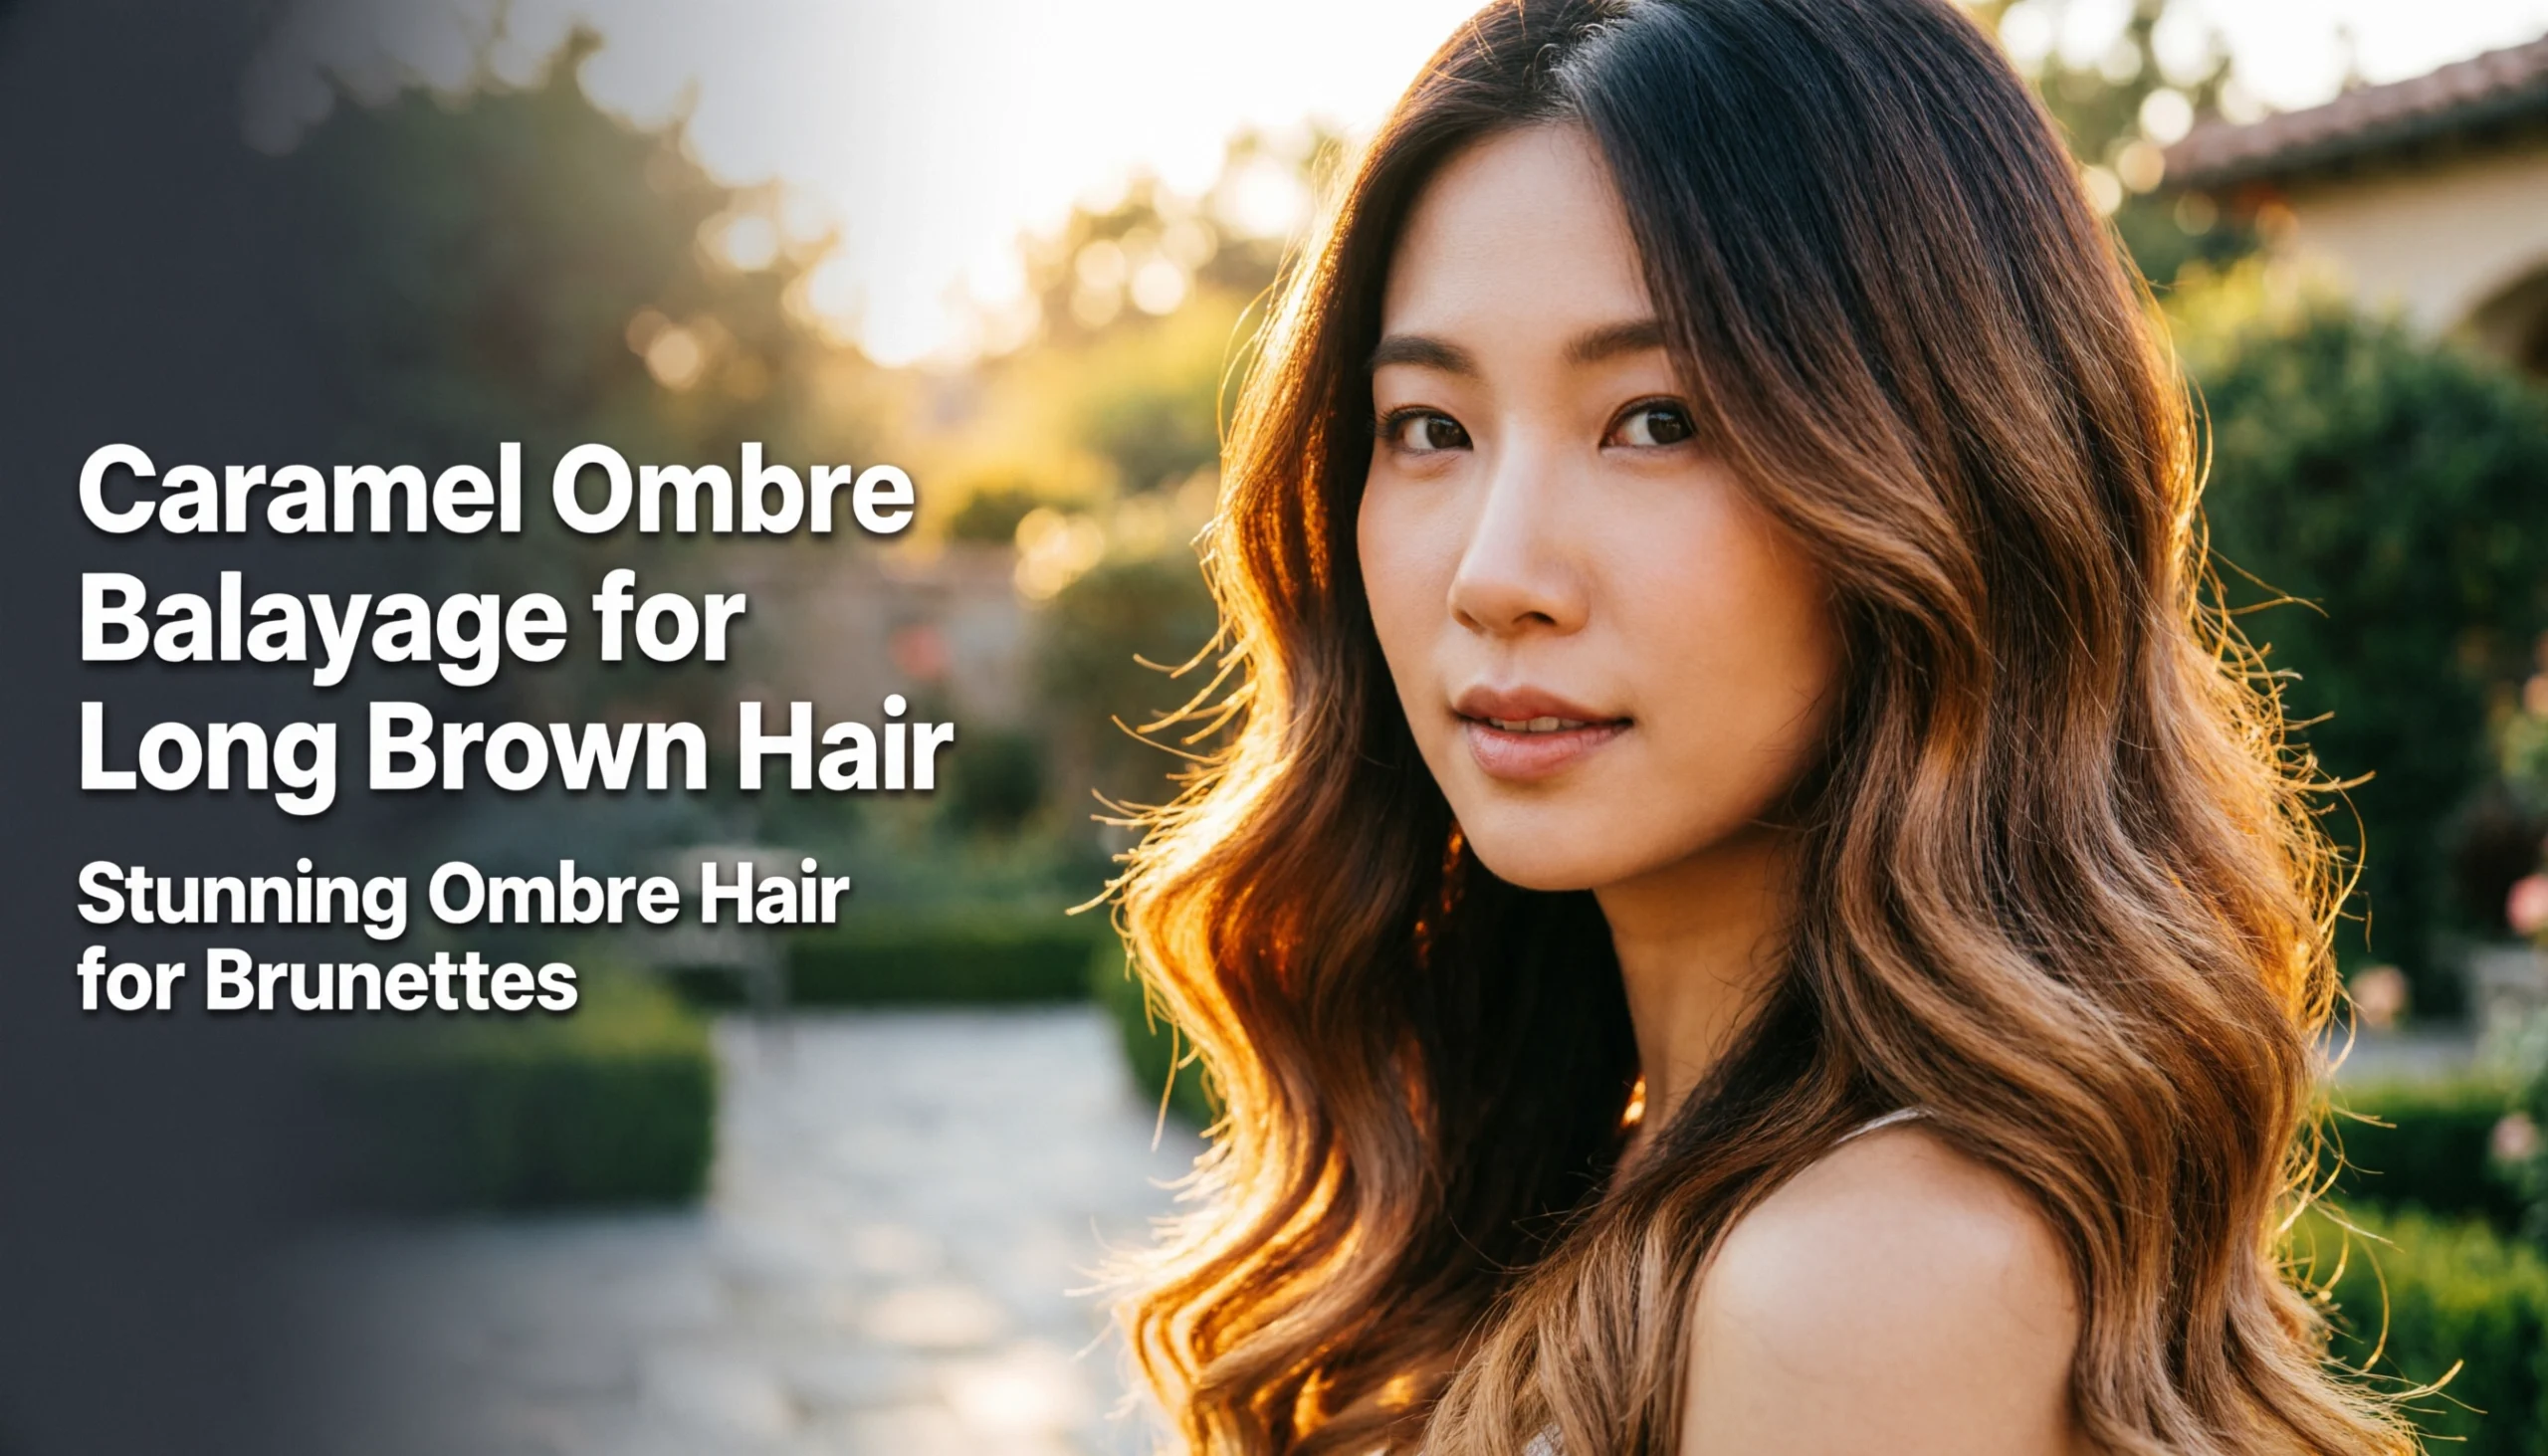
Are you tired of flat, one-dimensional dark hair that feels lifeless and heavy? Caramel ombre balayage for long brown hair is the ultimate low-maintenance solution that instantly adds beautiful warmth and sweeping movement.
Caramel ombre balayage for long brown hair is a hand-painted highlighting technique that effortlessly blends a dark brunette root into warm, golden-brown mid-lengths, finishing with lighter caramel ends. This low-maintenance color strategy creates multidimensional depth, makes hair look fuller, and offers a natural, sun-kissed grow-out without harsh root lines.
Drawing from comprehensive analysis of current salon data and proven lifting methodologies, this strategy preserves your hair’s structural integrity. You will discover the exact techniques needed to achieve and maintain this seamless color transition at home. Get ready to elevate your style with expert-backed precision and confidence.
Is Caramel Ombre Balayage for Long Brown Hair The Ultimate Brunette Upgrade?
Yes, a caramel ombre balayage is the ultimate upgrade because it provides high-impact, multidimensional tones while strictly maintaining the foundational health of your dark brunette base.
Traditional highlights often create harsh, distinct lines that require frequent salon visits and aggressive touch-ups. In contrast, balayage is a freehand painting technique that sweeps lightener onto the surface of the hair, focusing primarily on the mid-lengths and ends. When combined with an ombre effect, the color gradually shifts from your natural dark root into a beautifully blended caramel finish. This creates a seamless root melt that prevents harsh grow-out lines, allowing you to go months between appointments.
As a salon professional, I frequently see brunettes worry about severe bleach damage. Fortunately, transitioning a level 3 or 4 brunette base to a level 7 or 8 caramel requires significantly less chemical lifting than going platinum blonde. This gentle process protects the cuticle while delivering vibrant, high-contrast dimension. Before we explore the specific styles, take a quick moment to assess your complexion: Are you a cool-toned or warm-toned brunette? Knowing your undertone will help you choose the perfect shade of caramel to complement your features.
7 Stunning Ways to Style Your Caramel Ombre Balayage for Long Brown Hair
Unlocking the full potential of your new hair color requires the right styling techniques and maintenance routines. The way you curl, wave, or texturize your hair directly impacts how the light reflects off your multidimensional highlights. Straight hair can sometimes hide the intricate painting of a balayage, while specific curling methods can make the colors pop dramatically.
From advanced foilayage methods that lift stubborn dark hair to delicate hand-painting that creates natural ribbons, the styling possibilities are endless. We are going to explore seven distinct variations of this color trend. For each look, you will find the exact styling routine and product recommendations needed to replicate these salon-quality results at home. These actionable steps will ensure your long brown hair remains healthy, glossy, and vibrantly colored throughout June and 2026.
1. Style the Face-Framing Caramel Money Piece

Pin this face-framing hair hack to your Dream Hair Color board!
The caramel money piece is a striking technique that places the brightest, most vibrant color directly around your face. This face-framing highlight creates an optical lift, contrasting beautifully with your dark brown base to illuminate your complexion and draw attention to your eyes and cheekbones.
To properly style a balayage face frame, you must focus on the direction of your curls. Curling the front sections away from your face opens up your features and maximizes the impact of the lighter pieces.
Products & Tools Used
- 1.25-Inch Ceramic Curling Iron: Ideal for creating loose, modern waves that show off color dimension.
- Lightweight Heat Protectant Spray: Essential to prevent the lighter caramel pieces from thermal damage and brassiness.
- Flexible Hold Texturizing Hairspray: Keeps the front sweeps perfectly placed without crispiness.
- Wide-Tooth Styling Comb: For breaking up the curls into natural-looking waves.
Application/Styling Steps
- Mist your dry, long brown hair thoroughly with the heat protectant, focusing heavily on the lighter caramel front sections which are more porous.
- Section the face-framing money pieces away from the rest of your hair.
- Clamp the curling iron midway down the money piece, rolling away from your face to open up your features.
- Hold for 5-8 seconds, then pull the iron straight down through the ends for a modern, relaxed finish.
- Repeat throughout the rest of the head, alternating curl directions, but always ensuring the front pieces curl backward.
- Comb through with a wide-tooth comb once the hair is completely cool to blend the caramel ribbons seamlessly into the dark base.
What most guides miss: In my experience working with high-contrast color, lighter front sections are highly prone to heat-induced brassiness. Always keep your hot tools under 350°F (180°C) when styling your caramel money piece. High heat literally bakes the artificial toner out of the hair shaft, leaving you with dull, yellowing front pieces instead of that perfect golden tone.

2. Maintain the Soft Honey Caramel Melt

Save this flawless color melt guide to your Pinterest routine board!
A seamless color melt utilizes a root smudge balayage technique to blur the transition between your natural dark hair and the honey caramel highlights. This specific style relies entirely on incredible shine and tightly sealed cuticles to look expensive and fluid.
Maintaining this glossy gradient requires a dedicated wash day routine. You must carefully manage the pH balance of your hair cuticles to prevent the artificial caramel pigments from leaching out of your lightened ends.
Products & Tools Used
- Sulfate-Free Color-Safe Shampoo: Prevents stripping the delicate honey caramel toner from the lightened ends.
- Deep Hydrating Argan Oil Mask: Restores moisture to the chemically lightened mid-lengths and ends.
- Microfiber Hair Towel: Reduces friction and prevents frizz on delicate, color-treated cuticles.
- Leave-In Detangling Spray: Seals the cuticle before brushing.
Application/Styling Steps
- Saturate your hair completely with lukewarm water—avoid hot water, which opens the cuticle and fades your caramel toner faster.
- Massage the sulfate-free shampoo only into your dark brunette roots, letting the suds gently cleanse the lighter ends as you rinse.
- Apply the hydrating mask generously from the mid-lengths down to the lightest caramel tips, avoiding the root area.
- Leave the mask on for 5-10 minutes while you finish the rest of your shower routine.
- Rinse with cool water to snap the hair cuticle shut, locking in the honey color and maximizing shine.
- Wrap your hair in a microfiber towel, gently squeezing out excess water rather than rubbing.
Expert insight: The secret to a flawless “melt” is high reflectivity. By finishing your shower with a cool water rinse, you physically flatten the cuticle layer. This smooth surface allows light to bounce off the hair seamlessly, making the transition from dark brown to caramel look incredibly fluid and glossy.

3. Neutralize the High-Contrast Dark Roast to Caramel

Keep your contrast crisp—pin this toning guide for later!
A high-contrast balayage pairs a dark espresso base with stark, bright caramel highlights. While visually stunning, this dramatic dimension is highly susceptible to unwanted brassiness.
When you lift dark brown hair, you expose the underlying red and orange pigments. Over time, as your salon gloss fades, these warm undertones peek through, making your highlights look cheap and brassy. You must use specific color-corrective toning products at home to neutralize these tones.
Products & Tools Used
- Pigmented Blue Toning Shampoo: Specifically formulated to cancel out orange/brassy undertones in lightened brunette hair (do not use purple shampoo).
- Clear Hydrating Conditioner: To balance the dryness often caused by color-depositing shampoos.
- Shower Comb: To ensure even distribution of the toning pigment.
- Hair Sectioning Clips: To isolate the highlighted areas if needed.
Application/Styling Steps
- Wash your hair first with your regular daily shampoo to remove buildup and allow the toner to penetrate evenly.
- Squeeze out as much excess water as possible. Toning shampoo applied to soaking wet hair dilutes the blue pigment and reduces its effectiveness.
- Apply a quarter-sized amount of blue shampoo, concentrating heavily on the brassy caramel pieces.
- Comb the product through from the mid-lengths to the ends to ensure every highlighted strand is coated evenly.
- Process for exactly 3-5 minutes. Watch carefully—leaving it too long can over-cool the caramel, making it look dull or muddy.
- Rinse thoroughly until the water runs clear, and immediately follow with a heavy moisture conditioner.
An often-overlooked strategy: Basic color wheel theory dictates that blue cancels orange, while purple cancels yellow. Because dark brown hair lifts to an orange/red undertone, a standard purple blonde shampoo simply won’t fix your brassy caramel balayage. You must use a specifically formulated blue shampoo to neutralize the orange and restore your rich caramel tones.

4. Enhance Subtle Sun-Kissed Caramel Ribbons

Love that effortless beachy look? Pin these texture tips!
Subtle brown hair highlights utilize ultra-fine micro-foils to create a delicate, natural look. However, these fine sun-kissed caramel ribbons can easily get lost visually if the hair is styled too sleek or clumped together.
To reveal this delicate dimension, you need to employ texturizing products that physically separate the hair strands. Sea salt formulas slightly swell the hair cuticle, creating a gorgeous, piece-y look that showcases every tiny highlight.
Products & Tools Used
- Sea Salt Texture Spray: Adds grit and separation to make fine caramel ribbons pop.
- Lightweight Argan Hair Oil: Prevents the salt spray from drying out the lightened ends.
- Diffuser Attachment (Optional): For enhancing natural wave patterns.
- Silk Scrunchie: For the “plopping” or scrunching technique.
Application/Styling Steps
- Apply 2-3 drops of lightweight argan oil only to the lowest two inches of your damp hair to protect the porous, lightened ends.
- Spritz the sea salt texture spray evenly throughout the mid-lengths, focusing on the layers where the caramel highlights are most prominent.
- Scrunch the hair aggressively upward toward the scalp using your hands to encourage your natural wave pattern.
- Air dry (or use a blow dryer with a diffuser on low heat) until the hair is 90% dry.
- Twist large sections of hair into a loose bun with a silk scrunchie while it finishes drying to create heatless, effortless waves.
- Shake the hair out from the root once completely dry. The grit from the texture spray will keep the caramel ribbons separated and clearly visible against the brown base.
Pro-Tip: If traditional sea salt sprays leave your color-treated hair feeling too crunchy or dehydrated, look for “sugar sprays” or “wave sprays” that use aloe or sugar extracts instead. They provide the same piece-y separation that shows off your subtle balayage without severely dehydrating your lightened cuticles.

5. Refresh the Warm Toffee Ombre Transition

Keep your color salon-fresh at home—pin this color-depositing trick!
A warm toffee ombre hair style transitions beautifully from dark brown roots down to rich, mid-tone ends. Unfortunately, these warm brown hair tones tend to lose their vibrancy and fade heavily over time due to washing and heat styling.
Rather than booking an expensive salon appointment every four weeks, you can easily refresh a faded balayage at home. By using non-oxidative direct dyes, such as a color-depositing conditioner, you can temporarily replenish those rich toffee pigments safely in your own shower.
Products & Tools Used
- Caramel Color-Depositing Conditioner/Gloss: Non-damaging pigment that coats the outside of the hair to refresh faded color.
- Vinyl Gloves: To prevent the warm pigments from staining your hands.
- Hair Coloring Brush: For precise application on the ombre transition line.
- Clarifying Shampoo: To prep the hair before the gloss.
Application/Styling Steps
- Wash your hair with a clarifying shampoo to remove styling product buildup. Direct dyes need a clean cuticle to adhere properly.
- Towel dry your hair until it is damp but not dripping. Too much water will dilute the color mask.
- Put on your gloves and use the coloring brush to paint the caramel depositing conditioner onto the lightened ombre sections.
- Blend the product upward slightly past the transition line where the brown meets the caramel. Use your fingers to smudge the line so it doesn’t look harsh.
- Wait 10-15 minutes (or according to product instructions) to allow the pigment to grip the lightened hair.
- Rinse with cold water until clear. Style as usual to reveal revived, salon-fresh toffee warmth.
What most guides miss: Many people fear messing up their hair with at-home glosses. Remember that color-depositing masks only work on hair that has been pre-lightened. Applying a caramel gloss over your natural dark brown roots will not lighten them, but it will deposit beautiful, rich pigment onto your faded balayage ends, making it a perfectly foolproof at-home refresh.

6. Volumize the Caramel Mocha Foilayage Blend

Big hair, beautiful color! Pin this blowout tutorial.
Understanding foilayage vs balayage is crucial when dealing with stubborn dark hair. Foilayage takes the sweeping, painted aesthetic of a balayage but processes the lightener inside aluminum foils. This generates extra heat, allowing a rich mocha base to reach highly lifted caramel tones much closer to the root.
Because this technique weaves dimension high up into the layers of your hair, it demands a high-volume styling approach. A classic 90s blowout using volumizing mousse for dark hair perfectly showcases these multi-level highlights.
Products & Tools Used
- Professional Volumizing Mousse: Provides the necessary hold and lift without weighing down long hair.
- Large Round Ceramic Brush: Essential for creating tension and smoothing the cuticle.
- Velcro Rollers (Jumbo Size): Used to set the hair while it cools for massive, lasting volume.
- Blow Dryer with Concentrator Nozzle: Directs airflow precisely to smooth frizz.
Application/Styling Steps
- Distribute a golf-ball-sized amount of volumizing mousse through damp hair, focusing heavily on the roots and mid-lengths where the mocha base transitions to caramel.
- Rough-dry your hair upside down until it is about 80% dry to establish base volume.
- Section the hair. Starting at the bottom, use the large round brush to pull the hair taut, angling the blow dryer nozzle downward to smooth the cuticle.
- Over-direct the top sections (pulling the hair forward toward your face as you dry) to create massive root lift.
- Roll each hot section of hair immediately into a jumbo velcro roller. Pin it in place.
- Cool completely. Wait at least 15 minutes before removing the rollers. Brush through with your fingers. The massive bounce will dramatically showcase the foilayage highlights weaving through the mocha base.
Pro-Tip: Proper heat styling requires a “cooling phase.” Hair sets its shape as it cools, not as it heats. By leaving the velcro rollers in until your hair is completely cold, you lock in the massive root volume, ensuring your beautifully lifted caramel mocha layers stay bouncy all day long.

7. Sweep the Dimensional Tortoiseshell Caramel

Looking for multi-dimensional magic? Pin this styling trick!
A tortoiseshell hair color (also known in European salons as écaille) is an advanced, multi-tonal hair color technique. It moves beyond a simple two-tone look by incorporating a dark chestnut base, warm caramel mid-bands, and bright golden blonde accents.
When styling dimensional balayage with three or more shades, flat or straight styles rarely do the color justice. The intricate color work is best displayed through structured styling like twists, braids, or half-up sweeps that physically interlock the different hues, creating a stunning woven effect.
Products & Tools Used
- Clear Snag-Free Hair Elastics: Essential for securing styles without distracting from the hair color.
- Lightweight Styling Cream: Smooths flyaways and adds grip to the hair for braiding.
- Bobby Pins (Matched to Base Color): For invisible pinning.
- Shine Spray: To make the golden caramel tones reflect maximum light.
Application/Styling Steps
- Warm a pea-sized amount of styling cream between your palms and run it through the mid-lengths of your hair to provide grip.
- Gather the top section of your hair (from the temples backward) into a loose half-up ponytail and secure it with a clear elastic.
- Split the hair just above the elastic to create a hole.
- Flip the ponytail up and push it down through the hole (creating a “topsy tail” twist).
- Pancake the twist by gently pulling on the edges of the rolled hair. This expands the twist, allowing the dark chestnut base, warm caramel mid-tones, and golden blonde highlights to weave and pop against each other visually.
- Finish with a light mist of shine spray. The woven texture of the twist acts as a perfect visual canvas for the complex tortoiseshell dimension.
Expert insight: Tortoiseshell or écaille balayage incorporates a dark shadow root, a warm chestnut mid-band, and bright golden caramel ends. Because it involves 3-4 distinct levels of lightness, styling it in braids, twists, or messy buns creates a stunning woven effect that flat, straight styling simply cannot achieve.

Key Takeaways: Your Quick Guide to Caramel Ombre Balayage for Long Brown Hair
Before booking your next salon appointment or refreshing your routine in June 2026, you need to understand the fundamental rules of brunette balayage care. Keeping your high-impact color fresh doesn’t have to be complicated, but it does require consistency.
By applying basic color theory and using the proper thermal protection, you can maintain your vibrant caramel highlights for months without extreme salon upkeep. To help you maintain the healthiest, most stunning look possible, we have synthesized the most critical styling and maintenance practices into an easy-to-reference checklist. Keep these golden rules in mind as you care for your long brown hair.
Key Takeaways:
- Use Blue, Not Purple Shampoo: Because dark brown hair lifts to an orange undertone, you must use a pigmented blue shampoo to neutralize brassy caramel highlights effectively.
- Thermal Protection is Non-Negotiable: Lightened balayage ends are highly porous; always apply heat protectant and keep hot tools under 350°F to prevent the caramel toner from burning off.
- Texture Reveals Dimension: Subtle, sun-kissed caramel ribbons can get lost in straight hair; use sea salt or wave sprays to separate the strands and showcase the color.
- Refresh With At-Home Glosses: You can easily stretch the time between salon visits by using a caramel color-depositing conditioner to revive faded, dull ends.
- Wash With Cool Water: Hot water blasts open the hair cuticle, causing your expensive salon toner to wash down the drain. Always rinse color-treated hair in cool water to lock in the gloss.
- Ask For Foilayage for Maximum Lift: If your dark brunette hair resists lightening, ask your stylist for a foilayage (balayage in foils) to generate the heat needed for bright caramel results.
People Also Ask About Caramel Ombre Balayage
Navigating the world of high-contrast balayage and multidimensional color can feel overwhelming, especially when weighing maintenance costs and hair health. Many clients have lingering questions about how long the color will last and whether the process will severely damage their natural brunette locks.
To give you complete peace of mind before your transformation, we have compiled the most common questions regarding caramel balayage. These answers are grounded in professional salon realities, cutting through the myths to provide you with authoritative, factual guidance for your hair journey.
Does caramel balayage damage dark brown hair?
While any chemical lightening alters the hair cuticle, caramel balayage is significantly less damaging than going fully blonde because it requires a lower volume developer and doesn’t touch the scalp.
Because you are only lifting the dark brown base 3 to 4 levels to achieve a caramel tone (rather than 7+ levels for platinum), the structural integrity of the hair remains largely intact. Furthermore, by leaving the roots natural, you avoid harsh scalp processing entirely. Using bond-building treatments post-salon will mitigate almost all residual dryness.
How much does a caramel ombre balayage cost?
According to industry standards, a full caramel balayage on long hair typically costs between $150 and $350, depending on your geographic location and the stylist’s expertise.
This price usually includes the lightening process, the custom caramel toning gloss, and a blowout. While the initial investment is higher than traditional foil highlights, balayage requires significantly less upkeep. You are paying for a specialized hand-painting technique that creates a seamless, low-maintenance grow-out.
How long does a caramel balayage last before needing a touch-up?
A well-executed caramel balayage can last anywhere from 3 to 6 months before requiring a full lightening touch-up at the salon.
Because the highlights do not go all the way to the root, there is no harsh line of demarcation as your hair grows. However, the toner (the gloss that gives the highlights their specific caramel warmth) will fade after 4 to 6 weeks. You can easily maintain the color by visiting the salon for an inexpensive gloss appointment, or by using color-depositing conditioners at home.
What is the difference between caramel balayage and caramel highlights?
Balayage is a freehand painting technique that creates a soft, graduated blend toward the ends, whereas traditional highlights use foils right from the root for a more uniform, structured pattern.
Caramel highlights will give you distinct lines of color from the scalp to the ends, requiring root touch-ups every 6 weeks. Caramel balayage leaves your natural brunette roots intact, sweeping the lighter color mostly through the mid-lengths and ends for a sun-kissed, natural look.
Why did my caramel balayage turn orange?
Your caramel balayage turned orange because the artificial caramel toner faded, exposing the underlying raw pigment of your lightened dark brown hair.
When dark brunette hair is bleached, it naturally lifts to red, orange, or brassy yellow stages. Stylists apply a cool-toned gloss over this to create a “caramel” shade. Heat styling, hot water, and harsh shampoos strip this gloss away. To fix it, you must use a blue toning shampoo to neutralize the orange, or visit your stylist for a fresh gloss.
Will caramel balayage look good on cool-toned skin?
Yes, but you should ask your stylist for a “cool caramel” or “mushroom brown” balayage rather than a traditional warm golden toffee.
True caramel is inherently warm (featuring gold, copper, and honey undertones), which perfectly flatters warm, olive, and golden skin tones. If you have cool, pink undertones in your skin, a highly warm caramel might wash you out. Your colorist can adjust the gloss to be more neutral-ash, giving you the dimension of balayage without clashing with your complexion.
How do I prepare my dark hair for a balayage appointment?
You should prepare for a balayage by using a clarifying shampoo to remove buildup, followed by deep conditioning treatments in the weeks leading up to your appointment.
Arrive at the salon with clean, dry hair. Do not use heavy dry shampoos or root touch-up sprays the day of, as these block the lightener from penetrating the hair shaft evenly. Additionally, be completely honest with your stylist about any box dye you have used in the past two years, as this drastically affects how dark hair lifts.
Can you get a caramel balayage on black hair?
Yes, you can achieve a caramel balayage on black hair, but it may require two separate salon sessions to safely lift the hair without causing severe breakage.
Lifting level 1 (black) hair to a level 6 or 7 (caramel) is a significant chemical jump. If your hair is naturally black, it will pull heavily warm/red as it lightens. If you have dyed black hair, removing the artificial pigment is even harder. Expect a warmer, auburn-leaning caramel initially while the hair transitions safely over time.
Does a root melt make balayage look better?
A root melt (or shadow root) absolutely elevates a balayage by intentionally blurring the line where your natural dark hair meets the lighter caramel pieces.
After the lightening process, the stylist applies a demi-permanent color matching your natural brunette base to the top 1-2 inches of the highlights, combing it downward. This technique erases any accidental harsh lines from the lightener, creating the incredibly soft, gradient “melt” effect that makes modern balayage look so expensive and natural.
Should I wash my hair before getting a balayage?
Yes, you should wash your hair 24 to 48 hours before your balayage appointment to ensure the hair is clean but has a light protective layer of natural oils on the scalp.
The old myth of arriving with dirty hair only applies to on-scalp bleach applications (to prevent chemical burning). Because balayage is painted off the scalp, dirty hair is actually a hindrance. Grease, dry shampoo, and styling products create a barrier that the lightener has to fight through, which can result in an uneven, splotchy caramel lift.
Final Thoughts on Caramel Ombre Balayage
Embracing a caramel ombre balayage for long brown hair is undeniably one of the most stunning, high-impact transformations a brunette can undergo. By leaving your natural dark roots intact and strategically painting warm, light-reflecting ribbons through the mid-lengths and ends, you achieve a dimensional depth that flatters almost every complexion. It is the perfect marriage of striking contrast and low-maintenance wearability.
However, as we have thoroughly explored, the journey doesn’t end when you leave the salon chair. The secret to keeping your stunning ombre hair for brunettes looking expensive, glossy, and perfectly blended lies in your dedicated at-home routine. Equipping yourself with a high-quality blue toning shampoo, practicing religious thermal protection, and regularly utilizing color-depositing glosses will ensure your warm tones never cross the line into unwanted brassiness. Beautiful hair requires a strong partnership between a skilled colorist and your own daily care regimen.
Whether you opt for a bold, high-contrast dark roast ribbon or a subtle, sun-kissed tortoiseshell sweep, this technique proves that you do not need to go fully blonde to have more fun. It is all about enhancing the gorgeous brunette richness you already possess.
What is your favorite way to style dimensional hair? Are you leaning toward a subtle honey melt or a high-contrast money piece for your next salon visit? Let us know in the comments below!
Last update on 2026-04-27 / Affiliate links / Images from Amazon Product Advertising API