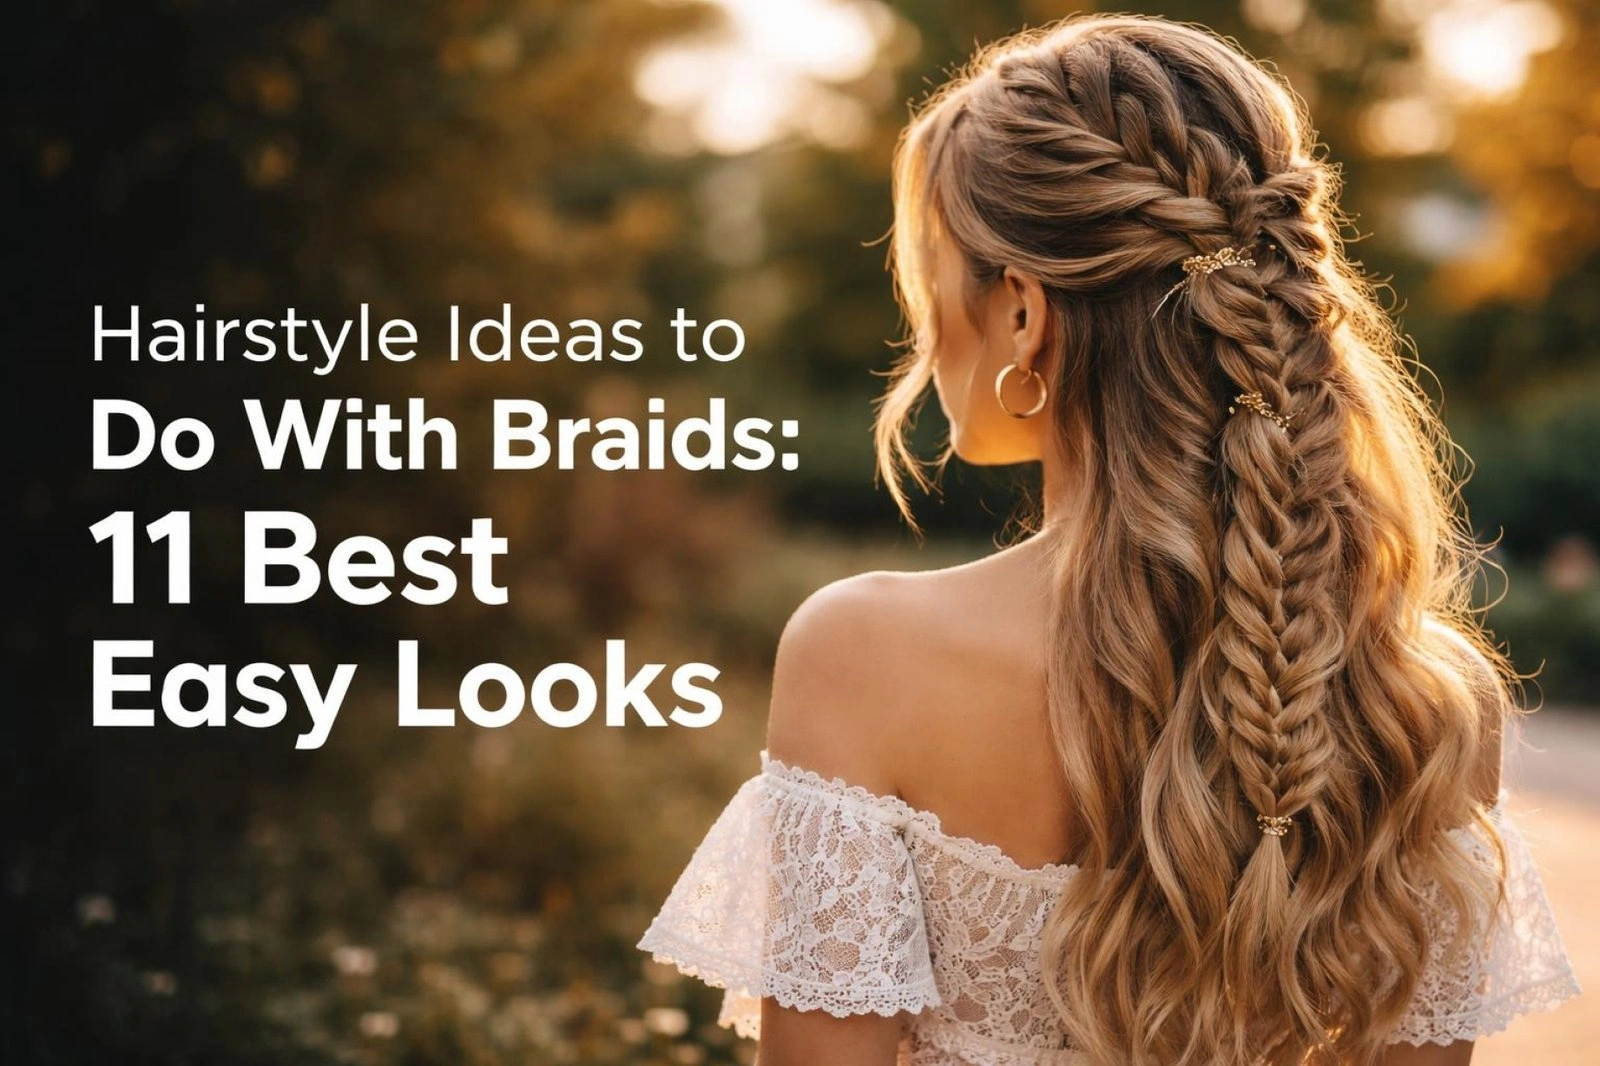
Stuck in a styling rut with your braids? It’s easy to fall back on the same look, especially when dealing with the weight or frizz of an older protective style. You want fresh, beautiful hairstyle ideas to do with braids, but don’t have hours to spend in front of the mirror.
The best hairstyle ideas to do with braids include the classic high bun, half-up half-down crown braids, and sleek braided low ponytails. To keep your braids looking fresh, always use a lightweight mousse, secure styles with tension-free elastics, and smooth your edges with a hydrating edge control. This ensures your styles are both beautiful and protective.
Leveraging proven techniques and insights from licensed cosmetologists, this guide breaks down the simplest ways to elevate your look. You’ll discover eleven step-by-step tutorials that are both beginner friendly and chic. Get ready to transform your braids from basic to breathtaking while prioritizing your scalp health.
What Are The Best Hairstyle Ideas to Do With Braids For A Quick Refresh?
Finding the perfect way to refresh your look is key to loving your braids from installation to take-down day. The best hairstyle ideas to do with braids are those that offer a quick visual upgrade without causing unnecessary scalp tension. Whether you have classic box braids, knotless braids, or are working with your natural hair, the core principles remain the same: secure your style gently, protect your edges, and use the right products to maintain a sleek, polished finish. This involves understanding how different elements work together; for example, a good hair gel not only provides hold but also adds moisture, while a firm-hold edge control is essential for taming flyaways and achieving that clean, salon-quality look. Embracing these healthy hair practices is fundamental, as even the most beautiful style isn’t worth sacrificing the health of your hairline. The following tutorials are designed to be both stylish and safe, preventing issues like traction alopecia while giving you endless braid inspiration.
11 Best Hairstyle Ideas to Do With Braids for Every Occasion
Now, let’s dive into the practical, step by step tutorials that will become your new go-to styles. We’ve curated a list of eleven distinct looks, ranging from elegant updos perfect for a wedding to quick morning braids for a busy day. This section covers various different types of braids, including tutorials adaptable for French braids, Dutch braids, and even the intricate fishtail braid. Each style is broken down into simple, actionable steps, complete with a list of the tools you’ll need. This approach ensures you can easily find ways to style box braids or natural plaits, regardless of your skill level. Remember, the key to a lasting style is a good foundation, where elements like bobby pins secure the updo and a silk scarf protects the style overnight.
1. Securing The Classic Box Braid High Bun

Pin this effortless box braid updo to your natural hair inspiration board!
What You Need
- Heavy-duty seamless hair elastics designed specifically for thick extensions and box braids
- Firm-hold, flake-free edge control for smoothing the hairline
- A soft bristle edge brush
- 3-4 large bobby pins for tucking loose ends
Styling Steps
- Gather all your braids at the crown of your head, flipping your head forward if your braids are particularly heavy.
- Secure the ponytail base with your heavy-duty elastic, wrapping it only twice to avoid excessive tension.
- Twist the ponytail gently into a thick rope, then wrap it around the base of the elastic to form the bun.
- Tuck the ends underneath the bun and secure them firmly with large bobby pins.
- Smooth your baby hairs using the edge brush and a dab of edge control for a pristine, neat finish.
Pro-Tip: As a professional hair stylist, I recommend utilizing the tucking technique with your ends rather than a second hair tie; this distributes the weight of the bun evenly and drastically reduces scalp tension.

2. Weaving a Romantic Half-Up Half-Down Crown Braid

Save this beautiful boho half-up style for your next special event!
What You Need
- Texture spray or dry shampoo for grip
- Small clear hair elastics
- Strong-hold, matte-finish bobby pins that match your hair color
- A rat-tail comb for sectioning
Styling Steps
- Part your hair down the middle and section off two front pieces of hair on either side of your face.
- Plait the right section into a standard three-strand braid (or a Dutch braid for more volume) and tie the end with a clear elastic. Repeat on the left side.
- Pancake both braids by gently pulling the outer loops to make them look wider, thicker, and beautifully messy.
- Wrap the right braid around the back of your head to the left side and pin it securely into place.
- Cross the left braid over the right one, tuck the tail under to hide the elastic, and secure it firmly with bobby pins.
Pro-Tip: To master this structural hairstyle, spray your bobby pins with a little dry shampoo before sliding them in. The added friction prevents the pins from slipping out of silky or fine hair textures.

3. Styling a Sleek Braided Low Ponytail

Pin this ultra-sleek braided ponytail for your next professional look!
What You Need
- Smoothing boar bristle brush
- Anti-frizz hair gel or pomade
- Two strong hair elastics
- A stylish hair cuff or scrunchie (optional)
Styling Steps
- Apply a generous amount of smoothing gel to your roots and use the boar bristle brush to smooth your hair completely flat against your scalp.
- Gather the hair tightly at the nape of your neck and secure it firmly with your first hair elastic.
- Plait the length of the ponytail into a tight, incredibly neat three-strand braid.
- Tie off the very end of the braid with your second elastic.
- Wrap a small section of hair (or a decorative cuff) around the base of the ponytail to hide the top elastic for an elegant finish.
Pro-Tip: For the ultimate glass-hair finish, trichologists recommend using an alcohol-free gel infused with argan oil. This ensures your sleek style won’t result in dry, flaky residue at the end of the day.

4. Plaiting Jumbo Dutch Braids for Beginners

Bookmark this step-by-step Dutch braid tutorial for beginners!
What You Need
- Precision rat-tail comb for sharp parting
- Detangling brush
- Two hair ties
- Lightweight styling cream or mousse for grip
Styling Steps
- Part your hair cleanly down the center from your forehead to the nape of your neck, and clip one side out of the way.
- Section a small triangle of hair at the front of the working side and divide it into three equal strands.
- Cross the right strand under the middle strand, then cross the left strand under the new middle strand (this underhand technique is the key to a Dutch braid).
- Add a small slice of hair to the right strand before crossing it under the middle; repeat on the left side, working your way down to the nape.
- Plait the remaining hair down to the ends, secure with a tie, and gently tug the edges of the braid outward to create a jumbo, voluminous effect.
Pro-Tip: The main difference in french vs dutch braids is simply the direction. If your braids keep falling flat, you are likely crossing over instead of under. Maintaining consistent tension close to the scalp ensures the 3D “pop.”

5. Twisting a Messy French Braid Updo

Pin this effortlessly chic messy updo for busy mornings!
What You Need
- Texturizing spray or sea salt spray
- A handful of bobby pins
- One hair elastic
- Curling wand (optional, for face-framing pieces)
Styling Steps
- Spray texturizing spray all over dry hair to give it grip and enhance natural volume, embracing any frizzy texture.
- Weave a loose, relaxed French braid starting from the top of your head, pulling in thick sections until you reach the nape of your neck.
- Secure the base of the braid with an elastic, leaving the tail unbraided.
- Twist the unbraided tail around the elastic to form a loose, textured bun, allowing pieces to naturally fall out.
- Pin the bun in place randomly, and gently pull out a few face-framing strands for a perfectly messy, chic finish.
Pro-Tip: If you struggle with heavy braids giving you a headache in updos, use U-shaped hair pins instead of standard bobby pins. They grip more hair per pin and anchor the weight evenly across your scalp.

6. Creating a Boho Fishtail Side Braid

Save this stunning fishtail tutorial to master the perfect boho braid!
What You Need
- Smoothing serum to prevent tangles while braiding
- Small clear hair elastics
- A fine-tooth comb
Styling Steps
- Sweep all your hair to one side over your shoulder and divide it entirely into two equal main sections (no third section is needed for a fishtail braid).
- Take a tiny strand of hair from the outer edge of the left section and cross it over to join the inside of the right section.
- Pinch a tiny strand from the outer edge of the right section and cross it over to join the inside of the left section.
- Repeat this weaving process, keeping the strands small and pulling tight, until you reach the bottom of your hair.
- Tie off the end with a clear elastic, then gently massage and pull apart the braid from the bottom up to create a thick, boho aesthetic.
Pro-Tip: The secret to an intricate fishtail is taking incredibly small, even pieces from the outermost edges. Using a drop of smoothing serum on your fingertips prevents the tiny hair strands from creating a tangled hair nightmare as you weave.

7. Wrapping a Quick Top Knot with Face-Framing Braids

Pin this ultra-trendy face-framing braid look for your next weekend outing!
What You Need
- Precise parting comb
- Clear mini elastics
- Firm edge control or styling gel
- Large hair tie for the main bun
Styling Steps
- Separate two tiny, half-inch sections of hair right at the front of your hairline before touching the rest of your hair.
- Apply a dab of edge control to these two pieces to keep them smooth, then tightly plait them into two micro braids, securing the ends with mini elastics.
- Gather the rest of your hair smoothly to the very top of your head and tie it into a tight ponytail.
- Twist the ponytail tightly and wrap it around its base to form a neat top knot, pinning it securely.
- Adjust the front braids so they lay perfectly flat against your face for a trendy, face-framing finish.
Pro-Tip: The hair around your face is the most fragile. As a hair care expert, I advise using a deeply moisturizing edge control to prevent these tiny front braids from snapping or causing thinning edges.
8. Pinning an Elegant Braided Headband Style

Bookmark this stunning braided headband tutorial for wedding guest hair!
What You Need
- Medium-hold hairspray
- Clear mini elastics
- 4-6 strong bobby pins
- Comb for deep side-parting
Styling Steps
- Create a deep side part starting from just behind your left ear, sweeping over the top of your head to the right side.
- Clip the rest of your hair out of the way at the back of your head.
- Plait the parted front section using a Dutch braid technique, braiding firmly across your forehead line rather than straight back.
- Continue braiding until you reach behind your right ear, then tie it off with a clear elastic.
- Pin the end of the braid flat against your head behind your ear using two bobby pins in an ‘X’ shape for maximum hold, then unclip the back hair to cover the pins.
Pro-Tip: To ensure this elegant style lasts through an entire event, use the “lock-in” method: cross two bobby pins tightly over the elastic band. This proven technique acts as an unbreakable anchor for your structural hairstyles.

9. Securing Tension-Free Low Space Buns

Pin these adorable, tension-free space buns for a protective summer style!
What You Need
- Precise parting comb
- Two large silk scrunchies or snag-free ties
- Hydrating scalp serum or soothing scalp oil
- Soft bristle brush
Styling Steps
- Part your hair cleanly down the exact center all the way to the nape of your neck to create two equal pigtail sections.
- Apply a few drops of soothing scalp oil to the part and gently massage to hydrate your scalp.
- Brush each section low toward the nape of your neck and secure them loosely with your silk scrunchies.
- Plait each pigtail into a simple three-strand braid all the way to the ends.
- Wrap each braid gently around its base to form two low buns, tucking the ends under the scrunchie to secure without tight pins.
Pro-Tip: High buns place severe stress on your frontal follicles. Certified braiders suggest these low space buns as the perfect low tension alternative to prevent thinning edges while maintaining a highly protective styling regimen.

10. Twisting a Sleek Rope Braid Ponytail

Save this lightning-fast rope braid tutorial for a sleek gym-to-office look!
What You Need
- Smoothing brush
- Strong-hold mousse or gel
- Two tight hair elastics
- Finishing shine spray
Styling Steps
- Brush your hair into a sleek, high ponytail and secure it tightly with an elastic.
- Apply a pump of strong-hold mousse through the length of the ponytail to give the hair stickiness and grip.
- Divide the ponytail into exactly two even sections.
- Twist both sections firmly to the right (clockwise).
- Cross the right section over the left section (counter-clockwise), repeating this twisting and crossing motion to the ends, then tie it off tightly.
Pro-Tip: The secret to a rope braid that doesn’t instantly unravel is the counter-twist. You must twist the individual strands in the opposite direction that you wrap them around each other. This locks the hair architecture in place permanently.

11. Weaving a Cascading Waterfall Braid for Long Hair

Bookmark this gorgeous waterfall braid tutorial for long flowing hair!
What You Need
- Fine-tooth comb for clean sectioning
- Ceramic curling wand
- Clear mini elastics
- Two bobby pins
Styling Steps
- Take a section of hair near your front left temple and divide it into three pieces.
- Begin a standard French braid for one full sequence (cross right over middle, left over middle).
- Drop the bottom strand so it falls freely down alongside your face—this is your first “waterfall” piece.
- Pick up a new strand of hair from directly behind the dropped piece to replace it, cross it over the middle, and continue this drop-and-replace method around the back of your head.
- Plait the very end normally, tie it with an elastic, pin it beneath a layer of hair on the right side, and curl the dropped cascading pieces for a romantic finish.
Pro-Tip: For the most beautiful drape, ensure your dropped sections are identical in thickness. Using a professional salon quality ceramic curling iron on just the cascading pieces creates a highly defined, deeply romantic waterfall effect.

Key Takeaways: Your Quick Guide to Hairstyle Ideas to Do With Braids
- Prioritize Low Tension Styling for Scalp Health: Always use the tucking technique and snag-free elastics to prevent thinning edges and scalp tension, crucial steps in traction alopecia prevention.
- Master the Underhand Technique for Volume: The secret to 3D, popping jumbo braids is crossing the hair strands under the middle section (the Dutch braid method) rather than over.
- Prep the Base for Sleek Finishes: A pristine braided ponytail requires applying anti-frizz serum and brushing the hair flat to the scalp before you begin the braiding process.
- Embrace Intentional Messiness for Updos: When styling a messy French braid updo, use texturizing spray and gently “pancake” (pull apart) the loops to make frizzy braids look effortlessly chic.
- Invest in the Right Securing Tools: Standard elastics cause breakage; always use heavy-duty seamless bands for box braids and clear polybands for delicate micro braids.
- Lock In Styles with the Crossed-Pin Method: To ensure your structural hairstyles like crown braids don’t slip, cross two bobby pins in an ‘X’ shape over the elastic to anchor the style firmly.
- Integrate Daily Scalp Care: Long-term protective styling requires applying a soothing scalp oil regularly to maintain your scalp microbiome and prevent an itchy scalp beneath your styles.
People Also Ask About Hairstyle Ideas to Do With Braids
How to style box braids?
The best ways to style box braids include high top knots, half-up half-down crown braids, and low tension space buns. Because box braids are inherently versatile, you can treat them exactly like thick strands of natural hair. To avoid heavy braids pulling on your edges, focus on styles that distribute weight evenly, like a low braided ponytail. Always use snag-free, heavy-duty elastics designed for extensions to prevent breakage when securing your styles.
What are easy hairstyle ideas to do with braids?
Easy hairstyle ideas to do with braids include the messy French braid updo, double Dutch braids, and a simple braided headband. These styles are considered beginner friendly because they require minimal sectioning and don’t require perfect precision to look beautiful. For the easiest daily look, simply sweep your hair to one side and plait a basic three-strand or boho fishtail braid, pancaking the edges for an effortlessly chic aesthetic.
How to keep braids from frizzing?
To keep braids from frizzing, tie them down nightly with a silk scarf and apply a lightweight anti-frizz serum daily. Friction from cotton pillowcases and daily wear are the primary causes of frizzy braids. Expert styling tips suggest applying a foaming mousse from roots to ends, wrapping the hair securely in silk, and letting it set overnight. This smooths down flyaways and locks the hair architecture back into place without causing braid build up.
What is the difference between french and dutch braids?
The primary difference between French and Dutch braids is the direction the hair is crossed: French braids cross over, while Dutch braids cross under. When evaluating french vs dutch braids, a French braid weaves the outer strands over the middle strand, creating a flat, integrated look. A Dutch braid weaves the outer strands under the middle strand, which pushes the braid upward, resulting in a prominent, 3D jumbo braid effect that sits on top of the hair.
How to prevent edges from thinning with braids?
Prevent thinning edges by utilizing low-tension styles, avoiding tight pulling around the hairline, and applying a soothing scalp oil regularly. Traction alopecia prevention is critical when wearing protective styles. A certified braider will always recommend leaving your delicate baby hairs out of tight updos and using a deeply moisturizing edge control rather than drying gels. Never leave heavy extensions in longer than 6 to 8 weeks to maintain optimal follicular health.
What hairstyle to do after braids?
The best hairstyle to do after removing braids is a low-manipulation style like a loose twist-out, a soft wash-and-go, or a low bun. After taking down tight braids, your scalp anatomy needs time to recover from the tension. Focus entirely on damage repair treatments and deep conditioning treatments to restore moisture. Avoid heat styling or immediate re-braiding for at least one to two weeks to ensure your natural hair growth cycle remains healthy and uninterrupted.
How to take out braids without damage?
To take out braids without damage, coat your fingers in a slip-providing detangling oil, snip the extensions well below your natural hair, and unbraid from the bottom up. Never pull or tug aggressively at the root. Use a dedicated braid removal spray or a mix of water and conditioner to soften dirt buildup at the base before combing. Gentle hair handling and patience are the most critical factors in retaining your length and preventing unnecessary tangled hair breakage.
What tools do I need for braiding hair?
Essential tools for braiding hair include a rat-tail parting comb, snag-free elastics, edge control, styling mousse, and a silk scarf. For those looking to install braiding hair extensions, you will also need pre-stretched synthetic hair fibers (like Kanekalon) and professional-grade shears. Having the correct professional tools on hand ensures sharp sectioning, which is the foundational secret to making any braided style look incredibly neat and salon-quality.
How long do box braids stay in?
Box braids should safely stay in your hair for 4 to 8 weeks, depending on your hair texture, maintenance routine, and hair growth rate. Leaving them in past the 8-week mark drastically increases the risk of severe matting, scalp tension, and breakage at the root due to new growth. To maximize their lifespan while maintaining hygiene, follow strict healthy hair practices by cleansing the scalp bi-weekly with a targeted astringent and moisturizing the lengths daily.
Can you wash your hair with braids?
Yes, you can and should wash your hair with braids to remove sweat, dead skin, and product buildup that causes an itchy scalp. Focus an applicator bottle filled with diluted, clarifying shampoo directly onto your scalp pathways rather than scrubbing the braided lengths, which causes frizz. Rinse thoroughly, and washing removes build-up without ruining the style. Always dry the braids completely—using a hooded dryer if necessary—to prevent mildew within the thick interlocking hair.
Final Thoughts on Hairstyle Ideas to Do With Braids
Mastering these hairstyle ideas to do with braids opens up a world of versatility, allowing you to transform your look daily without spending hours in front of the mirror. Whether you are throwing your heavy box braids into a tension-free space bun for a workout, or delicately weaving a boho fishtail for a wedding, the secret lies in proper sectioning and using the right tools. Remember that the foundation of any great braided style is a combination of healthy protective styling practices and a little bit of creative confidence.
As we’ve explored, achieving salon quality results at home doesn’t require a cosmetology license; it simply requires patience, the correct edge control, and an understanding of gentle tension management. Always prioritize your follicular health over a perfectly tight style, utilizing our crossed-pin anchoring methods and heavy-duty elastics to let the tools do the heavy lifting instead of your hairline.
Now that you have the expert styling tips and exact product recommendations for these 11 stunning looks, it’s time to put them to the test. Which of these different types of braids are you most excited to try first? Are you leaning toward the sleek professionalism of the braided low ponytail, or the effortless romance of the messy French updo? Grab your comb, section your hair, and let us know your favorite style in the comments below
Last update on 2026-04-27 / Affiliate links / Images from Amazon Product Advertising API